For anyone entering the exciting world of additive manufacturing, understanding STL files for 3D printing is fundamental. An STL file serves as the digital blueprint, communicating the precise shape and geometry of a 3D model to your 3D printer. Whether you’re a beginner looking to print your first object or an experienced maker aiming to create custom designs, mastering the acquisition and creation of STL files is your starting point.
This guide will walk you through everything you need to know about STL files, from downloading ready-made models to designing your own, ensuring you have the knowledge to bring your ideas to life.
What Exactly Are STL Files?
STL stands for “stereolithography” and is the most common file format for 3D printing. Essentially, an STL file describes the surface geometry of a 3D object using a mesh of interconnected triangles. Each triangle defines a small part of the object’s surface, and collectively, they form the complete shape. This triangular mesh is what your 3D printer’s slicer software interprets to generate the toolpaths for printing.
While STL is ubiquitous, other formats like OBJ and 3MF are also used, sometimes offering advantages such as better color or material information. However, for sheer compatibility and widespread use, STL remains the industry standard for geometric data.
Option 1: Downloading Ready-Made STL Files
For many 3D printing enthusiasts, especially beginners, downloading pre-designed STL files is the easiest and quickest way to start printing. This approach offers immediate access to a vast library of functional parts, decorative items, toys, and artistic creations without requiring any 3D design skills.
Why Download STL Files?
- Ease of Use: No prior 3D modeling experience is needed; simply download and print.
- Speed: Get printing much faster than designing something from scratch.
- Variety: Access millions of designs created by a global community of makers.
- Learning: Examine existing models to understand design principles and printability.
Top Repositories for Free STL Files
Several online platforms host extensive collections of 3D models, many of which are free to download. These sites serve as invaluable resources for makers of all skill levels. Here’s a breakdown of some popular options:
| Repository | Type | Cost | Key Features & Notes |
| :———— | :————– | :——– | :————————————————————————————- |
| Thingiverse | Free Repository | Free | Largest collection with over 7 million models. Community-driven, diverse projects. |
| Free3D | Free Repository | Free/Paid | Mixed collection, includes printable STL files alongside professional 3D models. |
| NASA 3D | Free Repository | Free | Specializes in space-related 3D models and scientific visualizations. Unique niche. |
| 3DSky | Free/Paid | Mixed | Offers many free architectural models, often highly detailed. |
| Toymakr3D | Free/Paid | Mixed | Focuses on printable toys and games, often with a creative, playful design emphasis. |
| Creality Cloud | Free/Paid | Mixed | Features a substantial library of free models compatible with all printer brands. |
Tips for Downloading and Selecting STL Files
When browsing for models, consider these tips to ensure a successful print:
- Check Printability: Look for comments, reviews, or images from other users who have successfully printed the model. Some designs might be overly complex or have fragile features that are difficult to print.
- Consider Your Printer: Assess if the model’s size and complexity are suitable for your specific 3D printer (e.g., FDM vs. resin, build volume limits).
- Material Choice: Think about which filament (PLA, PETG, ABS, ASA, TPU, Nylon, carbon-fiber filaments) or resin material would be best suited for the model’s intended function.
- Licensing: Understand the model’s license. Many models are shared under Creative Commons licenses, which dictate how you can use, modify, and share the design.
- Remixes & Customization: Some platforms allow users to upload “remixes” of existing models. These can offer improved versions or variations that better suit your needs.
Option 2: Designing Your Own STL Files
While downloading models is convenient, the ability to design your own STL files for 3D printing unlocks a new level of customization and creative freedom. This is where your specific needs, innovative ideas, and problem-solving skills truly shine.
Why Design Your Own STL Files?
- Customization: Create parts that precisely fit your requirements, from custom enclosures to unique replacement parts.
- Innovation: Bring entirely new inventions and artistic expressions into physical form.
- Learning & Skill Development: Develop valuable CAD design skills that are transferable across many industries.
- Problem Solving: Design solutions for specific challenges, improving existing products or creating new tools.
Getting Started with 3D Design
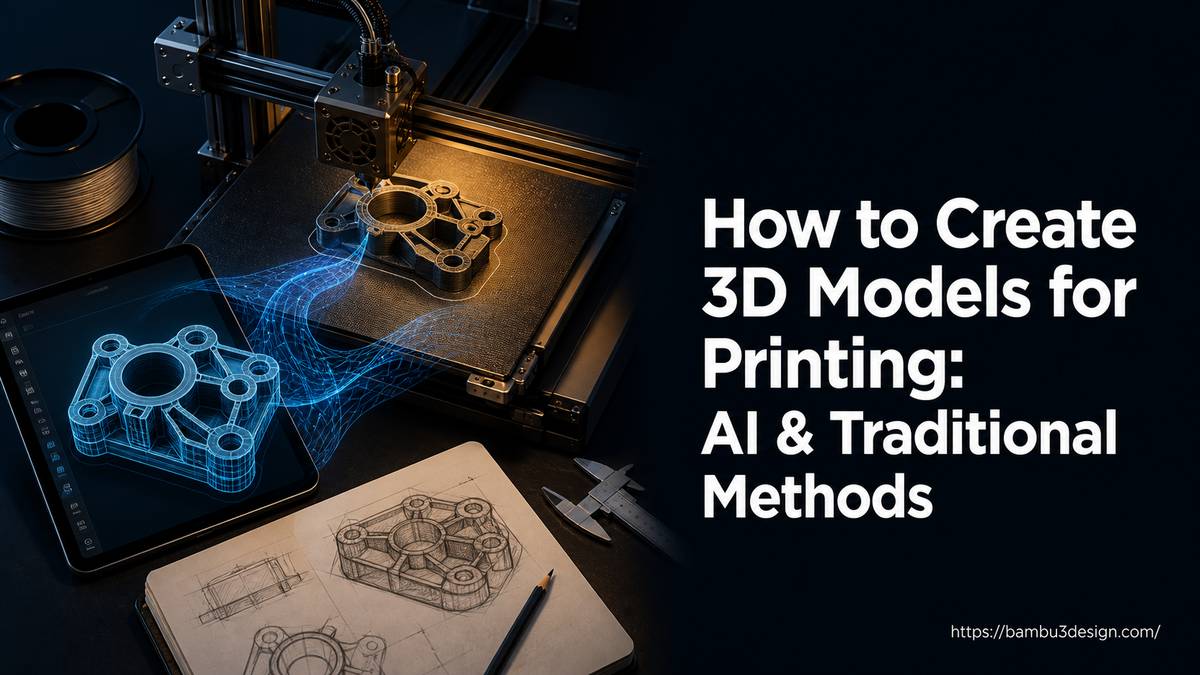
If you’re eager to start learning how to design or create your own files, the journey begins with 3D modeling software, often referred to as CAD (Computer-Aided Design) software.
1. Choose Your Software:
There are numerous CAD programs available, catering to different skill levels and design needs. Some popular options for 3D printing include:
- Beginner-Friendly: TinkerCAD (web-based, great for simple shapes), FreeCAD (open-source, powerful for parametric design).
- Intermediate/Professional: Fusion 360 (robust, cloud-based, often free for hobbyists/startups), SolidWorks (industry standard, professional-grade).
- Organic Modeling/Artistic: Blender (powerful open-source 3D creation suite, excellent for organic shapes and sculpting, but has a steeper learning curve for technical CAD).
2. Learn the Basics:
Start with tutorials specific to your chosen software. Focus on fundamental concepts:
- 2D Sketching: The foundation for most 3D models, where you define profiles and dimensions.
- Extrusion & Revolution: Turning 2D sketches into 3D forms.
- Booleans: Combining or subtracting shapes (e.g., cutting a hole).
- Fillets & Chamfers: Smoothing edges for aesthetics and printability.
- Parametric Design: Understanding how to create designs that can be easily modified by changing parameters (common in Fusion 360, FreeCAD, SolidWorks).
3. Design for 3D Printing:
When designing models specifically for 3D printing, keep these considerations in mind:
- Wall Thickness: Ensure walls are thick enough to be printed successfully (typically at least 1-2mm).
- Overhangs: Minimize unsupported overhangs or design with angles that can be printed without excessive support structures.
- Tolerances: Account for printer tolerances, especially when designing interlocking parts or parts that need to fit together (e.g., 0.1-0.3mm clearance).
- Orientation: Consider how the part will be oriented on the print bed for optimal strength and surface finish.
- Watertight Models: STL files must represent a solid, “watertight” object without any gaps or holes in the mesh. Most CAD software handles this automatically upon export.
4. Export as STL:
Once your design is complete, export it as an STL file. Most CAD software will have a clear “Export” or “Save As” option that includes STL as a format. During export, you might have options for mesh resolution. A finer mesh (more triangles) results in a smoother surface but a larger file size. A coarser mesh creates a smaller file but can make curved surfaces appear faceted.
Preparing STL Files for Printing: Slicing Software
Whether you download or design your own, the next crucial step is to prepare your STL file for your 3D printer using slicer software. Popular slicers include Bambu Studio, OrcaSlicer, Cura, and PrusaSlicer.
The Slicing Process:
- Import STL: Load your STL file into the slicer.
- Configure Settings: Adjust various parameters that dictate how your printer will build the model. These include:
- Layer Height: Determines print resolution and speed.
- Infill Density & Pattern: Controls the internal structure and strength.
- Print Speed: Affects print time and quality.
- Supports: Generate structures to hold up overhangs.
- Adhesion Type: Options like brim or raft to improve bed adhesion.
- Material Settings: Temperature, cooling, and retraction specific to your filament (PLA, PETG, ABS, ASA, TPU, etc.).
- Slice: The software processes the STL and your settings, converting them into G-code – the specific instructions your 3D printer understands.
- Export G-code: Save the G-code file to an SD card, USB drive, or send it directly to your network-connected printer.
Conclusion
STL files are the cornerstone of 3D printing, providing the digital blueprint for physical objects. Whether you choose to explore the vast libraries of online repositories or embark on the rewarding journey of 3D design, understanding how to acquire, prepare, and print these files is essential.
Start by downloading some models from sites like Thingiverse or Creality Cloud to get a feel for the process. As your confidence grows, consider diving into CAD software to create custom solutions and truly unlock the potential of your 3D printer. With the right knowledge and tools, the possibilities for what you can create are virtually limitless.