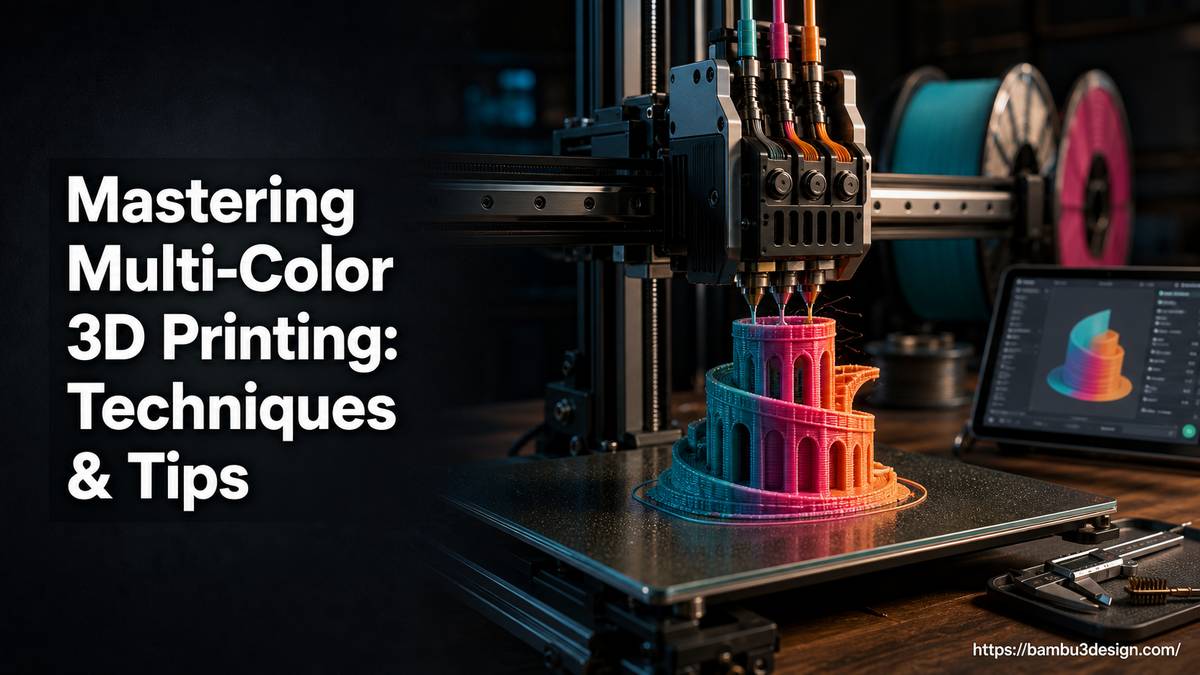
Mastering Multi-Color 3D Printing: Techniques and Tips
For many 3D printing enthusiasts, the ability to produce objects in multiple colors adds a new dimension of creativity and functionality. No longer limited to monochromatic creations, multi-color 3D printing allows for vibrant designs, clearer educational models, and more practical prototypes. Whether you’re a hobbyist or an engineer, understanding the various techniques available can unlock significant potential for your projects.
This guide delves into the diverse methods of achieving multi-color 3D prints, from entry-level manual processes to advanced automated systems. We’ll explore FDM and resin-based approaches, highlight key technologies like the Bambu Lab AMS and Prusa’s ColorMix, and provide essential tips to ensure your multi-color prints are successful.
The Evolving Landscape of Multi-Color 3D Printing
The demand for multi-color 3D printing has grown significantly, reflecting its expanding role beyond mere aesthetics. While visually appealing, colored prints also offer practical advantages across various fields:
- Education: Multi-color models make learning more engaging and effective by visually differentiating components in complex structures, such as anatomical models or architectural layouts.
- Medicine: Accurate, multi-colored anatomical representations aid in better diagnosis, surgical planning, and patient education.
- Entertainment: Producing vibrant prototypes, collectibles, and detailed figurines enhances artistic expression and product appeal.
- Prototyping: Clearly distinguishing different parts or functionalities within a single prototype can streamline development and communication in design reviews.
This increased utility has driven innovation in 3D printer hardware and slicing software, making multi-color capabilities more accessible and sophisticated than ever before.
FDM Multi-Color 3D Printing: Versatility with Filaments
Fused Deposition Modeling (FDM) remains the most widely adopted 3D printing technology, and it offers several distinct methods for multi-color production, primarily by using multiple spools of differently colored filaments. The printer extrudes these materials through a heated nozzle, building objects layer by layer.
Manual Filament Swapping
Manual filament swapping is the most accessible and cost-effective method for beginners to achieve multi-color prints, as it relies on basic printer features available on most FDM machines. It involves pausing the print at specific layer heights and manually exchanging the filament spool.
How it works:
- Design your model with distinct color sections or patterns.
- Use slicing software (e.g., Bambu Studio, PrusaSlicer, Cura) to insert a pause command at the desired layer height where a color change is needed.
- During the print, the printer will stop at the specified layer.
- Manually unload the current filament and load the new color.
- Resume the print.
Best suited for: Simple two-color designs or projects with minimal, well-defined color changes. It’s an excellent way to introduce color without significant hardware investment.
Considerations:
- Time-consuming: Requires active monitoring and manual intervention.
- Error-prone: Precise timing is crucial; minor delays can lead to adhesion issues or cosmetic defects like blobs.
- Limited complexity: Not practical for intricate multi-color designs with frequent changes.
Single-Nozzle Multi-Feed Systems
These systems offer a significant upgrade from manual swapping by automating the filament change process while still using a single nozzle for extrusion. Multiple filament feeds are connected to a single hotend, allowing the printer to switch between colors as commanded by the G-code.
When a color change is required, the printer retracts the current filament, purges any residual material, and feeds in the new one. This method allows for smoother transitions and more complex color patterns than manual swapping.
Key Technologies:
-
Bambu Lab AMS (Automatic Material System): The Bambu Lab AMS revolutionizes multi-color FDM printing by providing automated, seamless filament management. Each AMS unit can hold up to four filament spools, and multiple units (up to four) can be connected to handle a total of 16 filaments simultaneously. The system uses RFID technology to identify filament spools, automatically setting optimal printing parameters. Its hermetic enclosure and humidity sensors protect hygroscopic materials like Nylon from moisture, ensuring consistent print quality.
- Advantages: Automated, supports many colors/materials, RFID for parameter setting, humidity control.
- Best suited for: Users seeking highly automated, multi-color, and multi-material printing with minimal user intervention, ideal for intricate designs and production-like environments.
-
Prusa Multi-Material Unit (MMU) / ColorMix Concept: Prusa Research has also been at the forefront of multi-material printing. Their MMU systems enable users to print with multiple filaments through a single nozzle. Building on community innovations like Ratdoux’s OrcaSlicer-FullSpectrum and Justin H. Rahb’s filament-mixer, Prusa developed the ColorMix feature for PrusaSlicer and EasyPrint. ColorMix allows for the creation of virtual mixed-color filaments by intelligently alternating thin layers of different colored materials. This technique expands the available color palette far beyond the physically loaded spools, generating dozens of new color tones and gradients.
- Advantages: Automated, expands color palette significantly through virtual mixing, integrates with PrusaSlicer/EasyPrint.
- Best suited for: Users with Prusa MMU-equipped printers looking to experiment with a vast array of virtually blended colors and gradients, pushing creative boundaries.
Multi-Nozzle Systems
Multi-nozzle systems are equipped with multiple independent nozzles, each loaded with a different color filament. This setup eliminates the need for filament retraction and purging during color changes, potentially speeding up prints and reducing material waste compared to single-nozzle multi-feed systems.
How it works: Each nozzle handles a specific color. When a different color is required, the printer simply switches to the appropriate nozzle.
Advantages: Faster color changes, less material waste (no purge towers often needed), potentially cleaner transitions.
Disadvantages: Increased mechanical complexity, higher cost, can introduce calibration challenges (e.g., nozzle height alignment).
Best suited for: Professional applications or users prioritizing print speed and minimizing material waste for projects with discrete color blocks.
Single-Nozzle Color Blending
This technique involves physically mixing multiple filaments within a single hotend to create new, blended colors and gradients. Unlike layer-by-layer virtual mixing (like Prusa’s ColorMix for specific multi-material systems), true single-nozzle color blending uses a specialized hotend designed to combine multiple filament streams before extrusion.
How it works: Filaments are fed into a mixing chamber within the hotend, where they are melted and combined before being extruded as a single, blended color. By varying the feed rate of each filament, a wide spectrum of colors and gradients can be achieved.
Advantages: True color gradients, smooth color transitions within a single layer.
Disadvantages: Specialized hardware required, can be prone to clogging, challenges in precise color reproduction, more filament waste from color transitions.
Best suited for: Artistic projects where smooth, continuous color gradients are paramount, and exact color matching is less critical than aesthetic blending.
Multi-Color Printing in Resin (SLA/DLP)
While FDM dominates multi-color discussion due to filament versatility, resin-based printing technologies (SLA, DLP, MSLA) also offer multi-color capabilities, albeit through different means:
- Specialized Multi-Color Resins: Some manufacturers offer multi-color resins that change hue based on various factors, or printers that can precisely deposit different colored resins.
- PolyJet and Binder Jetting: These advanced industrial technologies offer true full-color printing. PolyJet printers jet tiny droplets of photopolymer resin, which are then UV-cured. Multiple print heads can jet different colored resins simultaneously, allowing for incredibly detailed, vibrant, and full-color models. Binder Jetting applies a liquid binding agent to a powdered material, layer by layer, with colored binders allowing for full-color output. These methods offer unparalleled color accuracy and detail but come with significantly higher costs.
Preparing Your Multi-Color Prints in Slicer Software
Regardless of your chosen multi-color method, the slicing software plays a critical role in translating your digital design into a multi-colored physical object. Slicers like Bambu Studio, PrusaSlicer, OrcaSlicer, and Cura provide tools to assign colors and manage material changes.
General Slicer Workflow for Multi-Color FDM:
- Import Model: Load your 3D model (STL, STEP, OBJ, 3MF) into your preferred slicer.
- Assign Colors: Most slicers offer painting tools or selection modes to assign different colors (or material slots) to specific parts of your model or specific layers. For systems like Bambu Lab AMS, you’ll assign a filament slot to different model parts.
- Define Filament Profiles: Ensure you have the correct filament profiles for each color/material you are using, including temperatures, retraction settings, and flow rates.
- Manage Purging (for single-nozzle multi-feed): For systems like Bambu Lab AMS or Prusa MMU, the slicer automatically generates a \”flush tower\” or \”prime tower\” – a small waste object where the printer purges residual filament before switching colors on your main print. Adjusting the flushing volume can impact color transition quality and material waste.
- Generate G-code: Slice the model. The slicer will generate G-code instructions that include commands for filament changes, pauses (for manual swaps), or virtual color blending (for ColorMix).
Prusa’s EasyPrint and ColorMix:
Prusa’s cloud-based EasyPrint utility, accessible via Printables or the Prusa App, simplifies multi-color slicing, especially for multi-tool printers like the Original Prusa XL. It acts as a simplified front-end for PrusaSlicer, automatically determining many settings. Within EasyPrint, users can assign colors for multi-tool printers using its tool settings. With the ColorMix model, PrusaSlicer intelligently generates G-code that alternates thin layers of physically loaded filaments to produce virtual mixed colors, significantly expanding the color palette available.
Tips for Successful Multi-Color 3D Printing
Achieving flawless multi-color prints requires attention to detail and careful calibration. Here are some practical tips:
- Filament Management:
- Keep Filaments Dry: Hygroscopic materials like Nylon, PETG, and even PLA can absorb moisture, leading to poor print quality. Store them in dry boxes, ideally with desiccants, especially for multi-material systems like the Bambu Lab AMS that offer enclosed, humidity-controlled environments.
- Organize Spools: Label and organize your filament spools for easy identification, especially when managing many colors.
- Slicer Settings Optimization:
- Flush Volume (for single-nozzle multi-feed): Experiment with flush volumes in your slicer to find the sweet spot between clean color transitions and minimizing filament waste. Too little flush, and colors will bleed; too much, and you waste material.
- Wipe Towers/Prime Pillars: Ensure your slicer is generating appropriate wipe towers or prime pillars when necessary to clean the nozzle before printing with a new color.
- Layer Height: For virtual color blending methods like Prusa’s ColorMix, using finer layer heights can result in smoother, more convincing color transitions.
- Calibration:
- Color Accuracy: Use test palettes (like Justin H. Rahb’s filament-mixer or PeggyPalette) to understand how different filaments blend or appear on your specific printer setup. Calibrate your colors against actual prints.
- Nozzle Alignment (for multi-nozzle systems): Precise calibration of nozzle offsets is crucial to prevent layer shifts or blobs.
- Model Design Considerations:
- Clear Color Divisions: For manual swapping or basic multi-color systems, design models with clear, horizontal color divisions to simplify the slicing process.
- File Format: Utilize 3MF files when possible, as they can store model data, print settings, and color assignments within a single file, streamlining your workflow.
- Printer Maintenance: Keep your nozzles clean and free of residue from previous filament colors to prevent unintended color contamination.
Conclusion
Multi-color 3D printing opens up a world of possibilities for creators, from enhancing functional prototypes to crafting visually stunning artistic pieces. With diverse techniques ranging from basic manual filament swapping to advanced automated systems like the Bambu Lab AMS and innovative virtual color blending with Prusa’s ColorMix, there’s a solution for every skill level and budget.
Understanding the mechanics behind each method, leveraging powerful slicer software, and diligently applying practical tips will empower you to consistently produce high-quality, vibrant multi-color prints. Embrace the experimentation, fine-tune your settings, and transform your 3D printing projects with the power of color.