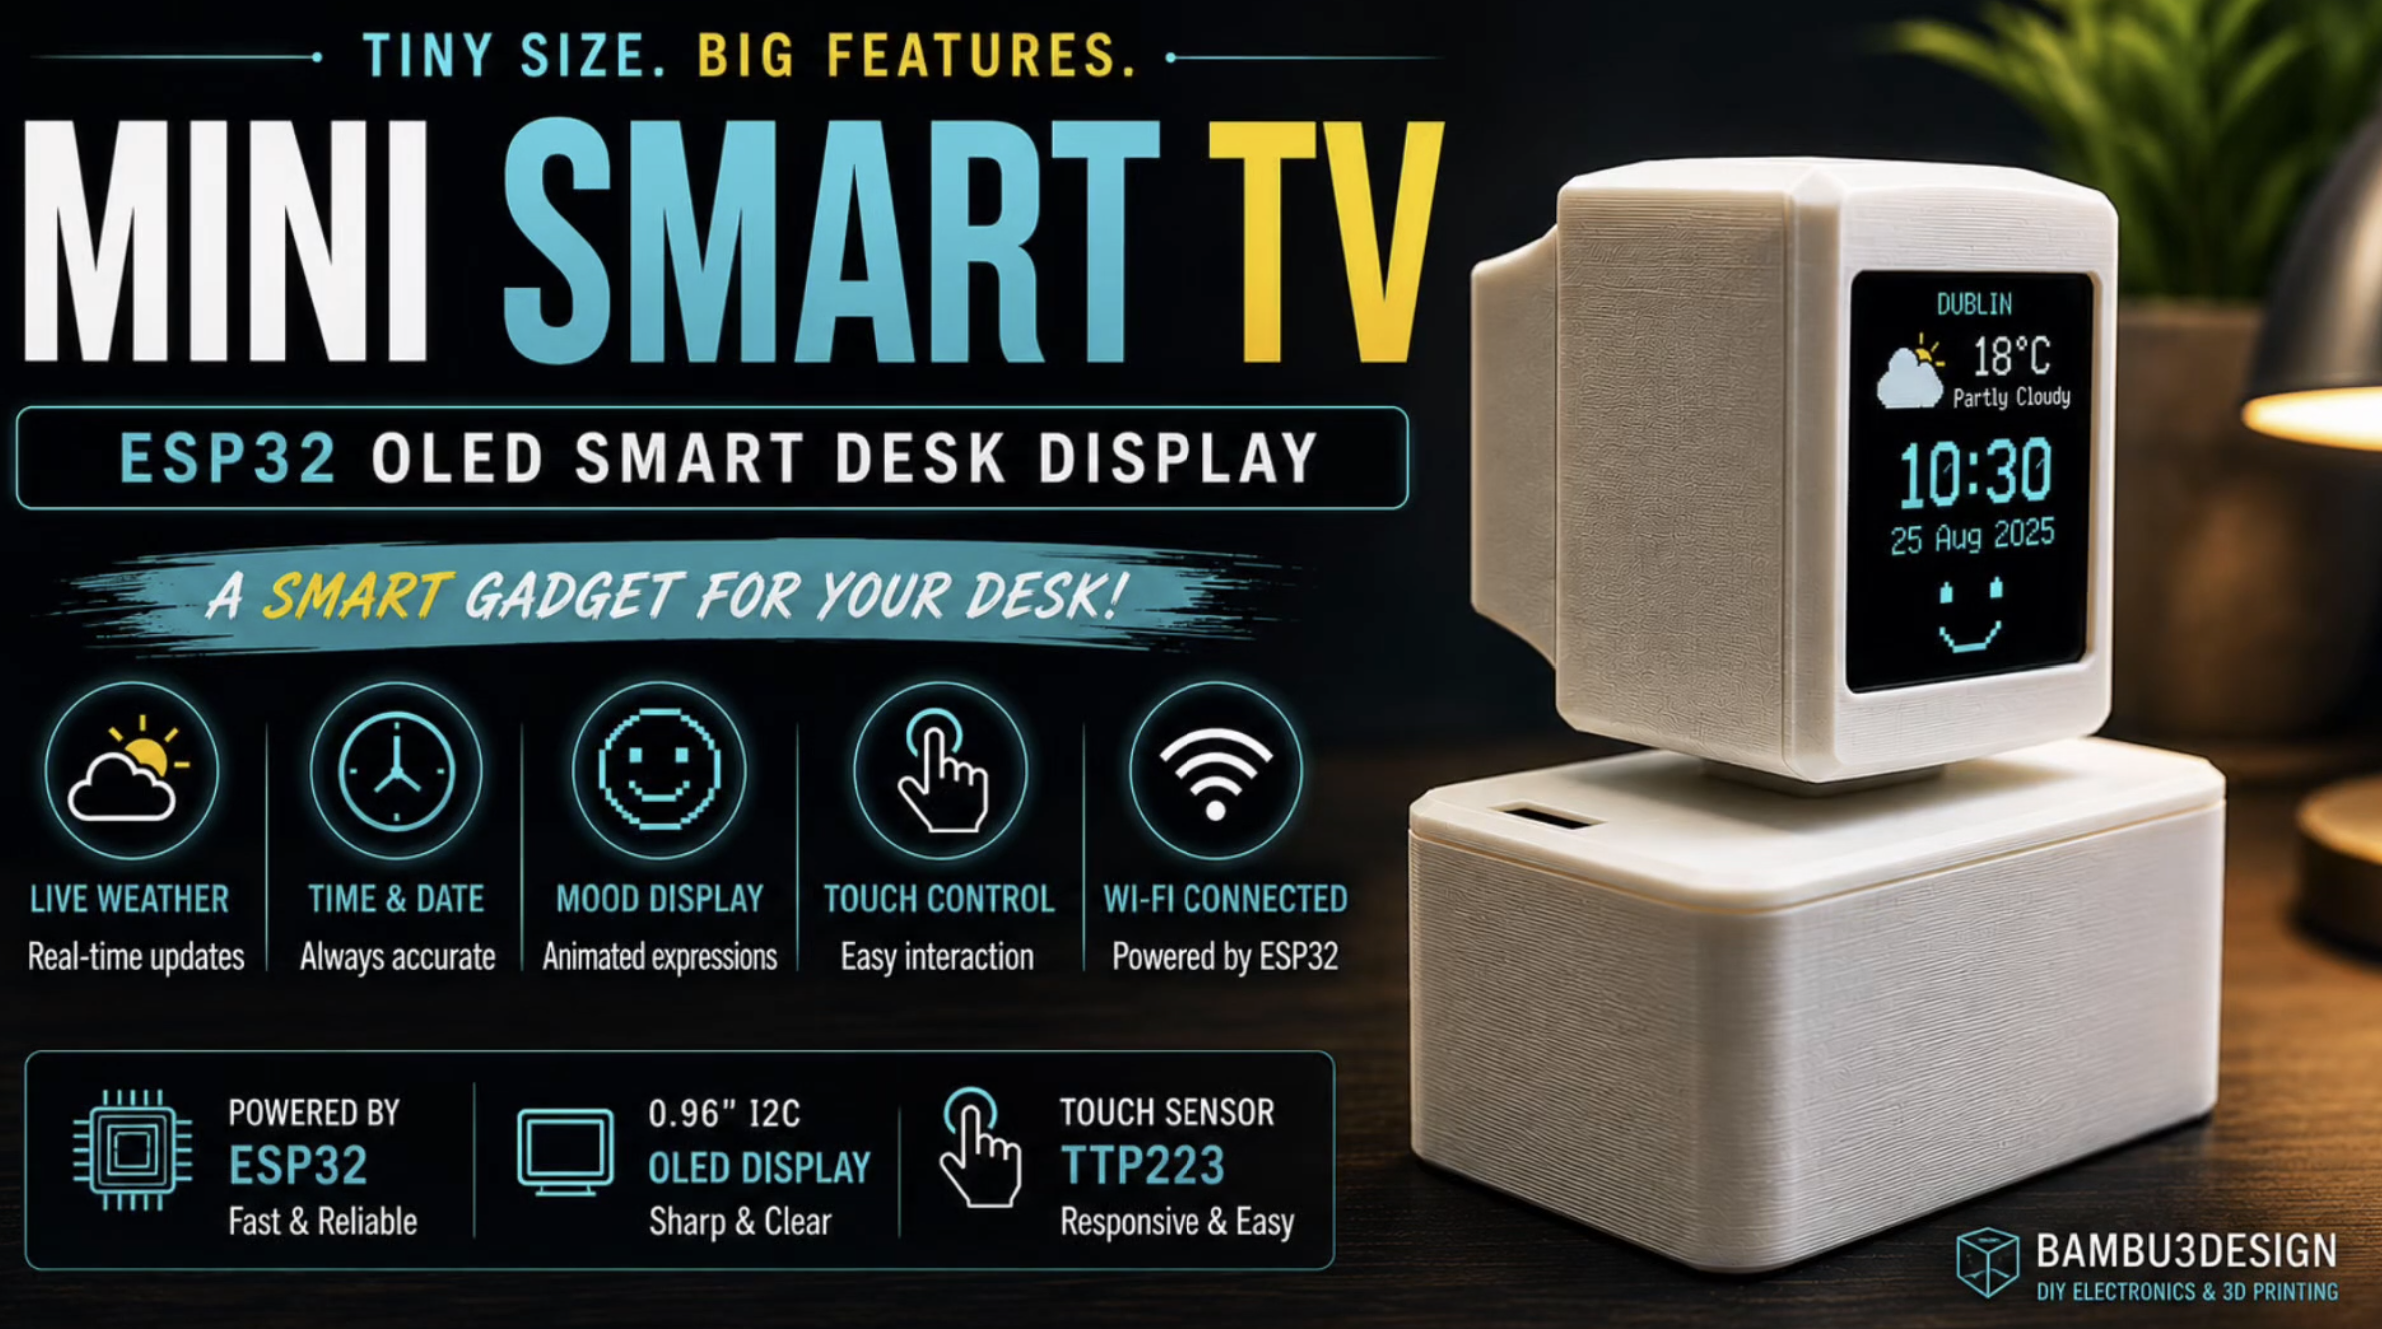
Build your own adorable 3D-printed ESP32 Smart Desktop Companion with animated facial expressions, live weather updates, a digital clock, and touch controls!
In this step-by-step DIY tutorial, I’ll show you how to create a compact and interactive smart desktop companion using an ESP32 development board, a 0.96-inch OLED display, and a TTP223 capacitive touch sensor.
This mini smart display combines electronics, programming, Wi-Fi connectivity, and 3D printing to create a fun and functional desk gadget.
The device features four different facial expressions and multiple information screens, including time, date, temperature, humidity, and current weather conditions.
Whether you’re interested in ESP32 projects, DIY electronics, or 3D printing, this is a creative project to try!
Main Features
- ESP32 Microcontroller: Controls the display, touch input, and Wi-Fi connectivity.
- 0.96-inch OLED Display: Shows facial expressions, time, date, and weather information.
- Touch Control: Switch between different display screens with a short touch.
- Four Facial Expressions: Touch and hold the sensor to change the displayed expression.
- Live Weather Updates: Retrieves weather information using the OpenWeather API.
- Time and Date Display: Displays useful clock and calendar information.
- Temperature and Humidity: Displays weather data for your selected city.
- Wi-Fi Connectivity: Connects to the internet to retrieve weather information.
- Rechargeable Battery: Uses a 3.7V lithium-ion battery with a suitable charging and boost module.
- 3D-Printed Enclosure: A compact design that looks great on any desk.
How Does the ESP32 Smart Desktop Companion Work?
The ESP32 acts as the main controller, communicating with the OLED display and touch sensor.
A short touch on the TTP223 sensor cycles through the available information screens, while a long touch switches between four different facial expressions.
Through Wi-Fi connectivity, the ESP32 communicates with OpenWeather to retrieve current weather data for your selected location.
The result is a small, interactive desktop gadget that combines useful information with a fun, animated personality.
Components You’ll Need
To build this project, you’ll need:
- ESP32 Development Board
- 0.96-inch I2C OLED Display
- TTP223 Capacitive Touch Sensor
- 3.7V Lithium-ion Battery
- Lithium Battery Charging and 5V Boost Module
- ON/OFF Switch
- Connecting Wires
- 3D-Printed Enclosure
What You’ll Learn
In this tutorial, I’ll guide you through:
- 3D printing the desktop companion enclosure.
- Installing and assembling the electronic components.
- Connecting the ESP32, OLED display, and touch sensor.
- Uploading the ESP32 code.
- Setting up Wi-Fi connectivity.
- Creating an OpenWeather account and obtaining an API key.
- Configuring the weather location.
- Testing the display screens and facial expressions.
- Completing and testing the rechargeable desktop companion.
Watch the Full Step-by-Step Tutorial
I’ve created a complete YouTube tutorial demonstrating the entire process, from 3D printing and wiring to programming and testing.
Watch the full tutorial on my YouTube channel: Bambu3Design!
Download the Free 3D Printing Files
Want to build your own ESP32 Smart Desktop Companion?
The 3D-printable enclosure files are available on my MakerWorld page.
Download the STL Files:
https://makerworld.com/models/3217389
Download the ESP32 Code
The ESP32 code and additional project information are available on my website.
ESP32 Code and Project Details:
https://bambu3design.com/esp32-oled-s
Rechargeable Battery Setup
For this project, I reused a 3.7V lithium-ion battery recovered from a disposable vape.
If you’re interested in learning more about battery recovery and reuse, I’ve also created a separate video covering this topic.
Watch the Battery Reuse Video:
Battery Safety: Only use undamaged lithium-ion cells with appropriate charging and protection circuitry. Do not use swollen, punctured, overheated, or otherwise damaged batteries. For beginners, a new protected rechargeable battery is a safer choice.
Build Your Own Smart Desktop Companion!
This project is a fun way to combine ESP32 programming, touch sensors, OLED displays, Wi-Fi connectivity, and 3D printing.
Customize the facial expressions, experiment with different screen layouts, and create your own personalized desktop gadget.
Explore more ESP32 projects, Arduino tutorials, DIY electronics, and creative 3D printing designs at Bambu3Design!
Don’t forget to subscribe to my YouTube channel for more exciting DIY projects and step-by-step tutorials.