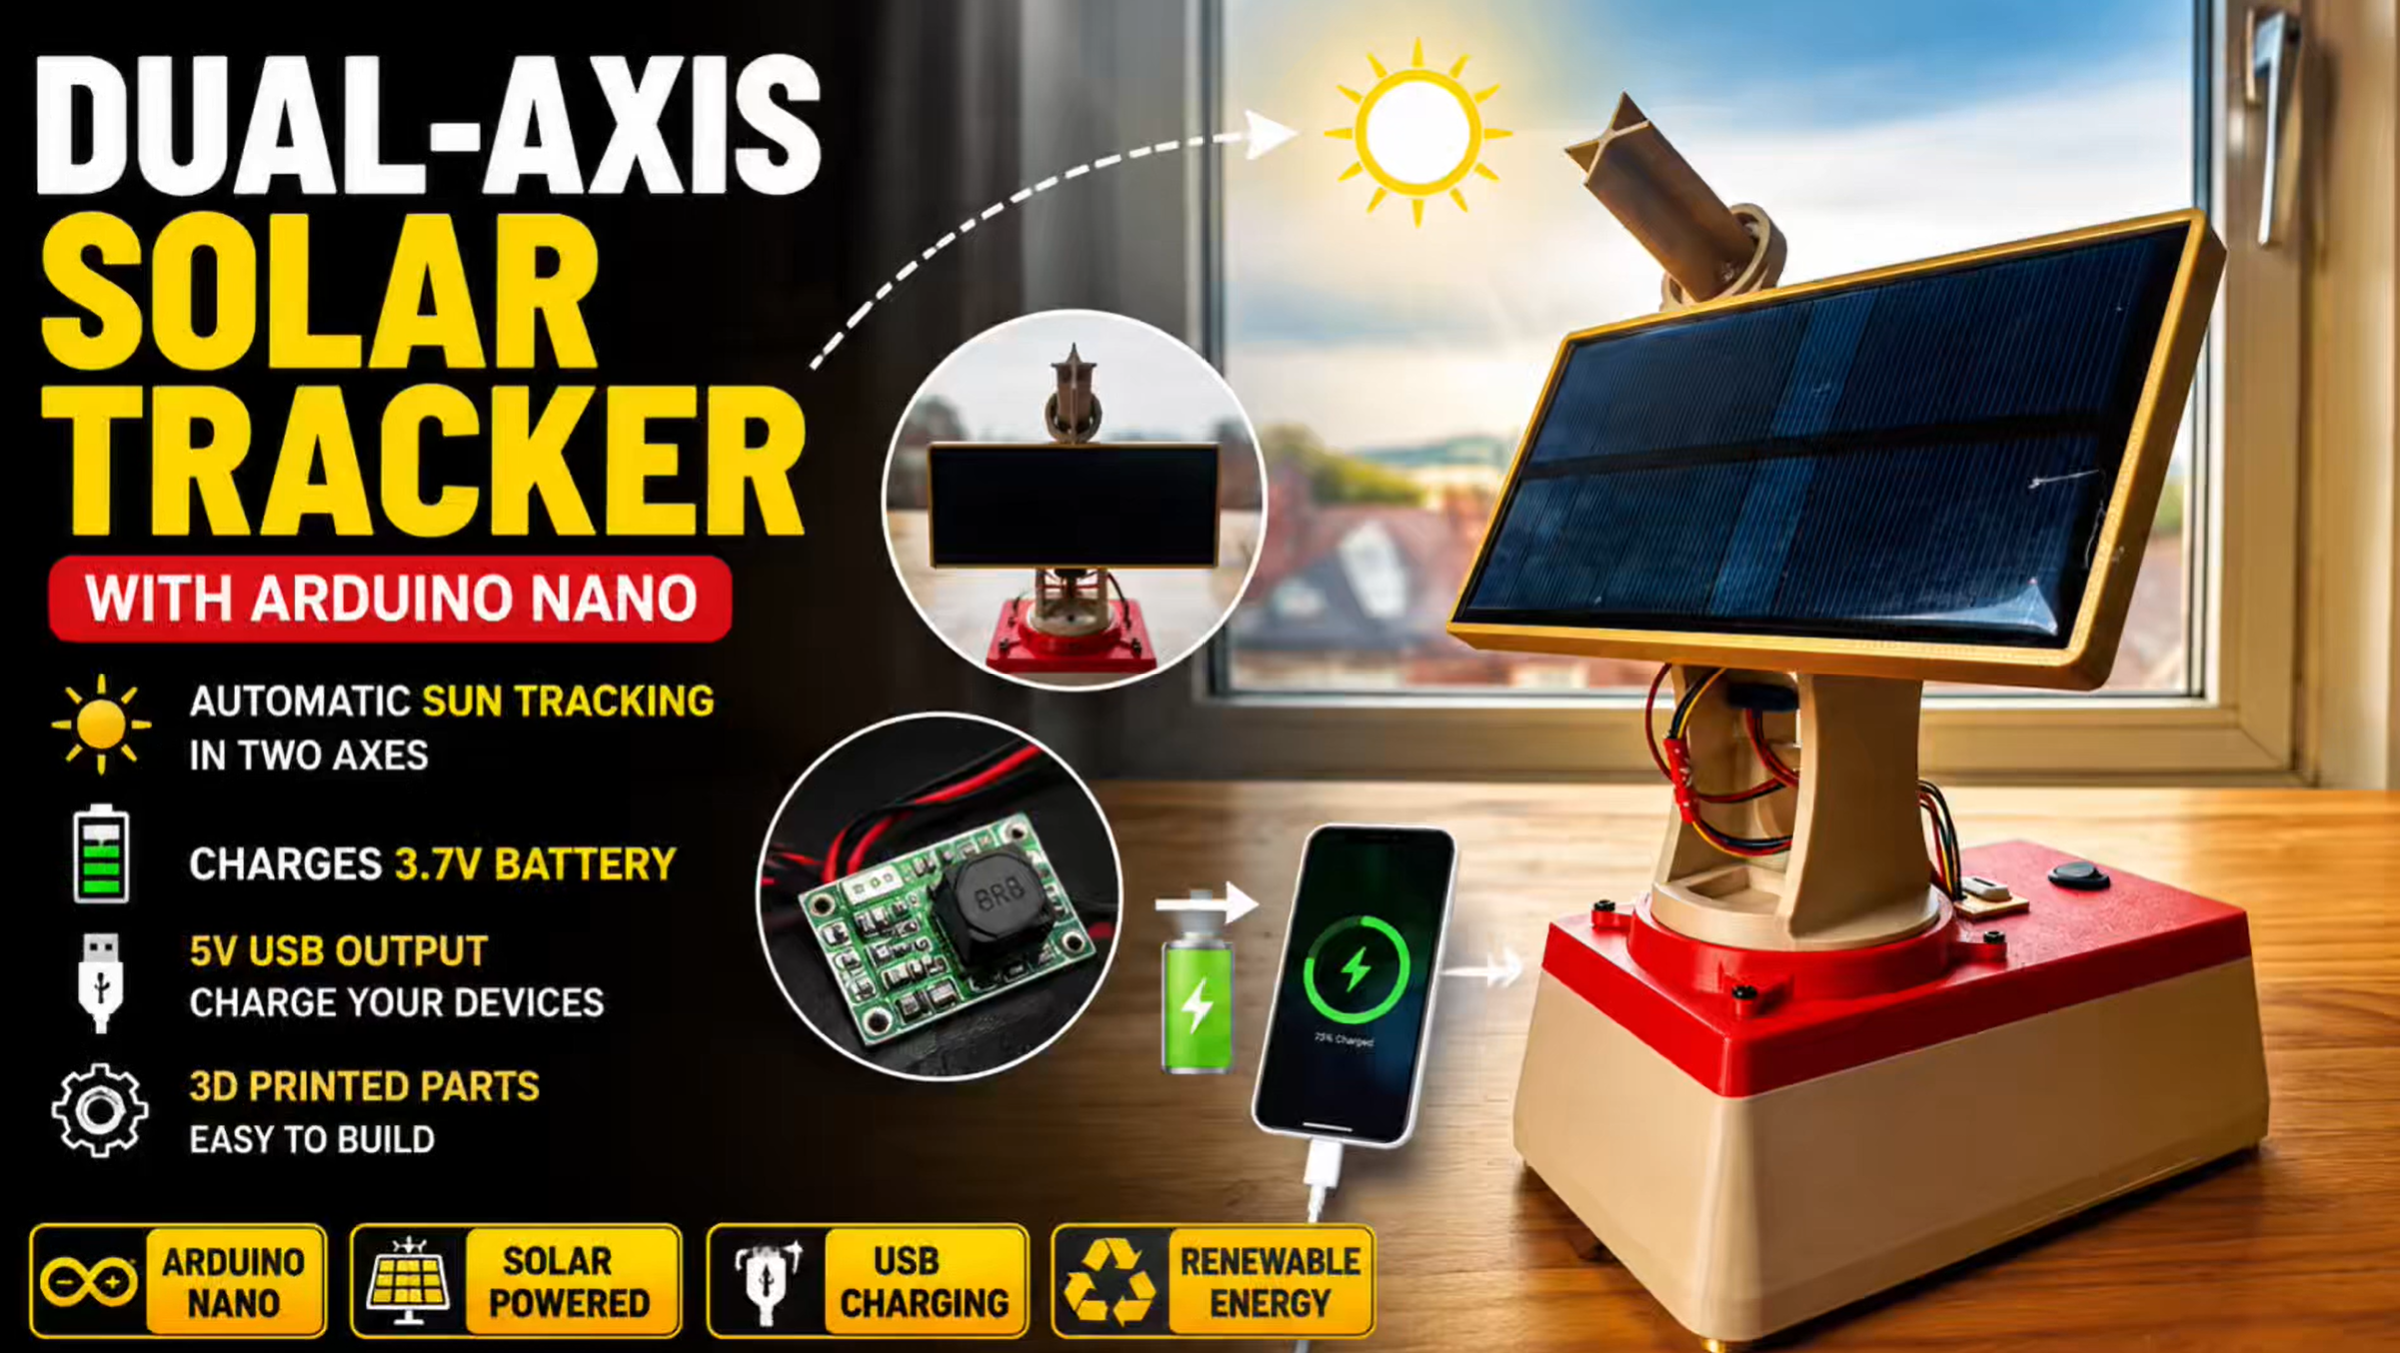
Build your own smart solar tracker that automatically follows the brightest light using an Arduino Nano, four LDR sensors, stepper motors, and 3D-printed components!
In this DIY project, I’ll show you how to build a fully functional dual-axis solar tracking system that can move horizontally and vertically to adjust the position of a solar panel.
The project combines 3D printing, Arduino programming, electronics, and solar energy into one exciting build. It also includes a solar charging system for 3.7V Li-ion batteries and a regulated 5V output for compatible USB-powered devices.
Whether you’re interested in Arduino, renewable energy, or creative 3D printing projects, this tutorial will guide you through the complete process.
How Does the Dual-Axis Solar Tracker Work?
The solar tracker uses four GL5528 light-dependent resistors (LDRs) to detect differences in light intensity.
The Arduino Nano continuously compares the sensor readings and controls two 28BYJ-48 stepper motors through ULN2003 motor driver boards.
One motor adjusts the horizontal position, while the second controls the vertical angle, allowing the solar panel to follow changes in the direction of the strongest light.
The system also incorporates a DD05CVSA charging and boost module, enabling solar-powered battery charging and providing a 5V output.
What You’ll Learn
In this step-by-step tutorial, you’ll discover:
- How to 3D print the solar tracker components.
- How to assemble the dual-axis mechanical structure.
- How to connect four LDR light sensors to an Arduino Nano.
- How to wire two 28BYJ-48 stepper motors and ULN2003 drivers.
- How to install the solar panel and Li-ion batteries.
- How to integrate the DD05CVSA solar charging module.
- How to upload the Arduino code.
- How to test automatic light tracking and dual-axis movement.
Components You’ll Need
Electronics and Control
- 1× Arduino Nano (ATmega328P)
- 1× Arduino Nano Screw Terminal Adapter
- 4× GL5528 LDR Photoresistors
- 4× 4.7 kΩ Resistors
- 2× 28BYJ-48 5V Stepper Motors
- 2× ULN2003 Stepper Motor Driver Boards
Solar Charging System
- 1× 6V 250mA Solar Panel (165 × 65 mm)
- 1× DD05CVSA 5V Li-ion Charging & Boost Module
- 2× 3.7V 16340 Li-ion Batteries
- 1× USB-C Connector
- 1× SPST ON/OFF Switch
Assembly Materials
- 3D-printed solar tracker parts
- Jumper wires and spring clamp connectors
- M2 and M3 screws
- Heat-shrink tubing
- Electrical tape
- Hot glue
Watch the Full Step-by-Step Tutorial
I’ve created a complete YouTube tutorial showing the entire build process, including 3D printing, mechanical assembly, electronic wiring, Arduino programming, and testing.
Follow along with the video to build your own automatic solar tracker.
Watch the full tutorial on my YouTube channel: Bambu3Design!
Download the Free 3D Printing Files
Want to build your own dual-axis solar tracker?
Download the 3D-printable parts from my MakerWorld page:
Free 3D Printing Files:
https://makerworld.com/models/3188030
Download the Arduino Nano Code
The Arduino code used in this project is available on my website.
Download the Arduino Code:
Important Setup Notes
Before powering on the system, position the solar panel and LDR sensor holder as demonstrated in the tutorial.
The initial position is used as the starting reference, and the horizontal movement is limited to 180°.
Ensure the motor connections, power supply, battery polarity, and charging module specifications are correct before operating the system.
Build Your Own Smart Solar Tracker!
This project is a great way to explore Arduino automation, light sensors, stepper motor control, 3D printing, and renewable energy.
Experiment with light tracking and see how a simple Arduino-controlled system can automatically adjust a solar panel’s orientation.
Explore more Arduino, electronics, 3D printing, and DIY projects at Bambu3Design!
Don’t forget to subscribe to my YouTube channel for more step-by-step tutorials and creative builds.