Transform your favorite images, drawings, and designs into real 3D-printable objects using CorelDRAW, SOLIDWORKS, and Bambu Studio!
Have you ever found a beautiful design online and wished you could turn it into a physical 3D-printed object?
In this step-by-step tutorial, I’ll show you how to convert a simple 2D image into a 3D-printable model, from vector tracing and CAD modelling to preparing the final design for 3D printing.
This method is perfect for creating personalized earrings, pendants, keychains, ornaments, decorative signs, and many other creative projects.
You don’t need advanced 3D modelling skills to get started!
How Does Image-to-3D Conversion Work?
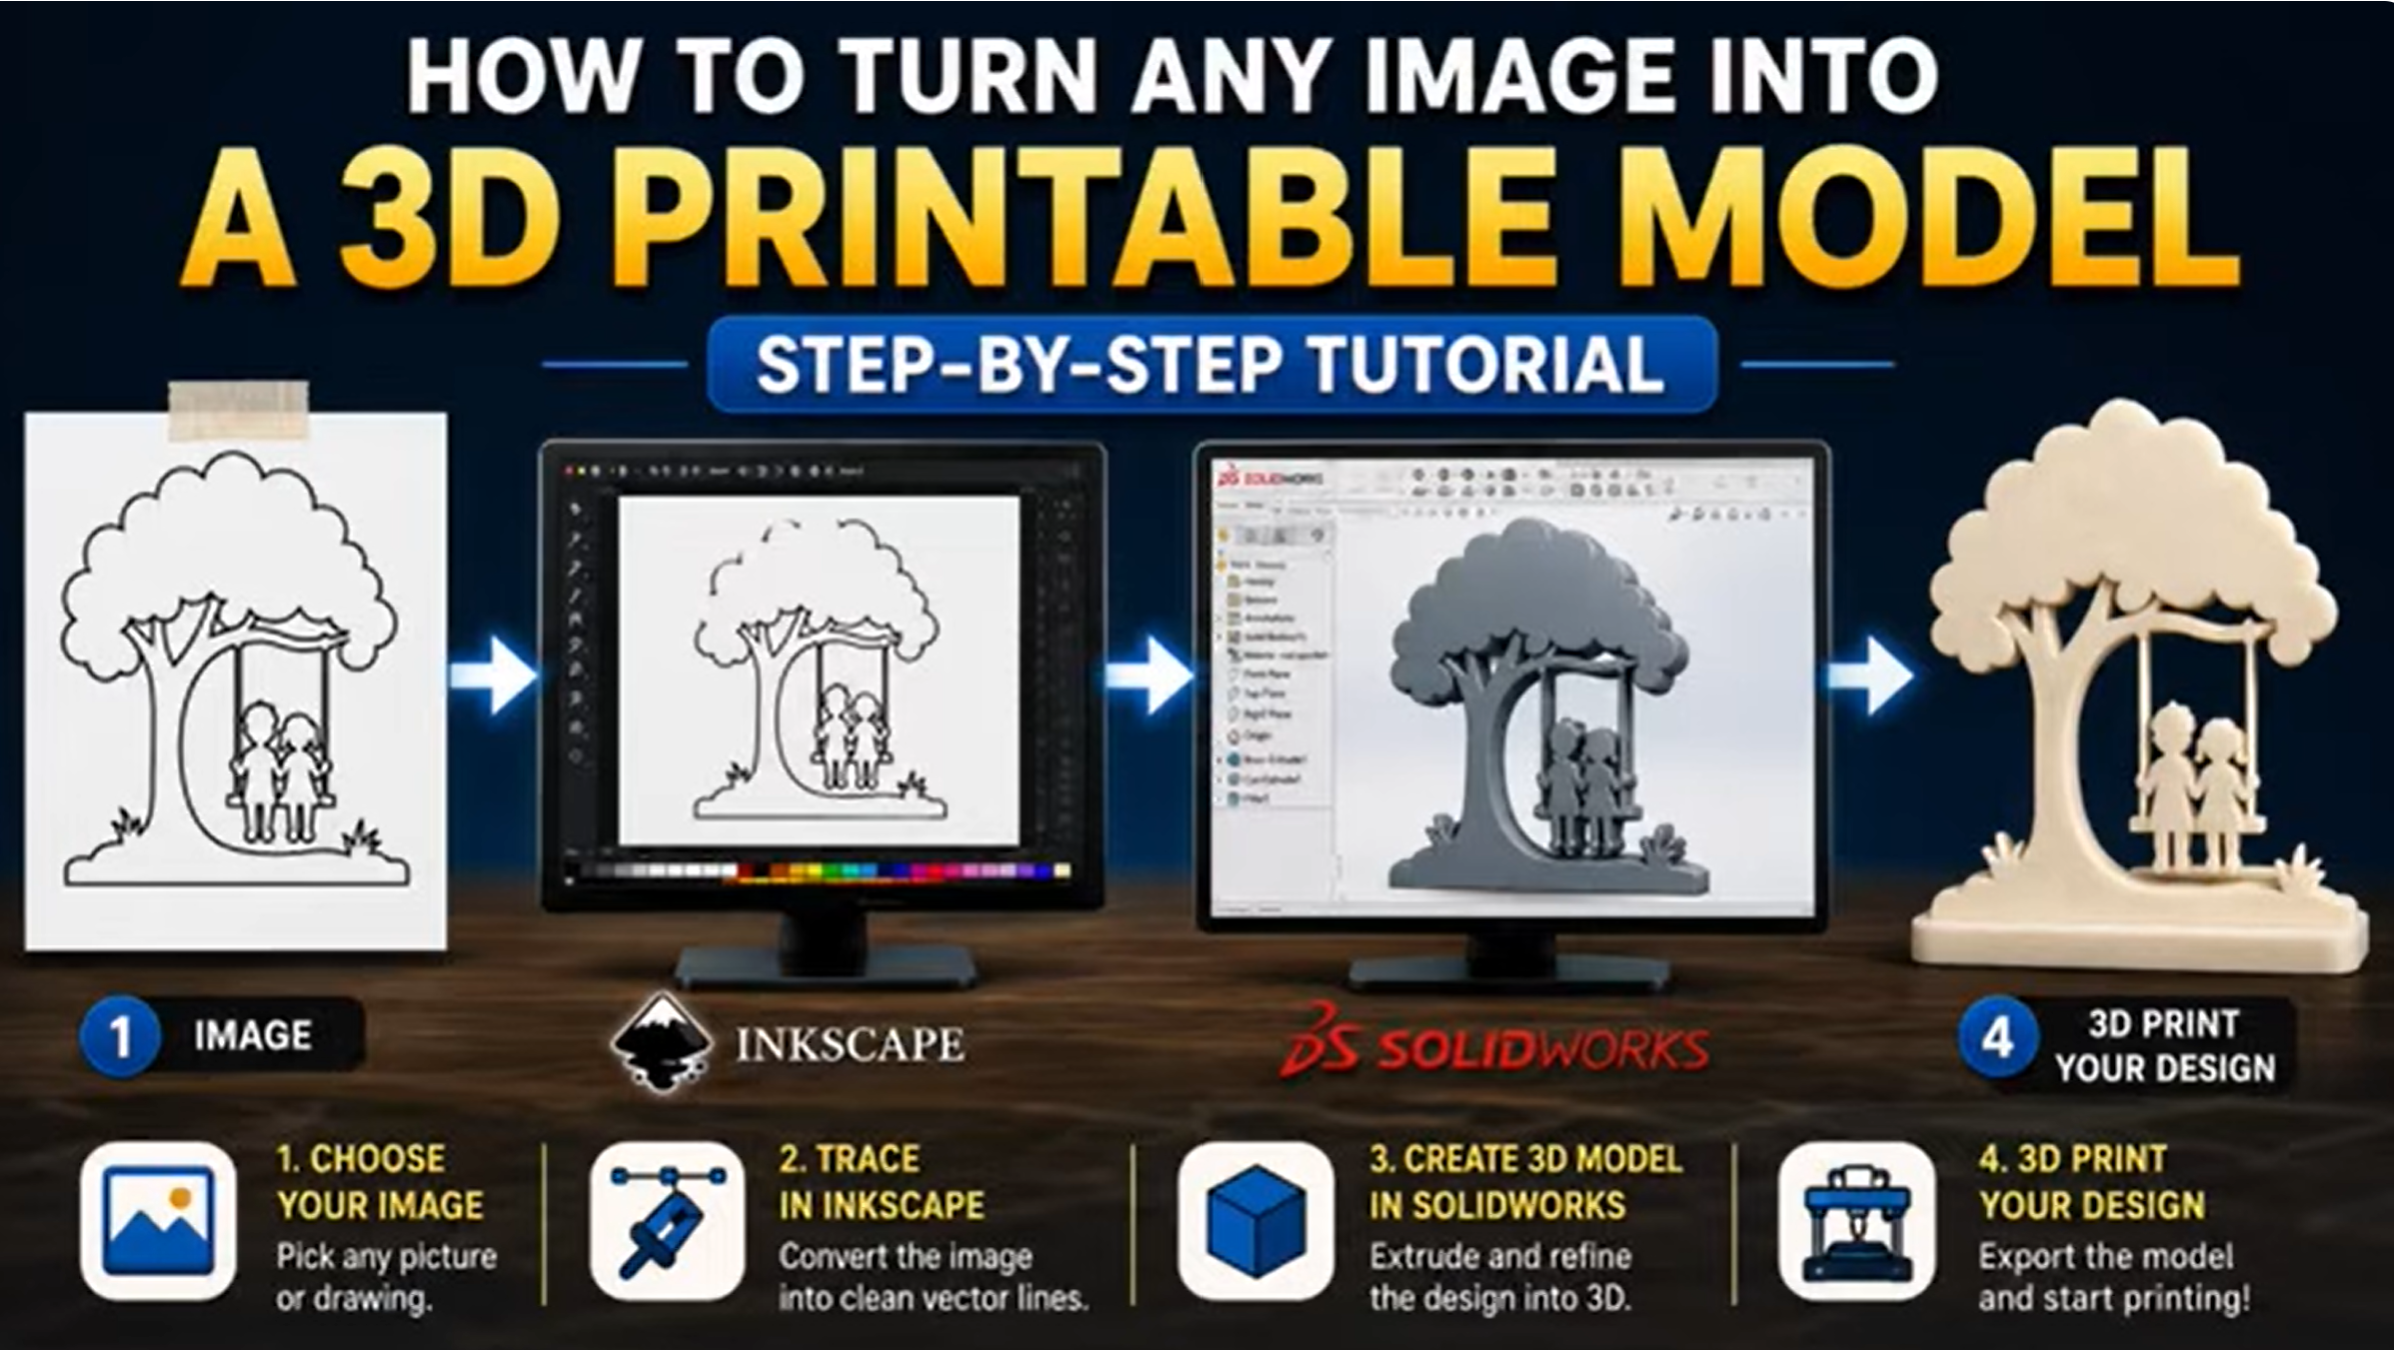
The process involves converting a raster image into a vector drawing, importing it into SOLIDWORKS, and transforming the 2D geometry into a three-dimensional solid.
Once the model is created, it can be exported as an STL file and prepared for printing using Bambu Studio.
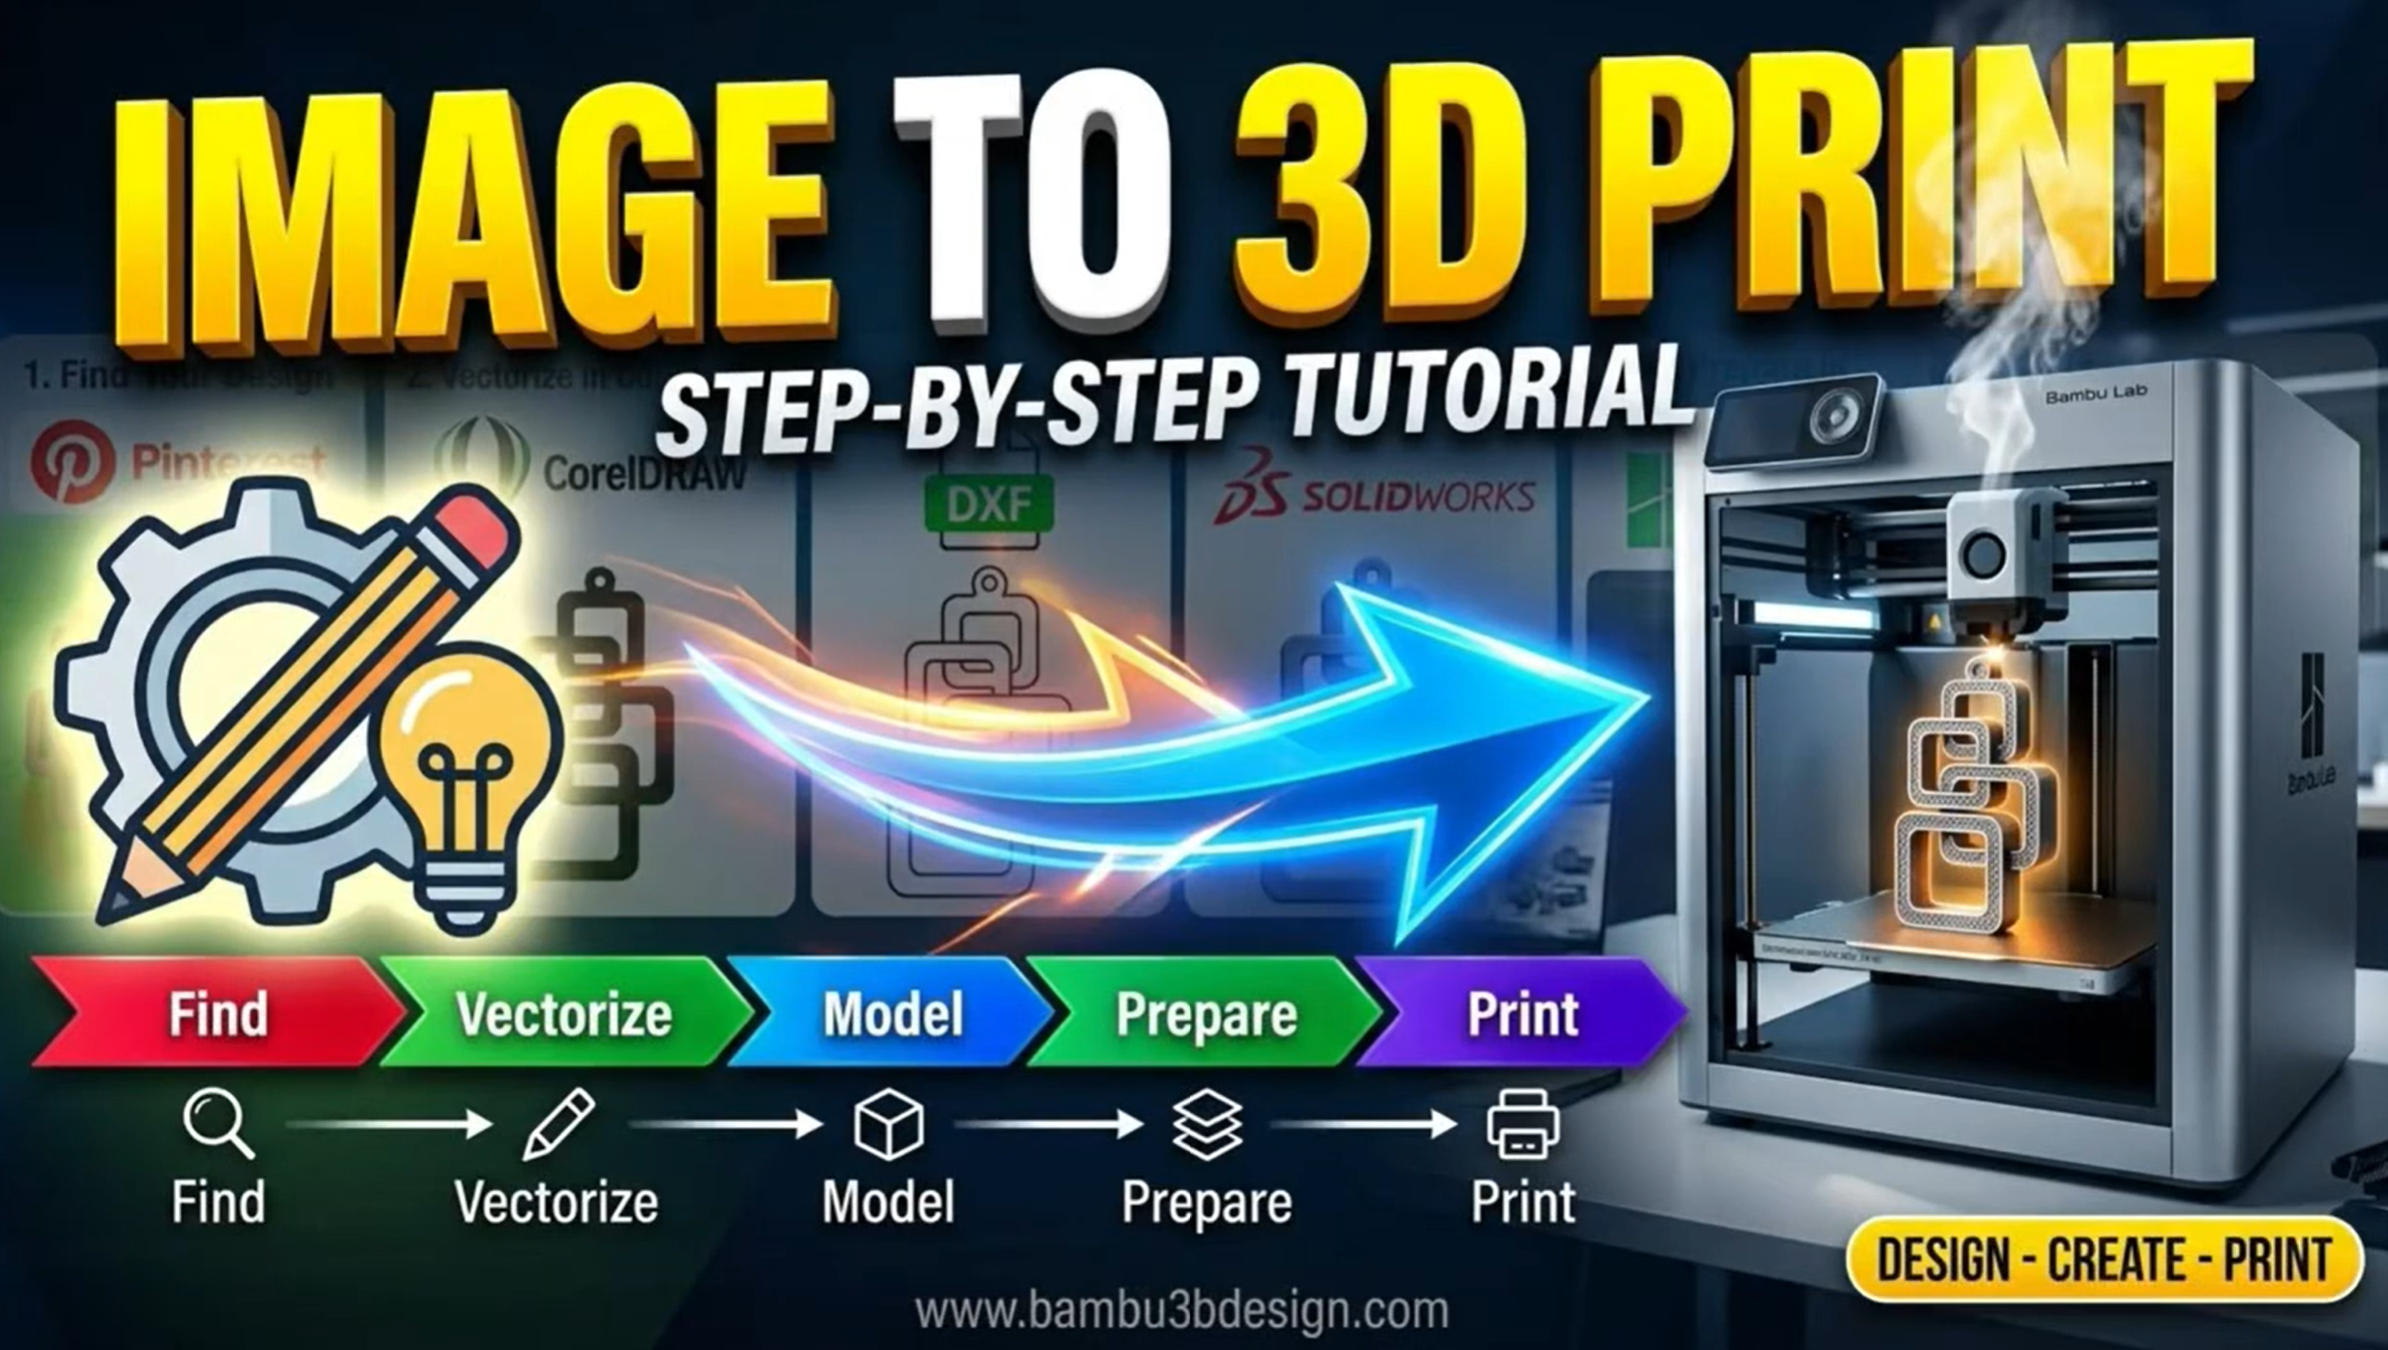
Complete Workflow:
Image → CorelDRAW → DXF → SOLIDWORKS → STL → Bambu Studio → 3D Print
Step 1: Choose a Suitable Image
Start by selecting an image or design that you want to transform into a 3D model.
For the best results, choose an image with:
- A clear front or top view.
- Simple, recognizable shapes.
- Good contrast between the design and background.
- Well-defined outlines.
- Minimal unnecessary details.
Silhouettes, logos, geometric patterns, and decorative artwork are particularly suitable for this technique.
Step 2: Convert the Image into a Vector in CorelDRAW
Import your selected image into CorelDRAW.
Use the tracing tools to convert the raster image into editable vector outlines.
After tracing, clean the design by removing unnecessary elements, adjusting the outlines, and combining the required shapes.
Once your vector design is ready, export it as a DXF file for use in SOLIDWORKS.
Step 3: Import the DXF File into SOLIDWORKS
Open SOLIDWORKS and import the DXF file as a 2D sketch.
Depending on the complexity of your design, you may need to refine the imported geometry.
Use sketch tools such as:
- Trim Entities: Remove unwanted or overlapping sketch segments.
- Extend Entities: Extend lines to close gaps.
- Sketch Editing: Correct disconnected geometry and refine the final outline.
Preparing a clean, closed sketch helps ensure the model can be converted into a solid body.
Step 4: Convert the 2D Sketch into a 3D Model
Once the sketch is ready, use Extruded Boss/Base to give your design thickness.
This transforms the flat 2D geometry into a three-dimensional object.
You can adjust the extrusion thickness depending on your project, whether you’re creating thin decorative earrings, personalized keychains, or thicker ornaments.
After completing the model, export it as an STL file.
Step 5: Prepare the Model in Bambu Studio
Import the STL file into Bambu Studio to prepare your model for 3D printing.
Here, you can customize important printing parameters, including:
- Model size and orientation.
- Layer height.
- Wall generator.
- Ironing settings.
- Infill and wall settings.
- Print quality and slicing options.
Once the settings are ready, slice the model, preview the toolpaths, and send it to your 3D printer.
What Can You Create Using This Method?
This workflow is incredibly versatile and can be used to create a wide variety of personalized 3D-printed projects.
Some examples include:
- Custom earrings and jewelry.
- Personalized pendants.
- Decorative keychains.
- Wall decorations.
- Geometric ornaments.
- Custom name signs.
- Artistic silhouettes.
- Personalized gifts.
- Other simple 2D-to-3D designs.
The possibilities are almost endless!
What You’ll Learn
In this tutorial, you’ll discover:
- How to choose suitable images for 3D modelling.
- How to convert raster images into vector graphics.
- How to clean and prepare vector designs in CorelDRAW.
- How to export vector drawings as DXF files.
- How to import DXF sketches into SOLIDWORKS.
- How to repair sketch geometry using Trim and Extend.
- How to create solid 3D models using Extruded Boss/Base.
- How to export STL files for 3D printing.
- How to adjust slicing settings in Bambu Studio.
- How to transform digital artwork into physical objects.
Watch the Full Step-by-Step Tutorial
I’ve created a complete YouTube tutorial showing the entire process, from selecting an image and converting it into vector geometry to modelling it in SOLIDWORKS and preparing it for 3D printing.
Follow along and learn how to transform your favorite designs into real 3D-printed creations!
Watch the full tutorial on my YouTube channel: Bambu3Design!
Download the 3D Printing Files
Want to try this project yourself?
You can download the finished 3D-printable model featured in the tutorial from my MakerWorld page.
Download the 3D Model:
https://makerworld.com/en/models/3307032-geometric-square-link-earrings
Start Creating Your Own 3D Designs!
Turning 2D images into 3D-printable models is a great way to combine graphic design, CAD modelling, and 3D printing.
Once you’ve learned this workflow, you can experiment with different shapes, patterns, and artistic designs to create your own unique projects.
Explore more SOLIDWORKS tutorials, 3D printing projects, and creative DIY designs at Bambu3Design!
If you enjoyed this tutorial, don’t forget to subscribe to my YouTube channel, share your creations, and explore more step-by-step projects.
Happy Making!