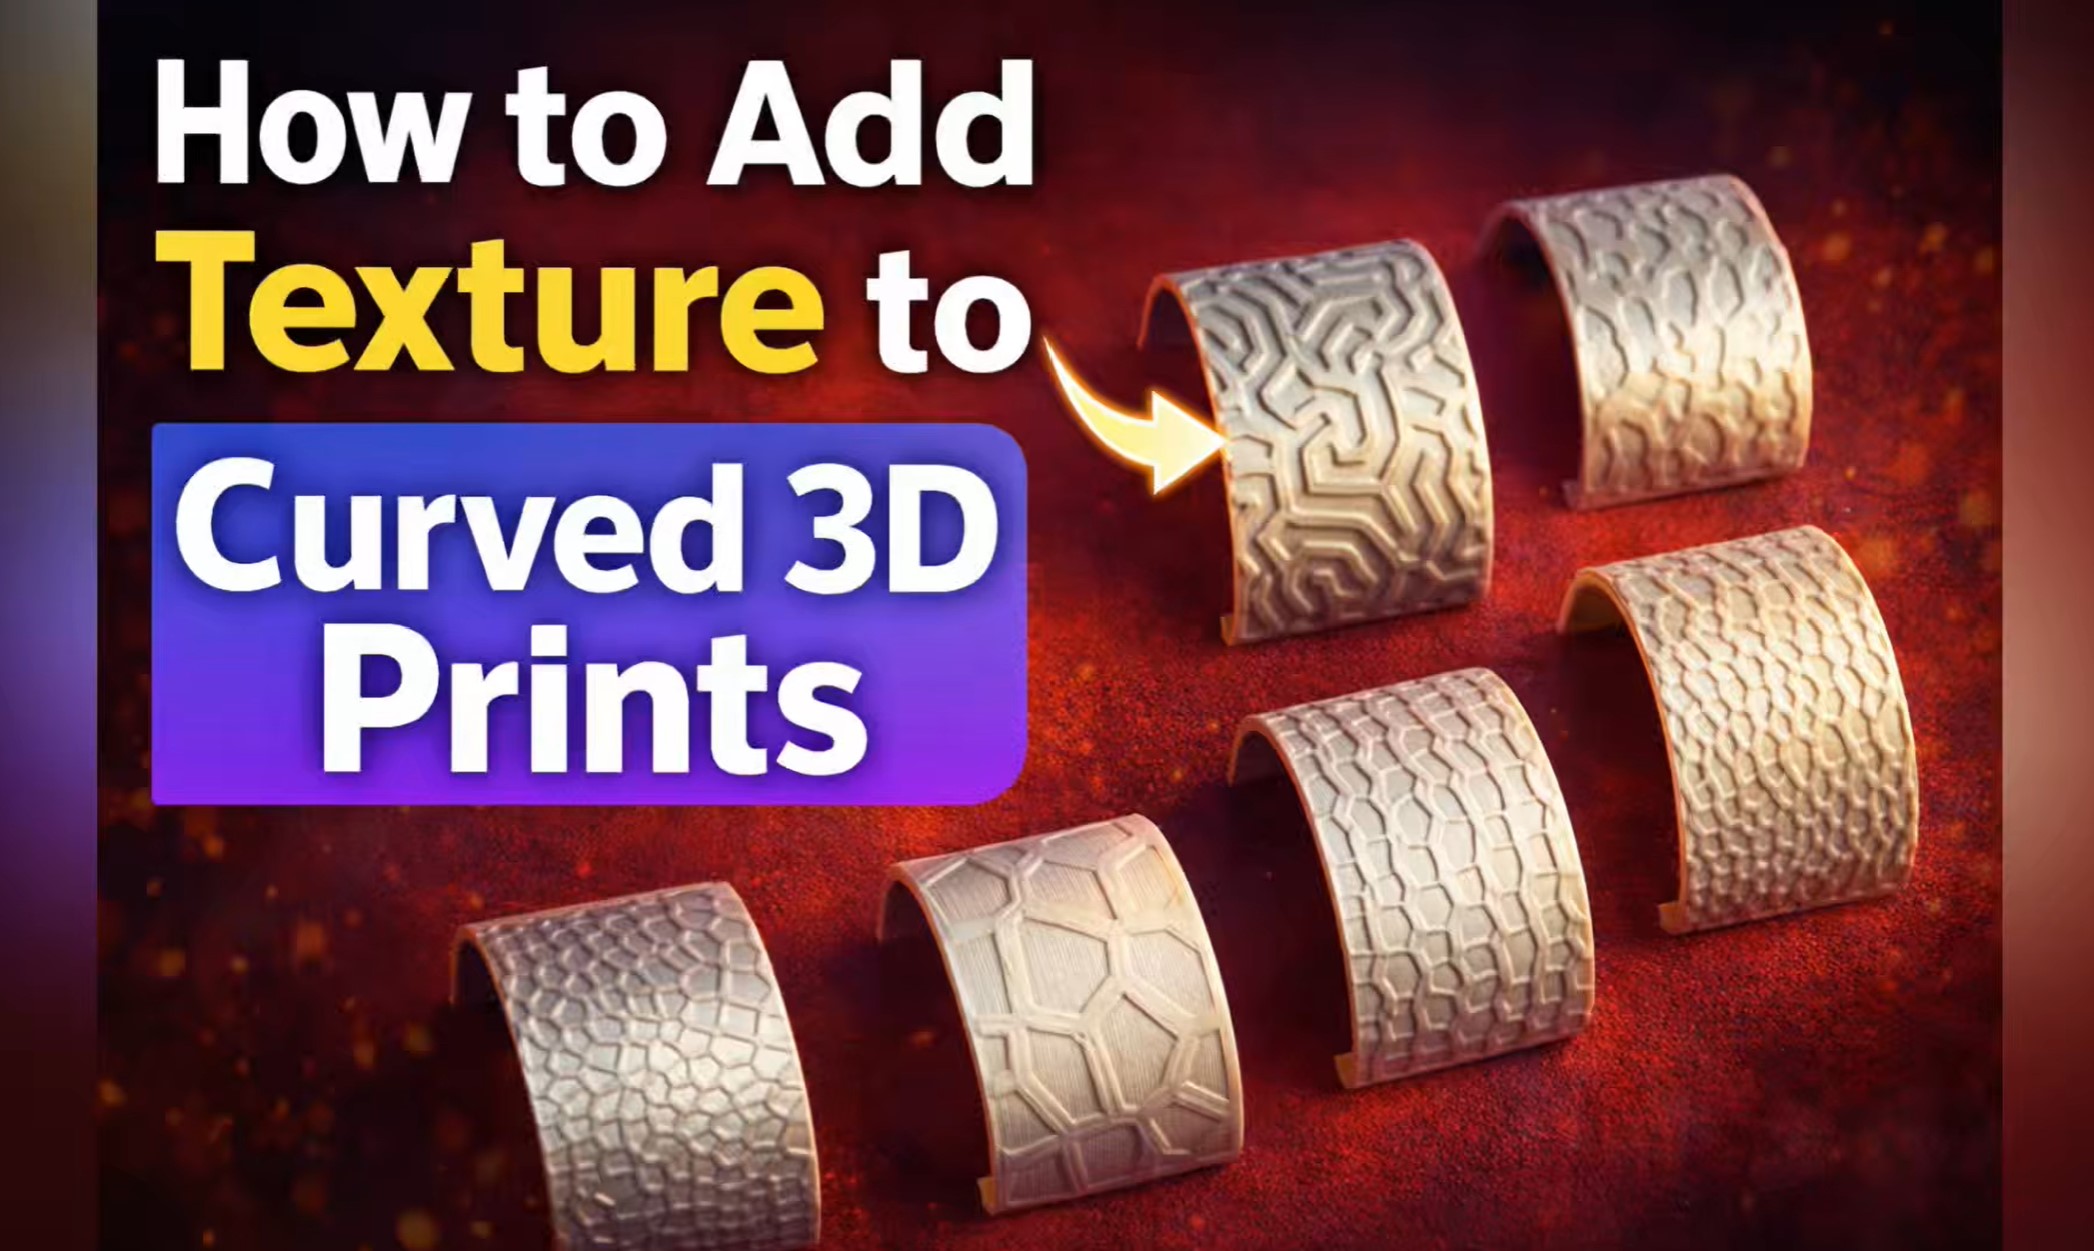
In this video, I show how to add beautiful textures to curved 3D printed surfaces using Bambu Studio.
You will learn how to convert textures to SVG, apply them to a curved model, adjust depth and size, and create realistic surface patterns on your 3D prints.
Steps covered in this tutorial:
- Finding texture images
- Converting images to SVG
- Importing the model into Bambu Studio
- Applying texture to curved surfaces
- Adjusting depth, size, and rotation
- Using Use Surface and Cut options
- Slicing and printing the final model
This technique is perfect for adding custom patterns and textures to your 3D printed parts.
📁 You can download the model and texture files from my MakerWorld page:
https://makerworld.com/models/2535658?appSharePlatform=copy
If you enjoy 3D printing tips and Bambu Studio tutorials, make sure to subscribe for more projects and tricks.