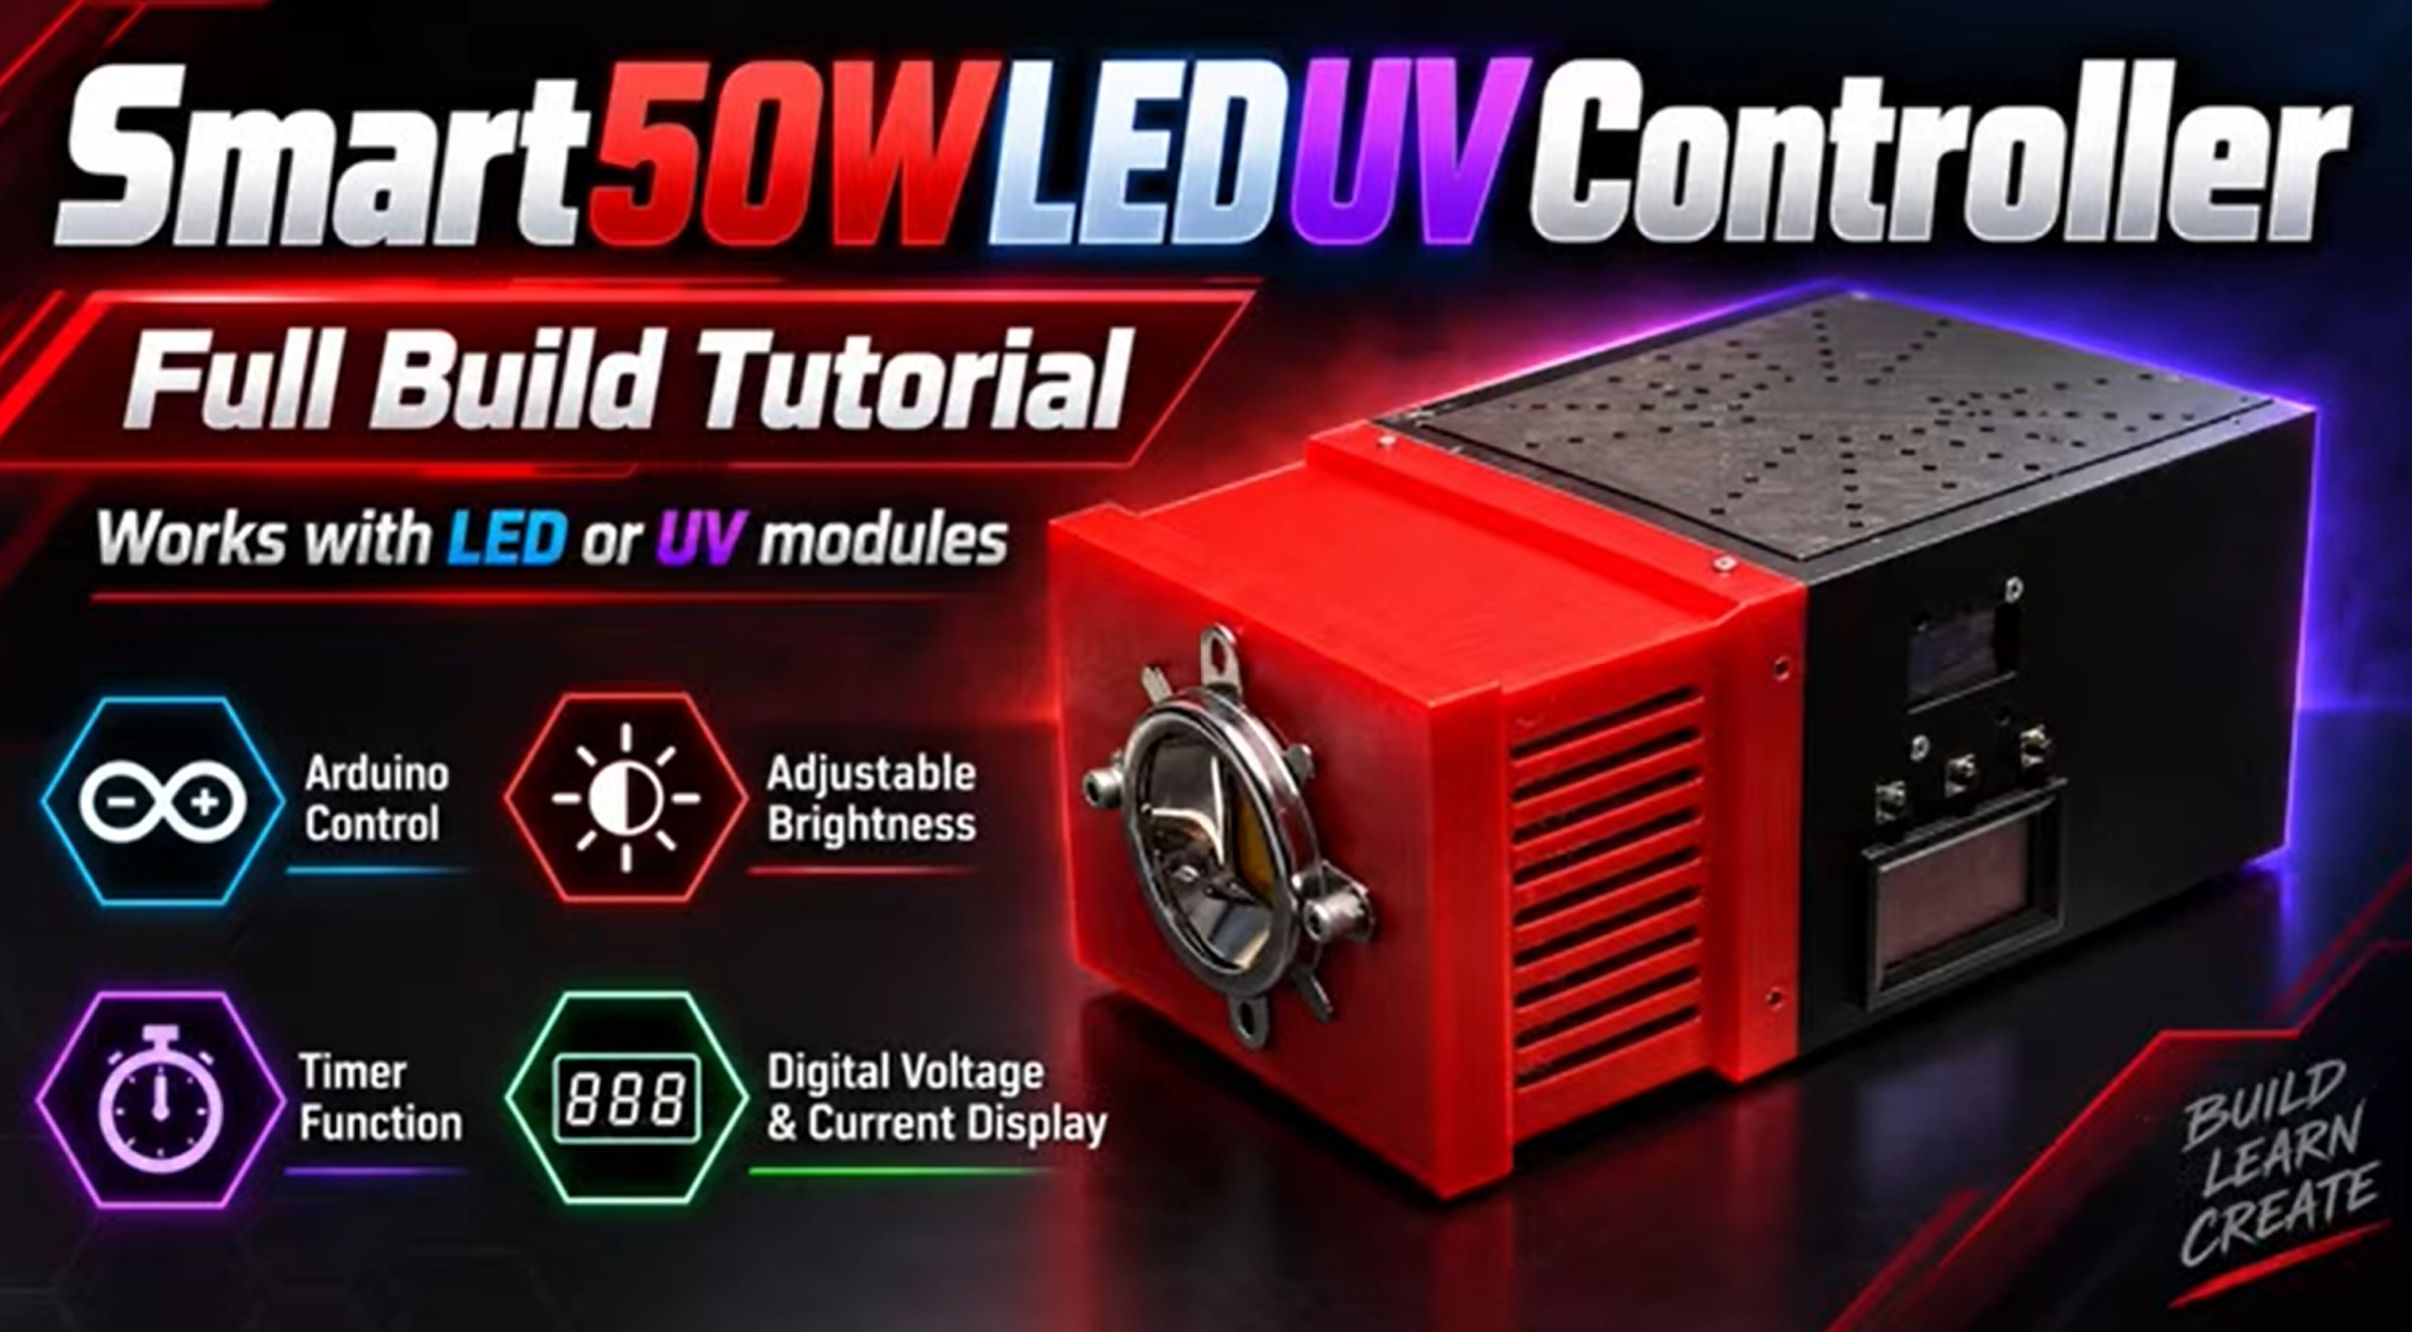
Build your own powerful 50W LED and UV lighting system with adjustable brightness, a programmable timer, OLED display, and a fully 3D-printed enclosure!
In this DIY electronics project, I’ll show you how to build an Arduino-controlled high-power LED lighting system using an Arduino Nano, MOSFET, OLED display, and PWM (Pulse Width Modulation) technology.
The device allows you to adjust LED brightness and operating time using three push buttons, while the OLED screen displays the selected settings. A digital voltmeter and ammeter provide real-time voltage and current measurements.
The system is designed to work with compatible 50W white LED and UV LED modules, making it an interesting project for exploring high-power LED control, Arduino programming, and custom electronics.
Main Features
- 50W High-Power LED Support: Designed for compatible white LED and UV LED modules.
- Adjustable Brightness: Control light intensity using Arduino PWM.
- Timer Control: Set the desired operating duration.
- OLED Display: View brightness and timer settings.
- Three-Button Interface: Easily adjust and navigate settings.
- Voltage and Current Monitoring: Integrated digital voltmeter and ammeter.
- MOSFET Control: Arduino Nano controls the LED through an IRLZ44N N-channel MOSFET.
- Active Cooling: Cooling fan and heat sinks help manage heat.
- 3D-Printed Enclosure: Custom housing for the electronics, controls, and lighting components.
How Does the Arduino LED Controller Work?
The Arduino Nano acts as the main controller, generating a PWM signal to control an N-channel MOSFET.
By adjusting the PWM duty cycle, the system changes the LED’s average power and apparent brightness.
Three push buttons allow users to change the brightness and timer settings, which are displayed on the OLED screen.
A CC/CV boost converter provides an adjustable voltage and current-limited power supply for the high-power LED.
A digital voltmeter/ammeter monitors the electrical operating conditions.
The electronics are housed inside a custom 3D-printed enclosure with cooling components to help manage the heat generated during operation.
Components You’ll Need
Microcontroller and Control Electronics
- Arduino Nano
- Arduino Nano Screw Terminal Adapter
- IRLZ44N N-Channel MOSFET
- OLED Display
- 3 × Push Buttons
- 10kΩ Resistor
- 100–220Ω Resistor
High-Power LED and Power Electronics
- 50W High-Power White LED (30–36V, 1.5A)
- 50W UV LED (365–370 nm, 30–34V, 1.5A)
- 400W CC/CV Boost Converter
- MP1584EN 5V Step-Down Module
- Digital DC Voltmeter/Ammeter
- DC Power Jack
- ON/OFF Rocker Switch
Cooling and Assembly
- 12V Cooling Fan
- LED Heat Sink
- MOSFET Heat Sink
- Thermal Paste
- LED Reflector Lens
- Heat-Shrink Tubing
- Wires, Screws, and Connectors
- 3D-Printed Enclosure
What You’ll Learn
In this project, you’ll explore:
- How to control a high-power LED using Arduino Nano.
- How PWM brightness adjustment works.
- How to use a MOSFET to switch an LED load.
- How to implement adjustable timer control.
- How to display operating settings on an OLED screen.
- How to monitor voltage and current.
- How to configure a CC/CV boost converter.
- How to integrate cooling components into a 3D-printed enclosure.
- How to assemble and test the completed LED controller.
Watch the Full Project Video
I’ve created a YouTube video demonstrating the project, its main components, Arduino-based controls, and operation.
Watch the video on my YouTube channel: Bambu3Design!
Download the Arduino Code
Want to build your own adjustable LED and UV lighting controller?
The Arduino Nano code is available on my website.
Download the Arduino Code:
Download the 3D Printing Files
The complete 3D-printable enclosure files are available on my MakerWorld page.
Download the 3D Printing Files:
https://makerworld.com/en/models/3329435-smart-high-power-led-uv-controller
Important Safety Information
High-Power LED Safety: High-power LEDs generate substantial heat. Always use suitable heat sinks, thermal paste, and active cooling. Configure the power supply’s current and voltage limits according to the specifications of the selected LED module.
UV Radiation Warning: The 365–370 nm UV LED can cause serious eye and skin injury. Never look directly at an operating UV LED or expose unprotected skin to its radiation. Use an appropriate UV-blocking enclosure, suitable protective equipment, and electrical interlocks. A timer alone is not a sufficient safety measure.
The 3D-printed housing should also be evaluated for temperature resistance and kept away from excessively hot components.
Build Your Own Arduino LED Controller!
This project combines Arduino programming, power electronics, PWM control, 3D printing, and thermal management in a practical DIY build.
Experiment with brightness adjustment, timer settings, and electronic control while learning more about high-power lighting systems.
Explore more Arduino projects, DIY electronics, and creative 3D printing tutorials at Bambu3Design!
Don’t forget to subscribe to my YouTube channel for more exciting DIY engineering pr