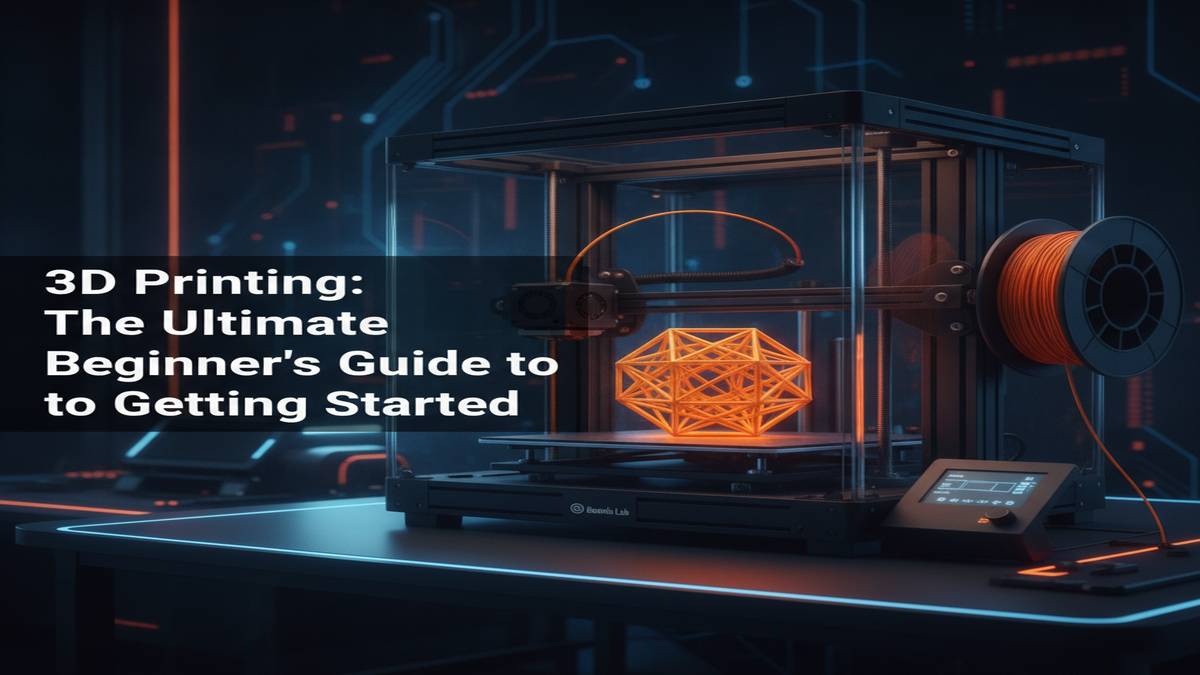
3D Printing: The Ultimate Beginner’s Guide to Getting Started
Welcome to the incredibly exciting and innovative world of 3D printing! If you’re here, chances are you’ve seen amazing creations, heard about the possibilities, and are wondering how you can get started yourself. You’re in the right place. This ultimate beginner’s guide will demystify 3D printing, giving you a clear roadmap from curiosity to your first successful print.
3D printing might seem complex at first, but with the right guidance, anyone can learn to bring their digital designs to life. Let’s break down the essentials and get you started on your maker journey!
What is 3D Printing, Anyway?
At its core, 3D printing is an additive manufacturing process. Unlike traditional manufacturing which often involves cutting material away from a larger block (subtractive), 3D printing builds an object layer by painstaking layer, from the ground up. Think of it like drawing thousands of incredibly thin slices of your object, one on top of the other, until the complete 3D shape emerges.
This revolutionary technology allows us to create complex geometries, custom parts, and functional prototypes that were once impossible or prohibitively expensive to produce. From intricate miniatures to practical tools and even artistic sculptures, the possibilities are virtually limitless.
How Does 3D Printing Work? The Basic Idea
While there are several different technologies, most desktop 3D printers you’ll encounter as a beginner operate on a similar principle: depositing or solidifying material in a specific pattern, one thin layer at a time.
Imagine taking a digital 3D model, slicing it into hundreds (or thousands) of horizontal cross-sections, and then printing each cross-section sequentially. As each new layer is added and solidifies on top of the previous one, the object slowly takes its physical form.
Types of 3D Printers for Beginners
For newcomers, two main types of 3D printers dominate the hobbyist and prosumer market: FDM and Resin (SLA/DLP/LCD).
1. FDM (Fused Deposition Modeling) Printers
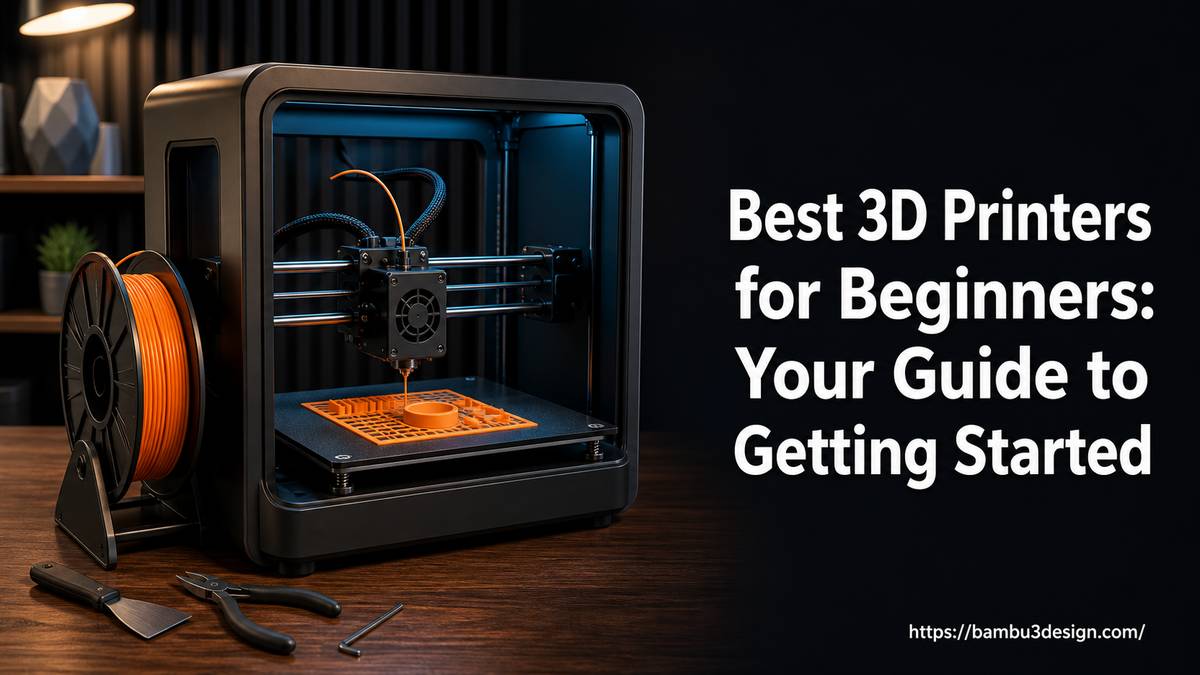
FDM printers are the most common and often the best starting point for beginners. They work by heating a plastic filament and extruding it through a nozzle, depositing molten plastic onto a build plate, layer by layer.
Pros for Beginners:
- Easier to learn: Generally simpler setup and less post-processing compared to resin.
- More affordable: Entry-level FDM printers are budget-friendly.
- Wider material choice: Can use various plastics like PLA, PETG, ABS, TPU.
- Less messy: Deals with solid plastic filament, not liquid resin.
- Larger print volumes: Often have bigger build areas for larger objects.
Cons:
- Lower detail: Layer lines are often visible, and fine details can be less crisp.
- Slower for small, intricate parts: Printing very detailed miniatures can be challenging.
Popular Brands: Bambu Lab (e.g., P1P, X1C), Creality (e.g., Ender series), Prusa (e.g., MK4).
2. Resin (SLA/DLP/LCD) Printers
Resin printers use a liquid photopolymer resin that cures (hardens) when exposed to a specific wavelength of light. A build plate descends into a vat of resin, and a light source projects an image of each layer, hardening the resin onto the plate.
Pros for Beginners:
- Incredible detail: Produces exceptionally smooth surfaces and fine features, perfect for miniatures and prototypes.
- Faster for small batches: Can print many small, detailed objects simultaneously without speed degradation.
Cons:
- More complex workflow: Requires careful handling of liquid resin, ventilation, and extensive post-processing (washing, curing).
- More messy: Involves gloves, isopropyl alcohol, and UV light for safety and cleaning.
- Smaller build volumes: Typically have smaller printing areas.
- Fewer material options (for beginners): Primarily standard resins, though specialty resins exist.
- Resin fumes: Requires proper ventilation due to odors.
Popular Brands: Elegoo (e.g., Mars series), Anycubic (e.g., Photon series).
Which one should you choose? For most absolute beginners, an FDM printer is highly recommended due to its ease of use, lower cost, and less hazardous materials. If your primary goal is highly detailed models like tabletop miniatures, then a resin printer might be worth the extra learning curve and safety precautions.
Essential 3D Printing Materials
Just as important as your printer is the material you choose to print with. Each material has unique properties suitable for different applications.
For FDM Printers:
- PLA (Polylactic Acid): The king for beginners! Easy to print, low odor, derived from renewable resources. Great for decorative items, prototypes, and models where strength isn’t critical.
- PETG (Polyethylene Terephthalate Glycol): A step up from PLA, offering more strength, flexibility, and temperature resistance. It’s a bit trickier to print than PLA but still beginner-friendly.
- ABS (Acrylonitrile Butadiene Styrene): Strong, durable, and temperature-resistant, but produces fumes and requires an enclosed printer. Good for functional parts.
- TPU (Thermoplastic Polyurethane): Flexible, rubber-like material. Great for phone cases, gaskets, or anything requiring flexibility.
For Resin Printers:
- Standard Resin: The most common type. Good for detailed models, figures, and prototypes. Available in various colors.
The 3D Printing Workflow: From Idea to Object
Regardless of your printer type, the general process remains the same:
1. Design (or Find) Your 3D Model
Every 3D print starts with a digital 3D model. You have two main options:
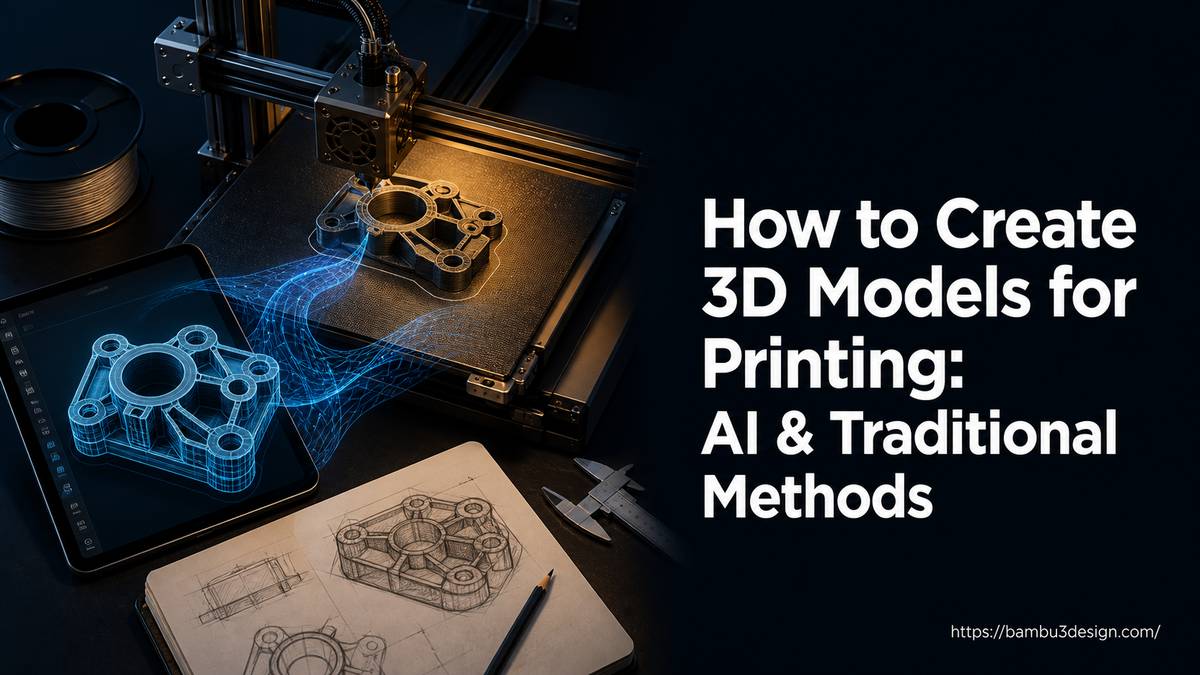
- Create Your Own: Use CAD (Computer-Aided Design) software like Fusion 360, SolidWorks, FreeCAD, or even modeling software like Blender (with CAD add-ons for precision) to design your own object. This gives you ultimate control.
- Download Existing Models: Websites like Thingiverse, Printables, and MyMiniFactory host millions of free (and paid) 3D models (typically in STL, OBJ, or 3MF formats) that you can download and print immediately. This is an excellent starting point for beginners!
2. Slice Your Model (Slicer Software)
Once you have your 3D model, you need to prepare it for your printer. This is where slicer software comes in. Programs like Bambu Studio, OrcaSlicer, Cura, or PrusaSlicer take your 3D model (e.g., an STL file) and literally “slice” it into hundreds of thin layers. It then generates a set of instructions called G-code.
Key Slicer Settings You’ll Encounter:
- Layer Height: How thick each printed layer is (thinner = more detail, longer print time).
- Infill: The internal structure of your print (e.g., 20% infill for strength vs. hollow for speed).
- Print Temperature: Nozzle and bed temperatures specific to your filament.
- Print Speed: How fast your printer moves (slower = higher quality, longer print time).
- Supports: Generated structures to prevent overhangs from collapsing.
- Brim/Raft/Skirt: Aids in bed adhesion and prevents warping.
3. Print It!
Load the generated G-code file onto your 3D printer (usually via an SD card, USB drive, or Wi-Fi). Ensure your printer is calibrated (especially bed leveling!) and has the correct filament or resin loaded. Then, hit print!
4. Post-Processing
After your print finishes:
- FDM: Remove the print from the build plate, snap off any support structures, and clean up any stringing with a hobby knife or pliers.
- Resin: Carefully remove the print from the build plate, wash it in isopropyl alcohol (IPA) to remove uncured resin, and then cure it under a UV light (or sunlight) to fully harden.
Tips for a Successful First Print
- Start Simple: Don’t try to print an elaborate functional engine as your first model. Begin with simple test prints like a calibration cube, a small figurine, or a print-in-place toy. This helps you get familiar with your printer and slicer.
- Level Your Print Bed: This is perhaps the most critical step for FDM printers. An unlevel bed leads to failed prints. Many modern printers (like Bambu Lab) have auto-bed leveling, but manual checks are sometimes needed.
- Ensure Good Bed Adhesion: Your first layer sticking to the print bed is paramount. Use gluestick, hairspray, or painter’s tape if recommended for your bed type and material. Clean your bed regularly!
- Understand Your Slicer: Don’t just hit “print” with default settings. Spend time watching tutorials on your chosen slicer (Bambu Studio, Cura, PrusaSlicer) to understand what each setting does. Start with recommended profiles for your printer and filament, then tweak gradually.
- Use Quality Filament/Resin: Cheap materials can lead to endless frustration. Invest in good quality filament or resin from reputable brands.
- Don’t Be Afraid to Fail: 3D printing involves trial and error. Every failed print is a learning opportunity. Analyze what went wrong, adjust your settings, and try again!
Common Beginner Mistakes to Avoid
- Ignoring Bed Leveling: Can’t stress this enough. It’s the #1 cause of first-layer problems.
- Printing Too Fast: Beginners often try to rush. Slower speeds usually result in higher quality prints, especially at the start.
- Forgetting Supports: Overhangs need support! If a part of your model prints in mid-air, it will likely fail without supports.
- Using Wet Filament: PLA, PETG, and other filaments absorb moisture from the air, leading to poor print quality (stringing, weak layers). Store filament in dry conditions.
- Not Cleaning the Print Bed: Grease from your fingers or dust can prevent proper adhesion.
- Over-reliance on Default Settings: While a good starting point, default slicer settings might not be perfect for every filament or model. Learn to experiment.
Taking the Next Step
Congratulations, you’ve taken the first step into the incredible world of 3D printing! As you gain experience, you’ll explore more advanced techniques, materials, and printer modifications. Don’t hesitate to join online communities, watch more tutorials, and keep experimenting.
The journey of 3D printing is a continuous learning process, filled with discovery and creation. From a practical tool for DIY projects to a powerful artistic medium, 3D printing offers endless opportunities. Happy printing!