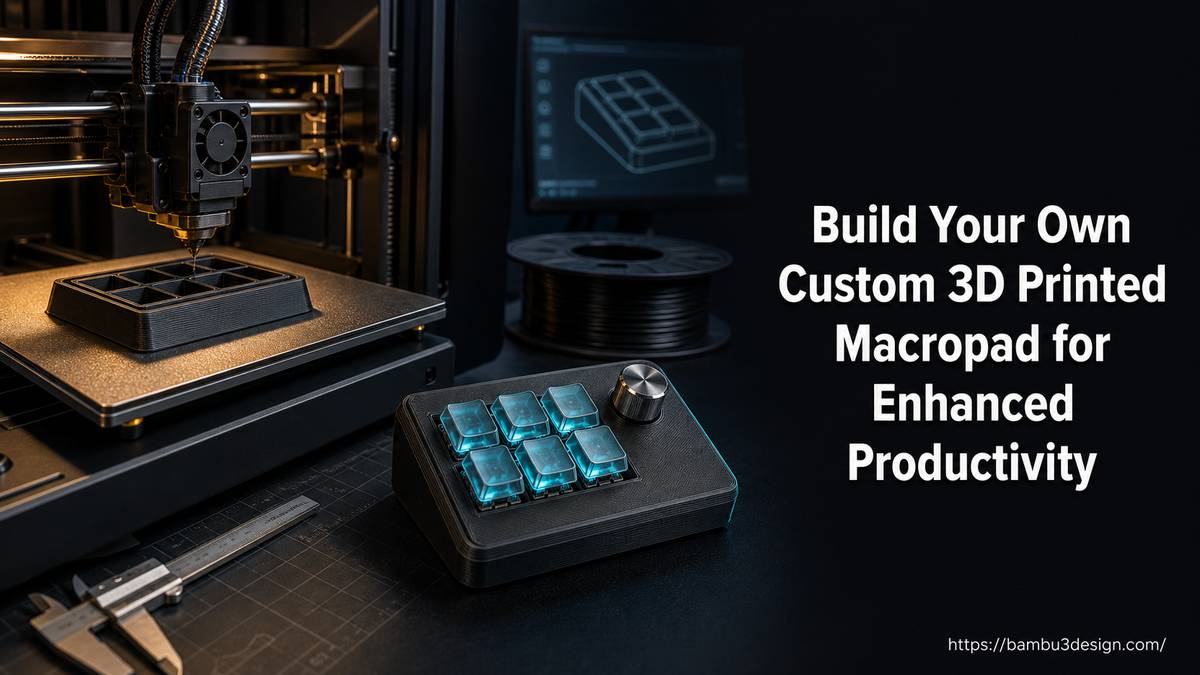
Build Your Own Custom 3D Printed Macropad for Enhanced Productivity
In an increasingly digital world, efficient workflow and personalized control over your tools are paramount. Many users find themselves limited by generic keyboard shortcuts or expensive commercial controllers for tasks ranging from CAD design and graphic editing to smart home management. The solution lies in a custom 3D printed macropad – a compact, programmable keyboard designed specifically for your needs.
A 3D printed macropad allows you to assign custom keyboard shortcuts and functions to dedicated buttons, rotary encoders, and displays. This guide will walk you through the process of designing, assembling, and programming your own 3D printed macropad, leveraging the power of 3D printing and accessible electronics to create a tool perfectly tailored to your workflow.
What is a 3D Printed Macropad and Why Build One?
A macropad, often called a macro keyboard or mini keyboard, is a small, customizable input device. Unlike a standard keyboard, it’s designed to perform specific functions or execute complex macros with a single press of a button or turn of a knob. When combined with 3D printing, the possibilities for customization are virtually limitless. Builders can create unique enclosures, ergonomic layouts, and integrate specific components for their particular applications.
Enhanced Workflow and Productivity
The primary advantage of a macropad is its ability to streamline repetitive tasks and provide quick access to frequently used commands. For professionals and hobbyists alike, this translates to significant time savings and reduced cognitive load:
- CAD and Design Software: Engineers and designers can assign macros for complex operations in software like Fusion 360 or KiCad, switching tools, applying filters, or adjusting brush sizes with a single button press. This reduces menu navigation and keeps your focus on the design.
- Smart Home Control: A custom macropad can become a central hub for your smart home devices, allowing you to control lights, adjust brightness, or activate scenes with dedicated physical buttons. This offers a more tactile and immediate experience than app control.
- General Computing: From multimedia control to launching applications, a macropad can simplify many everyday computer interactions.
Cost-Effectiveness
Commercial macro controllers or stream decks can be quite expensive, especially those with advanced features. By building a 3D printed macropad, you can significantly reduce costs. The electronic components are generally inexpensive and readily available, and 3D printing the enclosure makes it far more economical than purchasing a manufactured unit.
Unmatched Customization
This is where 3D printing truly shines. You have complete control over:
- Layout: Determine the number and arrangement of keys, encoders, and displays.
- Ergonomics: Design a case that perfectly fits your desk setup and hand position.
- Aesthetics: Choose specific filament colors and types, like Prusament Woodfill for a natural look, or even combine multiple materials for intricate designs. Multi-material 3D printers, such as the Prusa CORE One+ INDX or Prusa XL with MMU3, allow for minimal filament waste and complex color schemes. Even with a single-tool printer, careful filament swaps can achieve impressive results.
Essential Components for Your 3D Printed Macropad
Building a functional macropad involves a few key electronic components, alongside your 3D printed enclosure. Most parts are inexpensive and easy to source.
-
Microcontroller Board: This is the brain of your macropad. Popular choices include:
- ESP32-based boards: Excellent for smart home integration due to built-in Wi-Fi, allowing control over networked devices. Many compact options are available.
- Seeed Studio Xiao RP2040 module: Valued for its ample flash memory, numerous GPIO pins, and convenient built-in USB-C connector. It’s a strong choice for projects requiring many inputs.
- Raspberry Pi Pico W: Offers Wi-Fi connectivity, making it suitable for fetching online data (like weather) or connecting to network services. It’s a compact and powerful option.
Key consideration: Ensure your chosen board has enough General Purpose Input/Output (GPIO) pins for all your desired buttons, encoders, and displays. For larger projects, an I/O expander can be used to increase the number of available inputs.
-
Mechanical Keyboard Switches: These provide the tactile feedback and durability characteristic of high-quality keyboards. Cherry MX-style switches are a common standard, offering various actuation forces and sound profiles. You’ll need one switch per button.
-
Keycaps: These fit onto your mechanical switches. You can purchase standard keycaps or even 3D print custom ones to match your macropad’s theme and functionality.
-
Rotary Encoders: These knobs provide continuous input, ideal for adjusting brightness, volume, scrolling through lists, or zooming in CAD software. Many encoders also feature a built-in push switch, allowing for additional functionality (e.g., toggling display dimming or confirming a selection).
-
OLED Display (Optional): A small OLED screen (e.g., 0.96 inches) can display useful information like the active light scene, current weather data, or the function of the macropad’s layers. This adds significant utility and a professional touch.
-
RGB LEDs (Optional): For visual flair and functional feedback, RGB LEDs can be integrated. They can indicate different modes, temperatures, or simply add ambient lighting.
-
Resistors and Wiring: Standard electronic resistors (e.g., 220Ω) are often needed for LEDs or pull-up/down configurations for switches and encoders. Jumper wires or custom PCBs connect all components.
Designing Your Custom 3D Printed Macropad Enclosure
The 3D printed enclosure is where your project truly takes shape, housing all the electronics and providing the aesthetic appeal.
CAD Software for Enclosure Design
Designing your macropad’s case requires Computer-Aided Design (CAD) software. Tools like Fusion 360 are excellent for this purpose, offering robust modeling capabilities for precise component fitting and ergonomic shaping. Other options include SolidWorks, FreeCAD, or Blender if you prefer a different workflow.
When designing, consider:
- Component Mounting: Create precise cutouts and mounting points for the microcontroller, switches, encoders, and display. Ensure proper clearance for wiring.
- Accessibility: Plan for easy access to USB ports for programming and any battery compartments if making a wireless unit.
- Ergonomics: Angle the macropad, add rubber feet, or design wrist rests for comfortable long-term use.
Choosing the Right 3D Printing Material
The material you choose for your enclosure impacts its durability, finish, and aesthetic. PLA and PETG are common and reliable choices:
- PLA (Polylactic Acid): Easy to print, offers a wide range of colors, and good for detailed parts. Ideal for prototypes and indoor use.
- PETG (Polyethylene Terephthalate Glycol): More durable and temperature-resistant than PLA, making it suitable for a device that might experience some wear and tear or minor heat.
- Woodfill Filament: For a premium, natural aesthetic, woodfill filaments can be used. They require careful temperature management but offer a unique texture and appearance, especially when combined with other colors.
- ABS/ASA: For maximum durability and heat resistance, especially if the macropad will be exposed to sunlight or higher temperatures.
Printing Considerations
Modern 3D printers, including those from Bambu Lab, offer features that can enhance your macropad print:
- Multi-Material Printing: If you have a multi-color system like the Bambu Lab AMS (Automatic Material System) or similar multi-material units (like Prusa’s MMU3), you can print intricate color combinations for your case and keycaps with minimal waste. This allows for branding, functional color-coding, or purely aesthetic designs.
- Single-Tool Printing: Even with a single-extruder printer, you can achieve multi-color effects by pausing the print at specific layers and manually swapping filaments. While this generates more purge waste, it’s a viable option for adding visual interest.
- Print Orientation and Supports: Optimize the print orientation to minimize the need for support structures and improve surface finish, especially on visible faces.
- Infill and Wall Thickness: Choose appropriate infill percentages and wall thicknesses to ensure structural rigidity without excessive material consumption.
Bringing Your Macropad to Life: Electronics and Firmware
Once your 3D printed enclosure is ready, the next steps involve integrating the electronics and programming the macropad’s functionality.
PCB Design and Assembly
For more advanced builders, designing a custom Printed Circuit Board (PCB) can make assembly cleaner and more reliable. Software like KiCad is commonly used for PCB layout. A custom PCB simplifies wiring, making the project more robust and repeatable. While building a custom PCB might involve soldering components using a reflow oven or hand soldering, many beginners can start with a breadboard or perfboard setup to prototype and then move to a simpler point-to-point wiring scheme before attempting a full PCB.
Firmware and Programming
The firmware is the software that runs on your microcontroller, interpreting button presses and encoder turns into commands for your computer or smart home system.
- QMK Firmware: This is a popular, open-source firmware framework for mechanical keyboards. QMK provides extensive customization options, including keymaps, layers, macros, and RGB lighting control. Many macropad projects utilize QMK for its flexibility.
- Vial: A graphical user interface (GUI) tool that works with QMK firmware, allowing users to easily program and reconfigure keymaps and macros without recompiling firmware. It greatly simplifies the customization process.
- Arduino IDE/MicroPython: For ESP32 or Raspberry Pi Pico W boards, you can program the macropad using the Arduino IDE or MicroPython. This is especially useful for smart home applications, where you might integrate Wi-Fi connectivity to send commands to smart devices (e.g., via MQTT or API calls).
The programming process typically involves:
- Setting up the development environment: Install necessary software (e.g., Arduino IDE, QMK Toolbox, compiler for your chosen microcontroller).
- Writing or adapting code: Define what each button, encoder, and display does. For smart home applications, this involves integrating Wi-Fi and communication protocols.
- Flashing the firmware: Upload the compiled code to your microcontroller board.
- Testing: Verify that all inputs work as expected and output the correct commands.
Tips for a Successful 3D Printed Macropad Project
Embarking on a custom electronics project can be challenging but rewarding. Here are some tips to help you succeed:
- Start Simple and Learn as You Go: Don’t be afraid to dive in. Many makers recommend starting your project and learning along the way, as this is how practical skills are truly developed. Begin with a basic design (e.g., a 3×3 macropad with just buttons) and gradually add complexity.
- Leverage Online Resources: Websites like Printables.com host numerous 3D printed macropad designs and STL files. Exploring existing projects can provide inspiration, ready-to-print enclosures, or a starting point for your own modifications.
- Test Components Individually: Before final assembly, test each electronic component (switches, encoders, displays) to ensure they are working correctly. This simplifies troubleshooting.
- Plan Your Wiring: Create a clear wiring diagram before soldering or connecting components. This prevents errors and makes the assembly process smoother.
- Consider Future Expansion: Design your enclosure with some flexibility in mind if you anticipate adding more features later. A modular design can be beneficial.
Conclusion
A 3D printed macropad is more than just a gadget; it’s a powerful tool for personalizing your digital workspace and enhancing productivity. By combining the versatility of 3D printing with readily available electronics, you can create a device perfectly tailored to your unique needs, whether for accelerating your CAD workflow, controlling your smart home, or simply making your daily computer interactions more efficient. Embrace the DIY spirit, learn as you build, and enjoy the satisfaction of creating a truly custom solution.