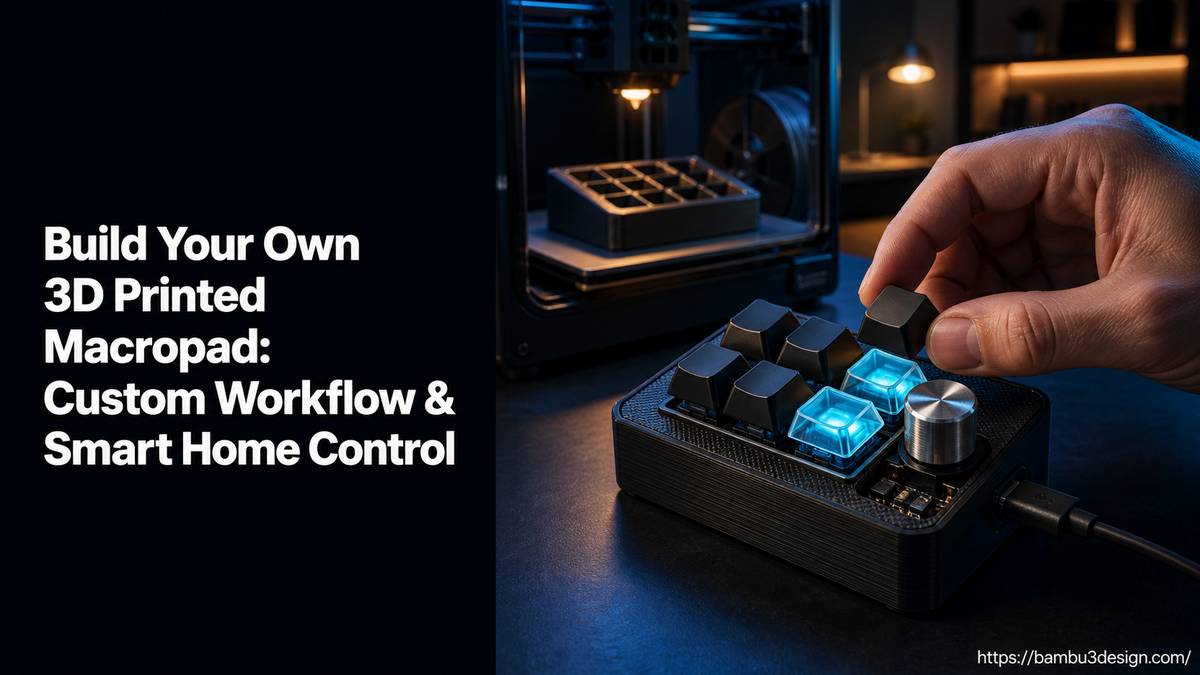
Build Your Own 3D Printed Macropad: Custom Workflow & Smart Home Control
In the world of digital productivity and smart home automation, efficiency is key. While commercial solutions exist, they often come with high price tags and limited customization. For makers, engineers, designers, and smart home enthusiasts, a 3D printed macropad offers an unparalleled opportunity to create a personalized control device tailored to exact needs.
A macropad is essentially a mini-keyboard with a small number of keys, a rotary encoder, or even a small display, all configurable to perform complex actions with a single press or turn. Whether you’re looking to streamline your CAD workflow, execute multiple commands in a game, or effortlessly manage your smart lighting, a custom 3D printed macropad provides a versatile and cost-effective solution.
This guide will walk you through the essential aspects of designing and building your own 3D printed macropad, leveraging the power of additive manufacturing to create a truly unique and functional desktop accessory.
What is a 3D Printed Macropad?
At its core, a macropad is a programmable input device designed to simplify complex tasks. Unlike a standard keyboard, where keys have fixed functions, a macropad’s keys can be assigned to perform a sequence of actions, trigger keyboard shortcuts, launch applications, or even control external smart devices. The \”3D printed\” aspect refers to the custom enclosure and often other structural components being fabricated using a 3D printer, allowing for limitless aesthetic and ergonomic possibilities.
These small peripherals are gaining popularity among a diverse community, from software developers and graphic designers seeking to accelerate their workflows to gamers needing quick access to in-game commands, and even smart home aficionados desiring dedicated physical controls.
Why Build Your Own Custom 3D Printed Macropad?
The appeal of building a custom 3D printed macropad goes beyond just having a cool gadget on your desk. It addresses several practical needs and offers unique advantages:
- Cost-Effectiveness: Commercial smart controllers and specialized input devices can be expensive. By sourcing individual electronic components and 3D printing the enclosure, you can significantly reduce the overall cost, often to a fraction of retail prices.
- Unrivaled Customization: This is where 3D printing shines. You have complete control over the layout, number of keys, inclusion of rotary encoders or displays, and the aesthetic design of the enclosure. You can match it perfectly to your desk setup, incorporate ergonomic features, or even design it to hold specific components.
- Enhanced Workflow and Productivity: Assign multi-step operations to a single button press. For CAD users (e.g., Fusion 360, KiCad), this means instant access to frequently used tools. For creatives, it could be applying filters or changing brush sizes in design software. Smart home users can control lights, thermostats, or media systems with dedicated physical buttons.
- A Rewarding Learning Experience: Building a macropad is an excellent project for honing skills in electronics, programming (firmware), CAD design, and 3D printing. It’s complex enough to be challenging but manageable for a determined beginner.
- Personalized Gifting: A custom-made macropad makes for a thoughtful and highly personalized gift for friends or family who could benefit from a dedicated workflow tool or smart home controller.
Key Components of a Custom Macropad
Building a macropad involves integrating several electronic components into a cohesive system. The exact components will depend on your desired functionality.
Microcontroller
The \”brain\” of your macropad, responsible for processing key presses and executing programmed commands. Key considerations include the number of GPIO (General Purpose Input/Output) pins, flash memory, and connectivity options.
- ESP32 Boards: Excellent choice for smart home integration due to built-in Wi-Fi, allowing control of connected devices. Provides ample GPIO pins for switches, encoders, and displays.
- RP2040 Boards (e.g., Seeed Studio Xiao RP2040, Adafruit MacroPad RP2040): Known for their processing power and generous GPIO pins, often featuring a convenient built-in USB-C connector. Ideal for complex keyboard functions and multi-button layouts.
- Arduino-compatible Boards: A good starting point for simpler macropads, offering a vast community and easy-to-use development environment.
Switches and Encoders
These are your primary input mechanisms.
- Mechanical Keyboard Switches: Provide tactile feedback and durability. The choice of switch type (e.g., clicky, tactile, linear) allows for further personalization.
- Rotary Encoders: Offer continuous input, perfect for adjusting volume, screen brightness, or cycling through options. Many encoders also feature a built-in push switch for additional functionality, such as toggling modes (e.g., dimming a display, then switching back to light control).
Input/Output (I/O) Expanders
For macropads with a large number of buttons (e.g., a 4×5 matrix of 20 keys), an I/O expander can be used to increase the number of available inputs without exhausting the microcontroller’s GPIO pins.
Displays
An optional but highly useful addition for displaying contextual information.
- OLED Displays: Compact and energy-efficient, they can show active profiles, current settings (like brightness levels), or executed commands.
RGB LEDs
Another optional component for aesthetic flair or functional feedback, such as indicating active layers or modes.
Designing Your Macropad Enclosure with 3D Printing
The 3D printed enclosure is where your macropad’s form meets its function. This step allows for immense creativity and practical design.
CAD Software for Enclosure Design
- Fusion 360: A popular choice for its robust feature set and ease of use, particularly for parametric modeling, which allows you to easily adjust dimensions and component placement.
- FreeCAD or SolidWorks: Other excellent options for precise mechanical design.
Design Considerations
- Component Fit: Accurately measure all electronic components (microcontroller, switches, encoders, display, PCB if applicable) to ensure a snug and secure fit within the enclosure. Design mounting points for screws or friction fits.
- Accessibility: Plan for access ports for USB cables, programming headers, and any removable panels for future maintenance or upgrades.
- Aesthetics: 3D printing offers vast aesthetic potential. Consider:
- Multi-Material Printing: For printers with multi-material capabilities (like the Original Prusa XL with MMU3 or Bambu Lab AMS-equipped printers), you can incorporate multiple colors or materials within a single print, creating visually striking designs with minimal waste.
- Filament Choices: Beyond standard PLA, consider specialty filaments. Prusament Woodfill, for example, can give your macropad a premium, natural look. PETG or ABS offer greater durability and heat resistance if needed.
- Ergonomics: Design angles or stands (some even feature print-in-place hinges for adjustability) that make the macropad comfortable to use for extended periods.
- Print-in-Place Features: Explore advanced 3D printing techniques like print-in-place hinges for adjustable stands, as seen in some Adafruit projects. This minimizes assembly and reduces part count.
Filament Choices
- PLA: Easy to print, available in a wide range of colors, and suitable for most desktop applications.
- PETG: Offers greater strength and temperature resistance than PLA, making it more durable for frequently handled items.
- ABS/ASA: Provide excellent mechanical properties and heat resistance, though they can be more challenging to print due to warping.
- Woodfill: For a distinctive, organic look and feel, providing a nice aesthetic for desk accessories.
Firmware and Software for Customization
Once your hardware is assembled and the enclosure is printed, the next crucial step is programming your macropad.
Key Firmware Options
- QMK Firmware: A powerful, open-source firmware framework widely used in the mechanical keyboard community. It offers extensive customization options, including multiple layers, tap-and-hold functions, and advanced macro capabilities.
- VIAL: A user-friendly graphical interface built on top of QMK. Vial allows you to configure keymaps and macros on the fly without recompiling or flashing new firmware, making customization incredibly accessible.
- Arduino IDE: For microcontrollers like ESP32 or basic Arduino boards, the Arduino IDE provides a straightforward platform for writing and uploading code, especially if you’re integrating smart home controls via Wi-Fi.
Workflow Customization Examples
- CAD Software: Map complex shortcuts in Fusion 360, SolidWorks, or KiCad to single button presses. For example, a button could switch views, initiate a sketch, or run a frequently used script.
- Smart Home Control: Dedicate buttons to turn lights on/off, adjust brightness, change scenes, or control smart plugs via Home Assistant or other IoT platforms.
- Media Control: Create buttons for play/pause, skip track, volume up/down, or mute.
- Productivity: Assign macros for copy/paste, launching specific applications, or executing code snippets in development environments like Visual Studio Code.
Assembly and Troubleshooting Tips
Building a custom macropad is a multi-disciplinary project involving electronics, soldering, and software. Here are some general tips:
- Plan Your Layout: Before soldering, lay out all components within your 3D printed enclosure to ensure everything fits as intended.
- Test Components Individually: Test your microcontroller, switches, and other components before full assembly to identify any faulty parts early.
- Solder Carefully: If you’re hand-soldering, use proper technique and ensure good connections. Consider prototyping on a breadboard first.
- Firmware Iteration: Expect to iterate on your firmware. Start with basic key assignments and gradually add more complex macros. Tools like Vial make this process much smoother.
- Troubleshooting: If inputs aren’t registering, double-check your wiring, solder joints, and firmware configuration. Many online communities (e.g., Reddit’s r/MechanicalKeyboards, GeekHack, Discord servers) offer extensive resources and support for troubleshooting.
Conclusion
A 3D printed macropad is more than just a peripheral; it’s a testament to personalized technology and the power of the maker movement. By combining accessible electronics with the design freedom of 3D printing, you can create a tool that not only boosts your productivity and simplifies your smart home but also stands as a unique reflection of your ingenuity.
Whether you’re an experienced electronics hobbyist or a 3D printing enthusiast looking for your next project, building a custom macropad offers a rewarding journey into the intersection of hardware, software, and additive manufacturing. So, gather your components, fire up your CAD software, and start printing your way to a more efficient and customized digital experience.