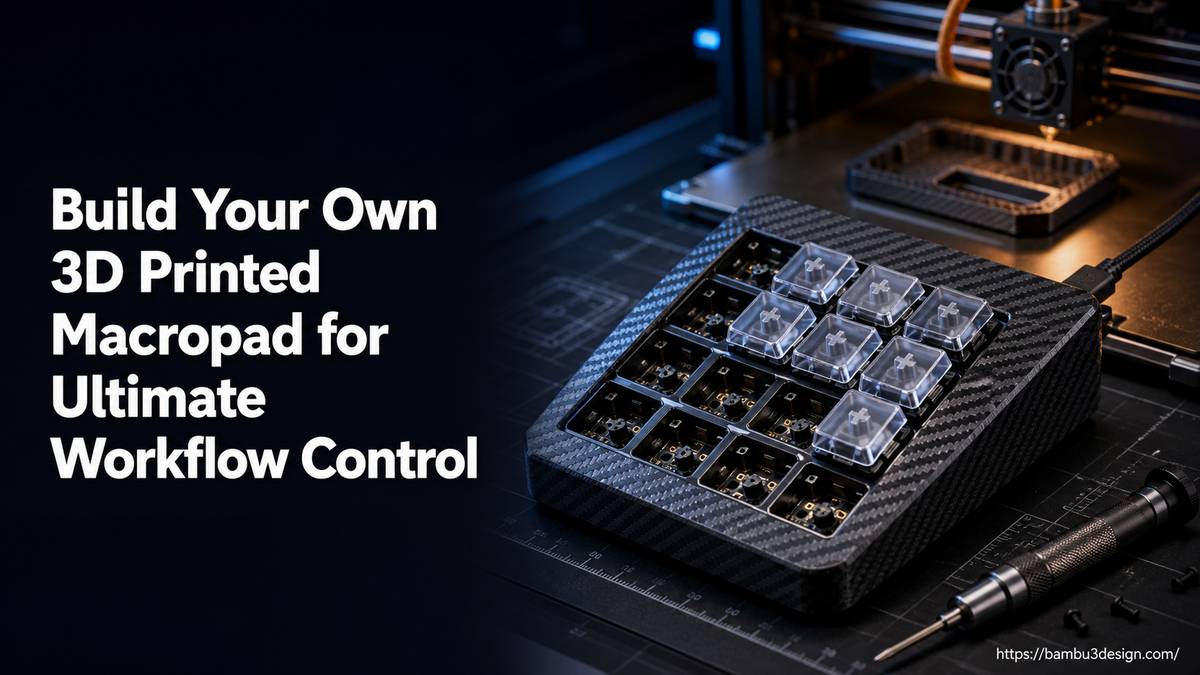
Build Your Own 3D Printed Macropad for Ultimate Workflow Control
Are you looking to boost your productivity, simplify complex tasks, or gain more granular control over your digital environment? A custom 3D printed macropad offers an accessible and highly customizable solution. These compact, programmable keypads can automate sequences of commands, launch applications, or control smart devices with a single button press, transforming your daily workflow.
Commercial macropads can be expensive and lack the specific customization options many makers desire. By leveraging the power of 3D printing and readily available electronic components, you can design and build a personalized macropad tailored to your exact needs, often for a fraction of the cost. This guide will walk you through the essential steps and considerations for creating your own functional and aesthetically pleasing macropad.
What is a 3D Printed Macropad?
A macropad is essentially a mini-keyboard with a limited number of keys, often ranging from 3 to 20 or more. Unlike a standard keyboard, each key on a macropad can be programmed to perform complex actions, or “macros.” These actions can include:
- Keyboard shortcuts: Execute multi-key combinations (e.g., Ctrl+Shift+S) with one press.
- Application commands: Trigger specific functions within software like CAD programs (Fusion 360, KiCad), photo/video editors, or IDEs (Visual Studio Code).
- Text strings: Automatically type out frequently used phrases, code snippets, or even a list of product colors.
- Media control: Play/pause music, adjust volume, or switch tracks.
- Smart home integration: Control lighting, activate scenes, or manage other connected devices via Wi-Fi.
- Gaming functions: Perform specific in-game actions or sequences.
The “3D printed” aspect refers to the custom enclosure that houses the electronics, allowing for unique designs, ergonomic layouts, and material choices that off-the-shelf products can’t match.
Why Build a Custom Macropad?
Crafting your own macropad offers a multitude of benefits, from enhanced productivity to a fulfilling maker challenge:
- Cost-Effectiveness: Building a macropad from scratch can be significantly cheaper than buying a pre-built commercial unit, especially when you need multiple controllers for different rooms or workstations.
- Unmatched Customization: From the number and layout of keys to the inclusion of rotary encoders, OLED displays, and RGB lighting, every aspect can be tailored. You can even design modular systems that snap together for different configurations.
- Workflow Optimization: Streamline repetitive tasks across various applications. Engineers can quickly access CAD tools, creatives can apply filters or change brush sizes, and smart home enthusiasts can manage their devices effortlessly.
- Learning Opportunity: It’s a fantastic project for beginners and experienced makers alike, combining 3D printing, electronics, programming, and mechanical assembly. It’s complex enough to be engaging but manageable to prevent frustration.
- Personal Expression: A custom 3D printed macropad can be a stylish desktop accessory, reflecting your personal aesthetic or complementing your workspace theme through material choices like wood-filled filaments or specific color combinations.
Key Components for Your Macropad
A custom macropad project typically involves a few core electronic components and mechanical parts:
1. Microcontroller (The Brain)
This small computer board executes your programmed macros and handles communication with your computer or smart home system. Popular choices include:
- ESP32-based boards: Excellent for smart home integration due to built-in Wi-Fi connectivity. They offer sufficient GPIO pins for various inputs.
- RP2040-based boards: Such as the Seeed Studio Xiao RP2040 or other RP2040 modules. These are compact, affordable, widely available, and offer plenty of flash memory and GPIO pins. Many also feature a convenient built-in USB-C connector.
- Arduino Pro Micro (or similar Arduino boards): A classic choice for custom keyboards, known for its simplicity and community support. The USB-C version is a modern upgrade.
When selecting, consider the number of inputs you need (keys, encoders), power requirements, and connectivity options.
2. Mechanical Switches
These are the tactile buttons that register your presses. They are the same switches used in mechanical keyboards, offering a wide range of feel, sound, and actuation forces. You’ll also need compatible keycaps that fit your chosen switches.
3. Diodes
For a matrix-wired keypad, a diode for each switch prevents “ghosting” (where pressing multiple keys simultaneously registers unintended presses).
4. Optional Enhancements
- Rotary Encoders: Ideal for continuous adjustments like volume control, screen brightness, scrolling, or navigating menus. Many encoders include a built-in push-button switch for additional functionality.
- OLED Display: A small screen can display useful information, such as the active macro layer, current smart home scene, or system status.
- RGB LEDs: Add aesthetic flair or provide visual feedback for activated macros or layers.
- I/O Expander: If your microcontroller’s GPIO pins are insufficient for a large number of keys or other components, an I/O expander can increase your available inputs.
- Hotswap Sockets: Allow you to swap out mechanical switches without soldering, making customization and maintenance easier.
5. Miscellaneous Hardware
- USB-C cable: For power and data connection.
- Wires: Silicone wires are flexible and durable for internal connections.
- M3 inserts and bolts: For securely assembling the 3D printed enclosure.
- Rubber feet: To prevent the macropad from sliding on your desk.
- Reset switch: A small button to easily reset the microcontroller.
Designing Your Macropad Enclosure
This is where 3D printing truly shines. You’ll need CAD software to design the custom case for your macropad. Popular choices include:
- Fusion 360: A powerful, widely used CAD program suitable for both beginners and advanced users. It allows for parametric modeling, making it easier to adjust designs.
- SolidWorks: A professional-grade CAD software, often used in engineering and product design.
- FreeCAD: A free and open-source alternative for 3D modeling.
Consider the layout of your switches, any rotary encoders, displays, and the microcontroller board. Design with assembly in mind, ensuring proper clearances for components and accessible screw points. Many open-source designs are available on platforms like Thingiverse and Printables, which can serve as a starting point or inspiration.
For more complex builds involving custom PCBs, software like KiCad or Autodesk Eagle can be used for schematic capture and board layout. While not strictly necessary for simple, hand-wired macropads, a custom PCB greatly simplifies assembly and improves reliability.
3D Printing the Enclosure
The enclosure is the visible and tactile part of your macropad, offering endless possibilities for customization.
Materials
- PLA: The most common and easiest-to-print filament, suitable for most macropad enclosures. It comes in a vast array of colors and finishes.
- PETG: Offers greater durability and temperature resistance than PLA, good for a more robust case.
- Woodfill filaments: Blends of PLA with wood fibers, allowing you to create cases with a natural, textured look and feel. These can be combined for appealing color contrasts.
- ABS/ASA: For parts requiring higher impact strength and temperature resistance, though they are more challenging to print due to warping.
Printers and Techniques
Most FDM 3D printers are capable of printing macropad enclosures. For multi-color or multi-material designs, printers with advanced capabilities can be beneficial:
- Multi-Material Systems (e.g., Prusa MMU3, Bambu Lab AMS): These systems allow you to print with multiple colors or different filament types in a single print, creating intricate aesthetic details with minimal waste.
- Standard Single-Extruder Printers: You can still achieve multi-color prints by manually pausing the print at specific layers and swapping filaments. This requires attention but is perfectly doable.
Design considerations include wall thickness, internal supports for PCBs or switch plates, and incorporating M3 heat-set inserts for secure screw connections.
Firmware and Programming
This is where you define what each key on your 3D printed macropad does. The firmware interprets button presses and sends the corresponding commands to your computer. Key firmware options include:
- QMK Firmware: (Quantum Mechanical Keyboard Firmware) A highly popular, open-source firmware for custom keyboards and macropads. It offers extensive customization, layers, and support for various microcontrollers. You’ll typically use tools like QMK MSYS and QMK Toolbox for compiling and flashing the firmware.
- VIAL: A fork of QMK that allows for real-time keymap editing without reflashing the firmware. It’s very user-friendly for making on-the-fly changes.
- Arduino IDE: For simpler projects, especially those using Arduino-compatible microcontrollers, you can write custom code directly using the Arduino IDE.
- KMK Firmware: A Python-based firmware for RP2040 boards, offering an accessible coding environment for those familiar with Python.
Basic programming involves mapping keycodes to physical switches. More advanced configurations can utilize layers (like function keys on a keyboard) to assign multiple functions to the same physical button, or create complex sequences of actions.
Step-by-Step Macropad Build Guide (General Overview)
While specific steps will vary based on your chosen design and components, here’s a general workflow for building your 3D printed macropad:
- Gather All Components: Source your microcontroller, mechanical switches, diodes, wires, M3 hardware, and any optional components like encoders or displays. Ensure compatibility between parts.
- Design and Print the Enclosure: Use CAD software to design your macropad case or download existing STL files. Slice and 3D print the parts using your chosen filament. If applicable, print custom keycaps.
- Assemble Electronics (PCB or Hand-Wiring):
- With a Custom PCB: Solder the microcontroller, switches (or hotswap sockets), diodes, and any other surface-mount components to the PCB. A reflow oven can be used for SMT components.
- Hand-Wiring: Wire the mechanical switches in a matrix configuration, connecting them to the microcontroller and incorporating diodes for each switch. Solder connections securely.
- Integrate Optional Components: Solder and mount any rotary encoders, OLED displays, or RGB LEDs according to your design.
- Final Enclosure Assembly: Mount the assembled electronics (PCB or wired switches) into the 3D printed enclosure. Secure the top and bottom parts using M3 bolts and heat-set inserts. Add rubber feet to the base.
- Flash Firmware and Program Macros: Connect your macropad to your computer. Use QMK Toolbox, VIAL software, or the Arduino IDE to flash the chosen firmware onto your microcontroller. Then, program your desired macros and key assignments.
- Test and Customize: Test all buttons, encoders, and display functions. Fine-tune your macros and key assignments until your macropad perfectly streamlines your workflow.
Customization Beyond the Basics
Once you have a functional macropad, the customization possibilities continue:
- Custom Keycaps: Design and 3D print unique keycaps that match your macropad’s theme or feature specific icons for your macros. This adds a highly personal touch.
- Modular Design: Inspired by systems like the Monogram Creative Console, consider designing a 3D printed macropad with magnetic connectors, allowing you to attach different modules (e.g., a number pad, an extra encoder module) for dynamic layouts.
- Software Integration: Explore advanced programming to integrate your macropad with specific software APIs or smart home platforms for deeper control.
Conclusion
Building a custom 3D printed macropad is a rewarding project that combines hardware, software, and 3D printing skills to create a powerful tool for productivity and automation. Whether you’re a designer, gamer, smart home enthusiast, or simply looking for a fun challenge, a DIY macropad offers unparalleled flexibility and cost savings compared to off-the-shelf solutions.
By following the principles outlined in this guide and leveraging the versatility of 3D printing, you can create a truly personalized control device that simplifies your digital life and enhances your efficiency. Start your macropad journey today and experience the satisfaction of controlling your digital world with a touch of your own design.