In this video, I unbox the TinyMaker resin 3D printer and take a detailed look at everything included in the package. From the first look at the printer to the accessories, handwritten thank-you note, microSD card, Wash & Cure station, and initial setup, I cover the entire unboxing experience step by step.
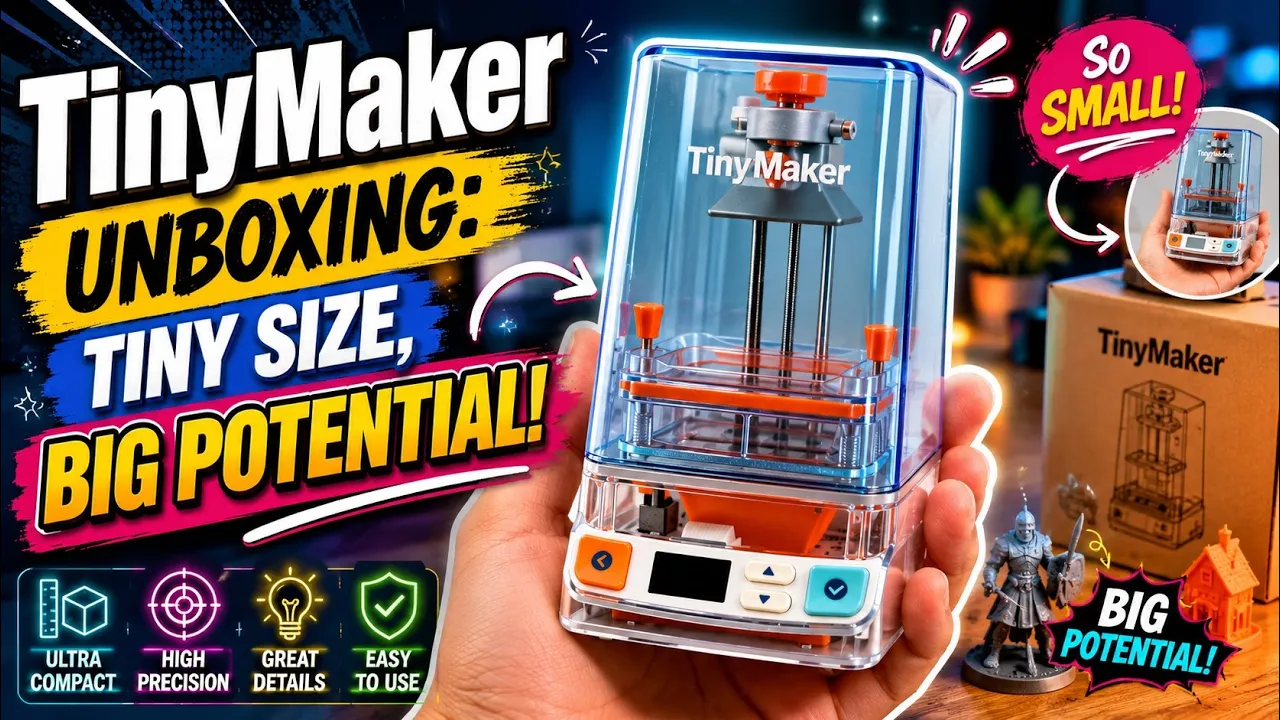
TinyMaker is one of the smallest resin 3D printers available, yet it offers impressive features for miniature printing and highly detailed models. In this video, I explore the design, build quality, real-world size, included accessories, and the setup process.
📦 What you’ll see in this video:
• Complete TinyMaker unboxing
• Overview of all included accessories
• Handwritten thank-you note from the TinyMaker team
• MicroSD card and included items
• Removing protective stickers and covers
• Opening and reassembling printer components
• Wash & Cure station setup
• Applying control labels
• Connecting the USB-C power adapter
• Powering on the printer and accessories
• Magnetic stirrer demonstration
• First look at the controls and interface
• Size and build quality overview
Despite its ultra-compact size, the TinyMaker looks like an interesting option for hobbyists, miniature creators, and anyone interested in resin 3D printing.
👍 If you enjoyed this video, please like, subscribe, and leave a comment. More 3D printing reviews, tutorials, and experiments are coming soon!