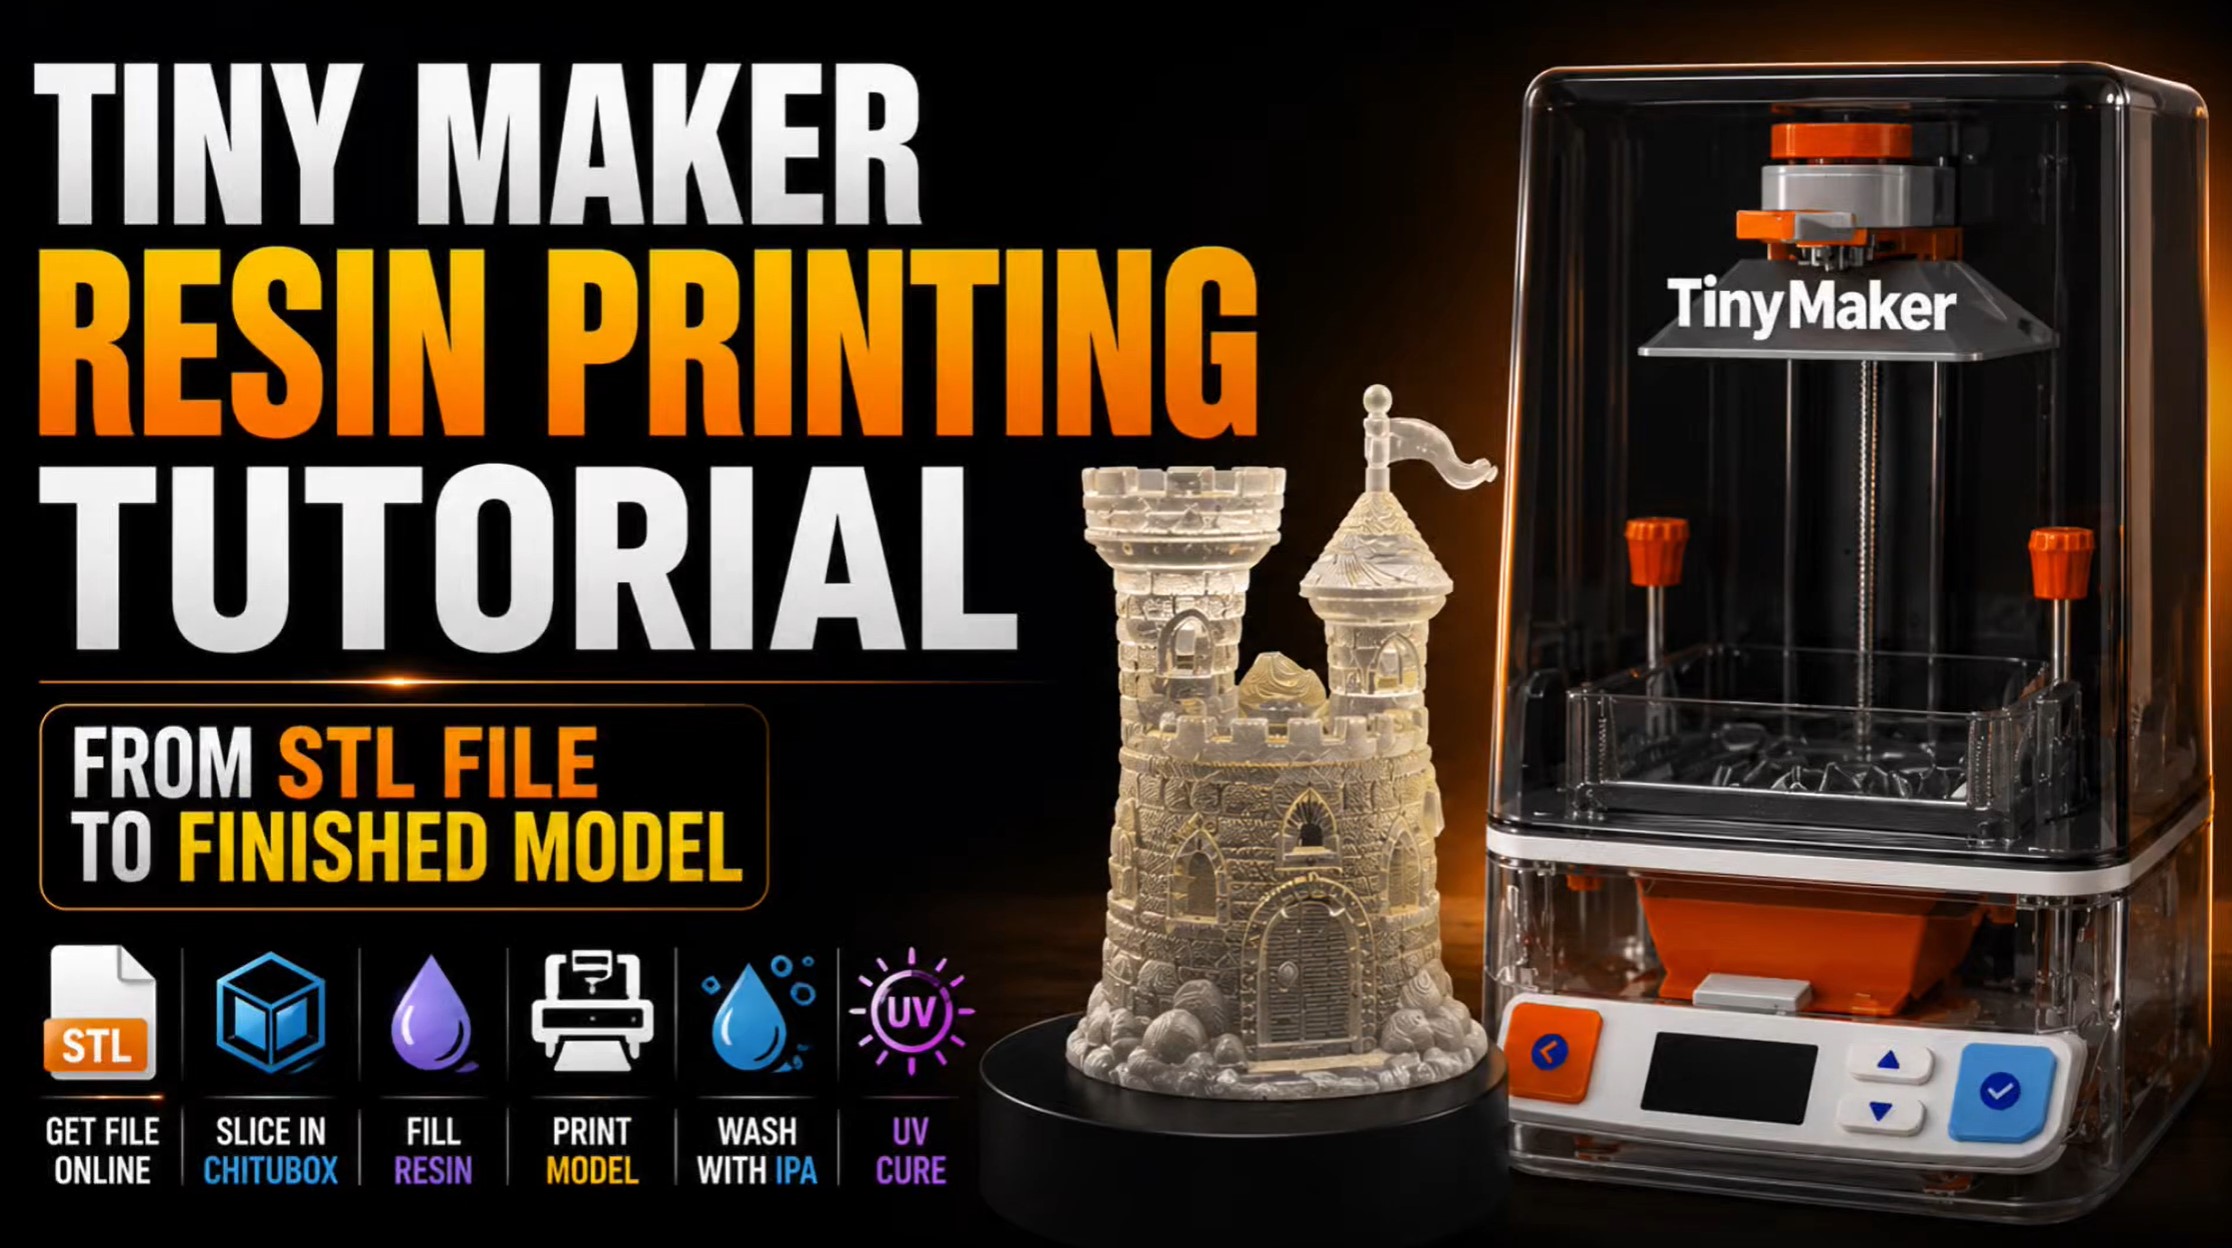
In this video, I show the complete process of resin 3D printing with the Tiny Maker printer, from downloading a model to the final cured print.
🔹 Installing CHITUBOX
🔹 Finding and downloading STL files
🔹 Setting up the Tiny Maker printer profile
🔹 Importing and preparing the model
🔹 Scaling, positioning, and adding supports
🔹 Slicing and saving the print file
🔹 Preparing the printer and loading resin
🔹 Starting the print
🔹 Washing the model with 99% IPA
🔹 Removing supports
🔹 UV curing the final print
This beginner-friendly tutorial covers everything you need to start printing with the Tiny Maker resin printer.