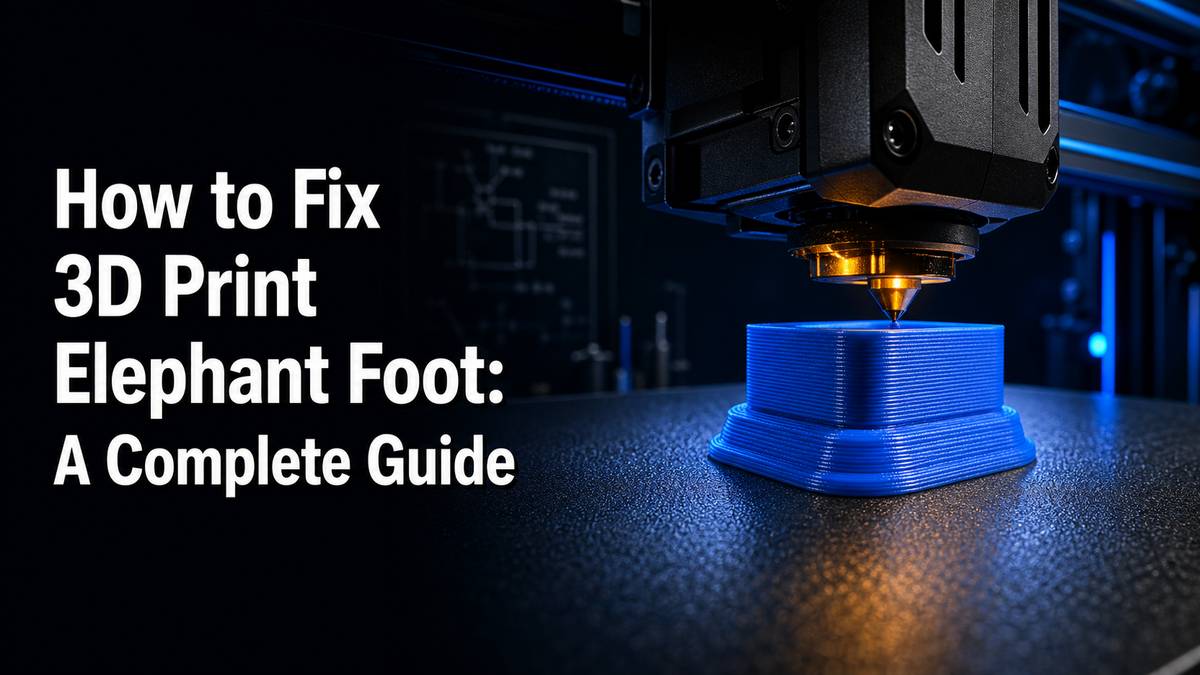
How to Fix 3D Print Elephant Foot: A Complete Guide
The phenomenon known as “elephant foot” is a common and frustrating issue in FDM 3D printing. It manifests as an unsightly bulge or outward spread at the base of your printed objects, making the first few layers wider than the subsequent ones. This defect compromises dimensional accuracy, prevents parts from fitting together properly, and leaves an otherwise perfect print looking unrefined at its foundation.
The problem stems from the bottom layers becoming squished or remaining too warm, causing the plastic to expand laterally. Even experienced makers encounter elephant foot, especially when experimenting with new materials or fine-tuning a printer. The good news is that diagnosing and applying an effective elephant foot fix is achievable with a systematic approach to your slicer settings and printer calibration.
This comprehensive guide will explain the underlying causes of elephant foot and provide practical, step-by-step solutions to prevent and eliminate it, ensuring your prints start with a perfectly straight and dimensionally accurate base.
What is 3D Print Elephant Foot?
3D print elephant foot refers to the visible flaring or spreading of the first few layers of a print, making the base wider than the intended design. Imagine a real elephant’s foot – wide and flat at the bottom. In 3D printing, this distortion occurs horizontally, typically affecting the first 1-3 millimeters of a print.
This defect is problematic because it directly impacts the dimensional accuracy of your printed parts. Components designed for precise interlocking or snug fits will fail to mate correctly. Beyond functionality, elephant foot also detracts from the aesthetic quality of your prints, creating an unprofessional finish.
Common Causes of Elephant Foot
Elephant foot rarely has a single cause; it’s often a combination of factors related to the thermal management and mechanical interaction of the first layer. Understanding these culprits is the first step toward an effective elephant foot fix.
Excessive Bed Temperature
When your print bed is too hot, the initial layers of filament remain in a semi-molten state for an extended period. This softness allows the weight of subsequent layers to press down, causing the pliable plastic to deform and spread outward horizontally. The material cannot solidify quickly enough to maintain its intended shape, leading to the characteristic bulge.
Filament manufacturers provide recommended bed temperature ranges (e.g., PLA typically 50-60°C, PETG 70-80°C). Operating even 5-10°C above these recommendations can significantly contribute to elephant foot. The goal is sufficient adhesion without excessive thermal softening.
Nozzle Too Close to the Build Plate (Incorrect Z-Offset)
Perhaps the most common mechanical cause, an incorrect Z-offset means the nozzle is positioned too close to the build plate. When the nozzle squashes the molten filament excessively onto the bed, the plastic has nowhere to go but sideways, creating a wider-than-intended first layer.
Proper Z-offset calibration ensures an optimal gap between the nozzle and the bed. Too small a gap results in crushing, while too large a gap leads to poor adhesion. An unevenly leveled print bed can exacerbate this issue, as even a correctly set Z-offset might result in over-squishing in certain areas of the build plate.
Insufficient Cooling and Model Weight
As layers are deposited, each new layer adds weight to the one below it. If the lower layers haven’t had adequate time to cool and solidify, they will compress and spread under this cumulative weight. Taller, heavier prints are particularly susceptible, as the first few layers bear the full load of the entire model while still in a vulnerable, semi-solid state.
Poor or delayed cooling of the bottom layers allows the plastic to retain its malleability for too long, making it prone to deformation. This is especially true for materials like PLA, which solidify relatively quickly, but can also affect others if cooling is inadequate.
Over-Extrusion on the First Layer
While not always the primary cause, excessive filament extrusion on the initial layer can contribute to elephant foot. If too much material is deposited, it has nowhere to go but outward, especially when combined with a low nozzle height or high bed temperature. This oversupply of plastic exaggerates the squishing effect.
Practical Solutions to Fix Elephant Foot
Addressing elephant foot involves a combination of precise calibration and thoughtful slicer adjustments. Here’s how to implement an effective elephant foot fix.
1. Calibrate Your Z-Offset Precisely
Accurate Z-offset is critical. The ideal height allows the filament to adhere well without being crushed. Most modern printers, including Bambu Lab models, offer Z-offset adjustments directly from the printer’s menu or through your slicer.
Procedure:
- Home your printer.
- Use a piece of paper (standard printer paper, approx. 0.1mm thick) as a feeler gauge. Place it between the nozzle and the print bed.
- Adjust the Z-offset down slowly until the nozzle just barely grips the paper, allowing you to pull it out with slight resistance.
- Print a Z-offset calibration test model (a single-layer square or line) and fine-tune the offset in small increments (e.g., 0.02-0.05mm) until the first layer looks perfectly squished – not too transparent, not too rounded at the edges.
2. Adjust Print Bed Temperature
Lowering the print bed temperature can significantly reduce softening and spreading. Make incremental changes to find the sweet spot for adhesion without causing elephant foot.
Procedure:
- Consult your filament manufacturer’s recommendations for bed temperature.
- Lower your bed temperature in 5°C increments. For PLA, try starting at 50°C and reducing to 45°C if elephant foot persists. For PETG, try 70°C, then 65°C.
- Monitor adhesion carefully. If prints start detaching, increase the temperature slightly or consider using an adhesion aid (like glue stick or specialized build plate surface).
3. Implement Elephant Foot Compensation in Your Slicer
Many advanced slicers like Bambu Studio, OrcaSlicer, Cura, and PrusaSlicer offer a dedicated “Elephant Foot Compensation” setting. This feature works by subtly shrinking the perimeter of the first few layers, counteracting the outward bulge.
How it works: The slicer offsets the outer wall of the first few layers inwards by a specified amount (e.g., 0.1-0.3mm), effectively trimming the flared base without affecting the rest of the model.
Slicer Settings (general guidance):
- Bambu Studio/OrcaSlicer: Look under “Quality” or “Advanced” settings for “Elephant Foot Compensation.”
- Cura: Navigate to “Initial Layer Horizontal Expansion” or “Horizontal Expansion” (set negative values for compensation).
- PrusaSlicer: Find “Elephant foot compensation” under “Print Settings” -> “Advanced.”
Recommendation: Start with a compensation value of 0.1mm and adjust as needed. This is often the most direct and effective elephant foot fix when other settings are already optimized.
4. Optimize Initial Layer Settings
Fine-tuning specific initial layer parameters in your slicer can dramatically improve the base of your prints.
- Initial Layer Height: While a thicker first layer (e.g., 0.25-0.3mm) can improve adhesion, it can also exacerbate squishing if other settings aren’t balanced. If you’re struggling, try reducing the initial layer height slightly to match subsequent layers (e.g., 0.2mm) in combination with Z-offset and bed temperature adjustments. Some sources suggest a slightly thinner first layer can help reduce the amount of material available to squish.
- Initial Layer Line Width: Often increased for better adhesion, a line width that’s too wide can contribute to the bulge. Try reducing the initial layer line width slightly (e.g., from 120% to 100-110%) to prevent excessive material flow.
- Initial Layer Speed: Slower speeds generally improve adhesion. However, a slightly faster speed for the very first layer (while still maintaining adhesion) can sometimes help it cool and solidify faster before the weight of subsequent layers is applied. This is a delicate balance; experiment carefully.
- Initial Layer Flow/Extrusion Multiplier: If your first layer appears excessively squished or blobby even with correct Z-offset, slightly reducing the initial layer flow (e.g., to 95-98%) can help prevent over-extrusion at the base.
5. Improve Part Cooling
Effective cooling, especially for the initial layers, helps the plastic solidify faster, resisting deformation from the weight of upper layers.
Procedure:
- Enable or increase cooling fan speed for the first few layers. Many slicers allow you to set a delayed fan start or a lower fan speed for the initial layers to aid adhesion. Gradually ramp up the fan speed after the first 1-3 layers.
- Ensure your printer’s part cooling fan is functioning optimally. Clogged ducts or weak fans can hinder cooling performance.
6. Ensure Your Print Bed is Level
An unlevel bed can lead to inconsistent Z-offset across the print surface, causing elephant foot in some areas and poor adhesion in others. Perform regular bed leveling or auto-bed leveling compensation.
Procedure:
- Manually level your bed at multiple points if your printer requires it.
- Utilize your printer’s auto-bed leveling (ABL) feature if available (e.g., Bambu Lab printers feature robust ABL systems).
- Periodically check bed flatness for any warping issues, which might necessitate replacing the build plate.
Conclusion
Elephant foot is a common but solvable 3D printing defect. By systematically addressing the underlying causes – primarily excessive bed temperature, an incorrect Z-offset, and insufficient cooling – you can achieve consistently flawless first layers. Start with precise Z-offset calibration, then fine-tune your bed temperature and experiment with slicer settings like initial layer adjustments and, crucially, elephant foot compensation.
Embrace a methodical approach to troubleshooting, making one adjustment at a time and testing its impact. With patience and persistence, you’ll master the elephant foot fix and ensure your 3D prints always start with the clean, accurate base they deserve.