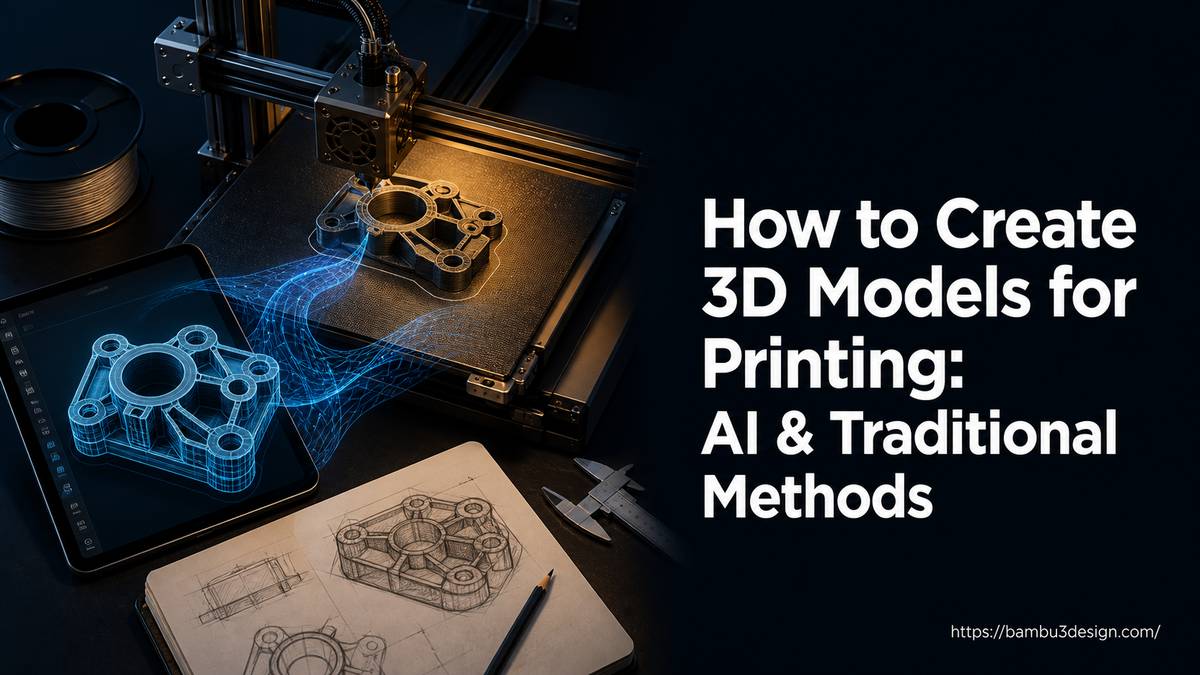
Bringing a digital idea to life through 3D printing starts with a well-designed 3D model. Whether you’re a beginner or looking to refine your skills, understanding the fundamentals of 3D modeling for additive manufacturing is crucial. A poorly designed model can lead to print failures, wasted material, and frustration. This comprehensive guide will walk you through everything you need to know to design 3D models for 3D printing successfully, from selecting the right software to mastering essential design principles and avoiding common mistakes.
Choosing the Right 3D Modeling Software
The first step in creating a 3D model is selecting the appropriate software. The best choice depends on your skill level, project complexity, and desired workflow. Options range from beginner-friendly tools to professional-grade CAD software and even new AI-powered generators.
Beginner-Friendly Traditional CAD Tools
These tools offer a gentle learning curve, making them ideal for those new to 3D design.
- Tinkercad: Often considered the easiest 3D modeling software for beginners. It’s browser-based and uses a block-building interface, allowing users to create simple geometric models quickly. Perfect for initial 3D printing projects and educational purposes. You can typically create your first model within 30-60 minutes.
- SketchUp: Offers an easy learning curve and is widely used for architectural visualization, interior design, and basic product design. The free web version is a good starting point, with a learning time of 1-2 hours for basic functionality.
- Shapr3D: A notable option for iPad users, offering CAD capabilities for product design with an intuitive touch interface. It’s easy to moderate in difficulty and can be learned in 1-2 hours for basic tasks.
Advanced Design Software
For more complex designs, intricate details, or professional applications, more powerful software is required.
- Blender: A free, open-source professional 3D art and animation suite that also supports 3D modeling for printing. It has a moderate learning curve, requiring an investment of 4-8 hours for initial understanding, but offers professional-grade capabilities from day one.
- Fusion 360/SolidWorks/FreeCAD: These are parametric CAD software solutions popular in engineering and product design. They offer robust tools for precise modeling and assembly design, making them suitable for functional parts. While not explicitly detailed in the sources, these are standard professional tools that align with advanced modeling needs.
AI-Powered 3D Model Generation
New AI-assisted platforms are emerging, significantly accelerating the design process, especially for rapid prototyping or concept generation.
- Meshy AI: Transforms text prompts or images into 3D models, complete with AI-based textures and materials. It supports various styles (realistic, cartoon, low-poly) and exports formats like OBJ, FBX, GLTF, USDZ, and STL. It’s excellent for fast model creation and prototyping without extensive modeling skills.
- SEELE (e.g., Seeles AI): Offers rapid 3D model generation, allowing users to create their first model in 5-10 minutes. It’s ideal for game development and rapid asset creation, where describing what you want is preferred over manual modeling.
- Spline AI: A browser-based tool that combines AI-assisted generation with traditional 3D editing. It can generate basic objects from text or images and then allows manual refinement. Useful for web-based 3D projects and interactive scenes.
- Luma AI: Specializes in converting photos and videos into realistic 3D models using NeRF-based reconstruction. Great for digitizing real-world objects for AR/VR or 3D printing.
These AI tools are best if you need immediate results, prefer describing your design, or have limited time for extensive training. They offer a fast path to production-quality outputs.
| Software | Learning Time | Cost | Best For | Difficulty |
| :———— | :———— | :————– | :—————————————– | :———— |
| SEELE (AI) | 5-10 min | Free tier + credits | AI-assisted dev, rapid prototyping | Easiest |
| Tinkercad | 30-60 min | Free | 3D printing, education | Very Easy |
| SketchUp | 1-2 hours | Free web / $349 Pro | Architecture, interior design | Easy |
| Shapr3D | 1-2 hours | Free / $349 Pro | iPad CAD, product design | Easy-Moderate |
| Blender | 4-8 hours | Free | Professional 3D art, animation, printing | Moderate |
Core Principles of 3D Design for Printing
Successful 3D printing relies heavily on good design practices that account for the physical limitations of the printer and material. These principles ensure your digital model translates into a sturdy and functional physical object.
Watertight (Manifold) Geometry
This is perhaps the most critical requirement for 3D printing. A manifold mesh means that your model’s geometry is “watertight”-every edge connects exactly two faces, and there are no holes, gaps, or inside-out faces. Slicers need a solid, enclosed volume to calculate the interior and create toolpaths. Non-manifold errors can lead to:
- Missing layers in the print.
- Structural weakness or incomplete sections.
- Slicer errors or inability to process the model.
Many CAD programs and slicers (like Bambu Studio or OrcaSlicer) include tools to detect and sometimes auto-repair manifold errors. External tools like Meshmixer or Netfabb can also validate and fix these issues.
Wall Thickness
Designs must have walls thick enough to withstand printing stresses and be structurally sound. Very thin walls can break during printing or post-processing, or simply not print at all. While specific minimums vary by material and printer, a general guideline for FDM is at least 1-2 mm for functional parts. For resin printing, thinner walls are often possible, but still require careful consideration.
Scale and Dimensions
Ensure your model is designed to the correct real-world scale. Incorrect dimensions in your modeling software can result in parts that are either too small or too large for their intended purpose, or exceed the printer’s build volume. Always verify units in your design software and slicer.
Minimizing Overhangs and Supports
Overhangs are parts of your model that extend horizontally without support from below. Most FDM printers can handle overhangs up to about 45-60 degrees without supports. Beyond that, support structures are necessary. While supports allow for complex geometries, they consume material, increase print time, and often leave surface blemishes. Design choices like chamfers, fillets, and bridging large gaps can reduce the need for supports.
Designing with a Flat Base
A flat and stable base is essential for good bed adhesion and overall print stability. Designing your model with a large, flat surface that can directly contact the build plate minimizes warping and detachment issues. If a flat base isn’t naturally part of the design, consider adding a temporary raft or brim in your slicer.
Modular Design for Complex Models
For intricate or large designs, consider breaking them down into smaller, interlocking, or attachable modular parts. This approach allows you to:
- Print larger objects than your build volume allows.
- Simplify printing challenging sections.
- Reduce print time for individual components.
- Enable multi-color prints or different materials for specific sections.
Step-by-Step Workflow for Creating a 3D Printable Model
Follow these steps to guide your design from concept to a successful 3D print.
- Concept and Software Selection: Begin by clearly defining your project’s purpose and requirements. This will help you choose the most suitable 3D modeling software (as discussed above). Sketch your ideas, gather reference images, and consider the desired functionality and aesthetic.
- Model Creation and Refinement: Use your chosen software to build your 3D model. Focus on clean geometry, ensuring all parts are connected as intended. Pay close attention to wall thickness, dimensional accuracy, and structural integrity. Utilize design principles like flat bases and modularity where appropriate. Regularly check for non-manifold edges or holes in your mesh during this phase.
- Exporting to a 3D Printer-Friendly Format: Once your model is complete, export it in a format compatible with 3D printing. The most common formats include:
- STL (Stereolithography): The most widely used format, representing surfaces as a mesh of triangles. It’s simple but lacks color and material information.
- OBJ (Object): Supports color and texture information, often used for more complex visual models.
- 3MF (3D Manufacturing Format): A newer, more robust format that can include material properties, colors, textures, and even support structures within a single file. It’s gaining popularity for its comprehensive data storage.
- STEP (Standard for the Exchange of Product data): Primarily used in professional CAD for precise, mathematically defined geometry. While not directly used by most slicers, it’s excellent for design collaboration and can be converted to mesh formats.
- Slicing Your Model: Import your 3D model file into a slicing software (e.g., Bambu Studio, OrcaSlicer, Cura, PrusaSlicer). The slicer translates your 3D model into a series of thin layers and generates the G-code instructions for your 3D printer. During this step, you’ll configure crucial settings:
- Layer height: Determines print resolution and speed.
- Infill density and pattern: Affects print strength and material usage.
- Print speed: Balances print quality and duration.
- Temperature settings: For nozzle and bed, specific to your filament.
- Support structures: Add if necessary, adjusting type and density.
- Adhesion aids: Rafts, brims, or skirts to improve bed adhesion.
- Perimeters/Wall count: Number of outer shells for strength.
- Preparing Your 3D Printer: Load your chosen filament (PLA, PETG, ABS, ASA, TPU, Nylon, Carbon-Fiber, etc.) and ensure your print bed is clean and properly leveled. Apply any necessary adhesion aids to the bed, such as glue stick or hairspray, based on your material and printer type.
- Printing and Post-Processing: Start the print and monitor the first few layers for proper bed adhesion. Once the print is complete, carefully remove it from the build plate. For models that required supports, remove them using appropriate tools. Depending on your desired finish, you might perform additional post-processing steps like sanding, painting, or assembly.
Common Mistakes to Avoid When Designing for 3D Printing
Even experienced designers can overlook critical details. Be aware of these common pitfalls:
- Wrong Scale: Incorrect dimensions in the model lead to parts that don’t fit or are unusable. Always double-check your units and scale settings.
- Thin Walls: Lack of structural strength can cause prints to fail, warp, or break easily. Ensure wall thickness meets the minimum requirements for your chosen material and printer.
- Non-Watertight Models: Holes or gaps in the mesh prevent the slicer from creating a solid object, leading to incomplete or faulty prints. Regularly validate your mesh for manifold errors.
- Overcomplicated Design Details: Hard-to-print structures like extremely fine details, tiny unsupported elements, or excessively complex overhangs can lead to poor print quality or complete failure. Simplify details where possible, or plan for extensive support structures.
- Ignoring 3D Printer Limitations: Every printer has size, resolution, and material capability constraints. Designing a model that exceeds your printer’s build volume or requires materials it cannot handle will inevitably lead to problems.
- Lack of a Flat Base: Designing without a stable, flat base for adhesion significantly increases the risk of warping and failed prints.
- Excessive Supports: While sometimes unavoidable, over-reliance on supports can waste material and require extensive post-processing, often leaving rough surfaces. Design for printability to minimize support needs.
Conclusion
Designing 3D models for 3D printing is a skill that combines creativity with technical understanding. By selecting the right software, adhering to core design principles like manifold geometry and appropriate wall thickness, and following a structured workflow, you can significantly improve your success rate. Remember to consider your printer’s limitations and learn from any mistakes. With practice, you’ll be able to translate your digital visions into tangible 3D prints consistently.