Introduction
Beyond printing single-color objects, 3D printing offers creative avenues to add intricate visual depth and realistic effects directly into your models. Imagine prints that seem to capture light and shadow, or intricate images that reveal themselves when backlit. These advanced techniques, often referred to as ‘3D print shading’ or ‘fake studio lighting’, leverage filament properties and slicer capabilities to transform ordinary prints into visually striking pieces.
This guide explores two primary methods for achieving compelling visual effects on your 3D prints: filament color mixing for simulated lighting, and the creation of lithophanes or embossed designs from 2D images. We’ll delve into how these techniques work, what tools you’ll need, and practical tips to master them.
Understanding 3D Print Shading Techniques
Applying visual depth to 3D prints can significantly enhance their aesthetic appeal. Rather than relying solely on post-processing, these methods integrate the shading and lighting effects into the printing process itself. This section covers two distinct approaches.
Filament Color Mixing for Simulated Lighting (Zenithal Effect)
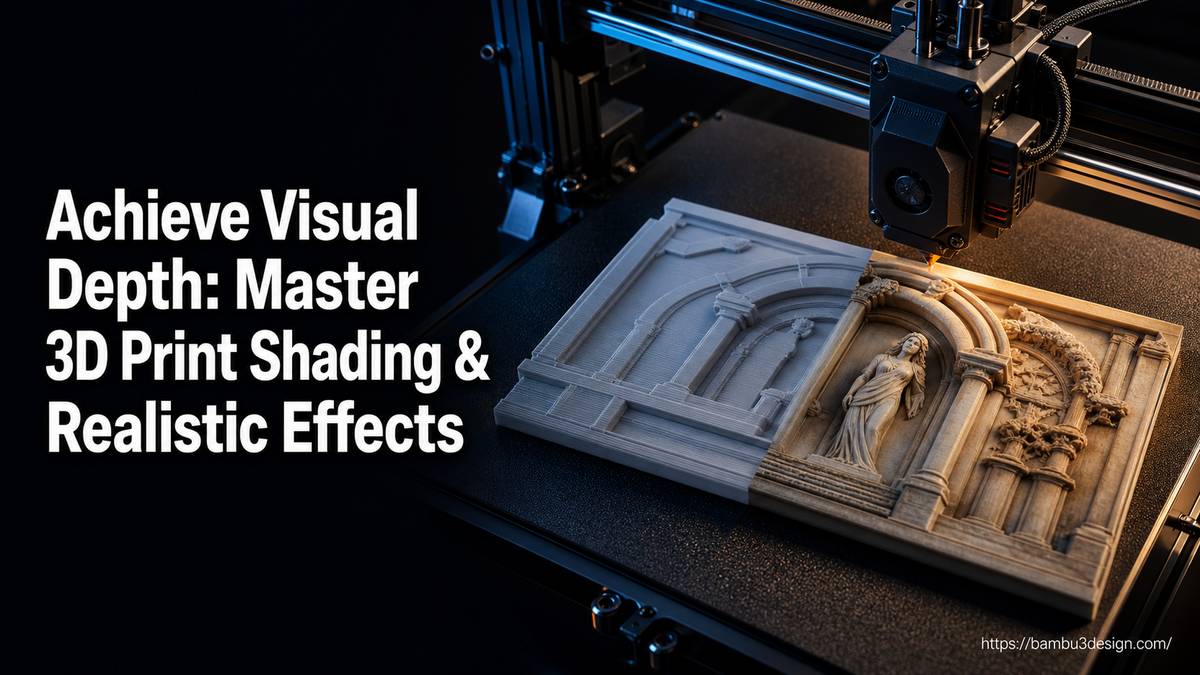
Filament color mixing is an innovative technique that simulates light and shadow directly on your 3D prints using a multi-material system. The core idea is to apply different shades of a single color, or closely related colors, to various surfaces of a model based on how light would naturally fall on them. This creates a powerful illusion of depth and realism, much like how professional artists use ‘zenithal priming’ in miniature painting.
What is Zenithal Priming?
Zenithal priming is a painting technique where an artist applies dark primer to a model, then sprays lighter colors from above. This process naturally highlights raised areas and leaves recessed areas darker, immediately giving the model a sense of dimension and preparing it for further detail painting. In 3D printing, we can mimic this effect by digitally assigning filament colors based on a simulated light source.
How it Works
- Light Source Simulation: Software tools allow you to virtually position a light source around your 3D model. The software then calculates which surfaces would be illuminated and which would be in shadow.
- Color Mapping: Based on these calculations, different shades of filament are assigned to corresponding areas of the model. For instance, a light gray filament might be used for illuminated areas, a medium gray for mid-tones, and a dark gray or black for shadowed regions.
- Multi-Material Printing: A printer equipped with a multi-material system (like Bambu Lab’s AMS) then prints the model, seamlessly transitioning between these assigned filament colors layer by layer, creating a gradient effect that simulates real lighting.
Benefits
- Enhanced Realism: Adds a perception of depth and volume without altering the model’s geometry.
- Reduced Post-Processing: Minimizes the need for extensive painting or shading after printing.
- Highlights Details: Brings out fine details and textures on complex models.
Ideal For
This technique is particularly effective for highly detailed models, sculptures, busts, and figures where subtle shading can dramatically improve visual impact. Models with intricate surfaces benefit most from the way light and shadow can accentuate their features.
Workflow & Tools
To implement filament color mixing for simulated shading, you will typically follow these steps:
- Model Preparation: Start with a well-detailed 3D model, ideally with good surface geometry to capture light interaction.
- Shading Application: Use a specialized web app or slicer feature that allows you to define a virtual light source. This tool will analyze your model’s geometry and automatically generate a color map, often using a limited palette of shades (e.g., light, medium, dark).
- Filament Selection: Load your multi-material system with a selection of filaments that are different shades of the same base color (e.g., white, light gray, dark gray, black PLA). Using just a few shades often yields more pleasing and realistic results than a wide range of disparate colors.
- Slicing: Slice your model, ensuring the multi-material settings correctly assign the prepared color map to the corresponding filament slots.
- Print: Execute the print on your multi-material 3D printer.
Lithophanes and Embossed/Debossed Prints
Another powerful way to achieve unique visual effects on 3D prints is by converting 2D images into 3D models. This includes creating lithophanes or embossed/debossed designs, which manipulate geometry rather than color to create an image with depth.
What They Are
- Lithophanes: These are thin, translucent 3D prints that reveal a grayscale image when backlit. The image is created by varying the thickness of the print: thinner areas allow more light through (appearing lighter), while thicker areas block more light (appearing darker). They are perfect for transforming photographs into tangible, light-dependent art pieces.
- Embossed/Debossed Images: These prints feature a raised (embossed) or sunken (debossed) relief of a 2D image or design. Unlike lithophanes, they don’t rely on backlighting; the image is visible through the physical texture and shadow created by the raised or recessed areas. They are suitable for logos, artistic patterns, or tactile designs.
How They Work
Both methods convert the brightness or color information of a 2D image into Z-axis (height) data for a 3D model. For lithophanes, darker pixels become thicker areas, and lighter pixels become thinner. For embossed/debossed prints, image contrast dictates the height or depth of the relief.
Benefits
- Personalization: Ideal for creating unique, personalized gifts from photos.
- Artistic Display: Offers a distinctive way to display images or artwork.
- Tactile Experience: Embossed prints provide a tactile element alongside the visual.
Ideal For
Lithophanes excel with high-contrast photographs, portraits, and detailed scenes where light transmission is key. Embossed/debossed designs are great for intricate line art, logos, text, or patterns where a physical relief is desired.
Workflow & Tools
- Image Selection: Choose a clear, high-contrast image. For lithophanes, images with distinct dark and light areas produce the best results. For embossed designs, simpler line drawings or vector-based images are often easier to interpret.
- Image Preparation Software: Utilize dedicated online tools, standalone software, or even some advanced slicers to convert your 2D image into a 3D-printable
.STLor.3MFfile. Popular options include:- Image to STL.com: A free online tool for creating lithophanes.
- Lithophane Maker: Another popular web-based option offering customizable settings for shape, size, and detail.
- Cura: Features built-in functionality to convert images into heightmaps for embossed/debossed effects.
- Slicing: Load the generated 3D model into your slicer. Pay close attention to specific settings for these print types.
- Print: Execute the print, ensuring optimal material and slicer settings.
Choosing the Right Method for Your Project
Selecting between filament color mixing and lithophanes/embossed prints depends on your desired outcome and the nature of your model. Here’s a comparison to guide your decision:
| Feature | Filament Color Mixing (Zenithal) | Lithophane | Embossed/Debossed Print |
| :—————— | :——————————————– | :———————————- | :——————————– |
| Effect | Simulated light & shadow, visual depth | Backlit grayscale image | Raised/sunken physical texture |
| Primary Input | 3D model geometry | 2D photograph or image | 2D image, logo, or artwork |
| Key Requirement | Multi-material 3D printer, shading software | Translucent filament, backlighting | Any FDM 3D printer |
| Best For | Detailed sculptures, figures, artistic models | High-contrast photos, portraits | Logos, text, artistic reliefs |
| Filament | Multiple shades of one color (e.g., PLA, PETG) | Translucent white PLA | Any standard filament (e.g., PLA) |
Filament Considerations
- For Color Mixing: Consistency in filament color and flow is crucial for smooth transitions. Ensure filaments are dry to prevent printing artifacts that could disrupt the shading effect.
- For Lithophanes: Translucent white PLA is generally the best choice. Its ability to transmit and diffuse light evenly is paramount for the image to resolve clearly. Avoid opaque or heavily colored filaments, as they will obscure the image when backlit. While other translucent materials can work, PLA offers the best balance of printability and clarity.
Tips for Maximizing Visual Effects in Your Prints
Regardless of the method you choose, fine-tuning your approach and settings can significantly impact the quality of your shaded or image-based 3D prints.
Image Quality (for Lithophanes and Embossed Prints)
- Resolution: Always use high-resolution source images. Low-resolution images will result in pixelated or blurry 3D prints.
- Contrast: High-contrast images with clear distinctions between light and dark areas work best, especially for lithophanes. For embossed prints, sharp lines and clear shapes translate well.
- Noise: Reduce any image noise or artifacts before conversion, as these can create unwanted textures in the 3D model.
Slicer Settings
- Layer Height: For highly detailed effects, especially lithophanes, a very fine layer height (e.g., 0.08mm to 0.12mm) is critical. This allows for smoother gradients and more precise image reproduction.
- Infill: For lithophanes, 100% infill is typically recommended to ensure uniform light transmission and strength. For color mixing or embossed prints, standard infill patterns are usually sufficient, but consistency is key.
- Print Speed: Slower print speeds can improve the accuracy of detail and the precision of color transitions, particularly in multi-material prints. This also helps reduce artifacts that might disrupt shading.
- Nozzle Size: While a 0.4mm nozzle is standard, consider using a smaller nozzle (e.g., 0.2mm) for extremely fine details in lithophanes or complex shaded models, if your printer and filament allow.
Filament Management
- Dry Filaments: Always use dry filament. Moisture can cause bubbling and inconsistencies, which will detract from the smooth color transitions of shaded prints or the clear image of lithophanes.
- Color Consistency: For color mixing, ensure the shades of filament you choose are distinct enough to create a noticeable effect but close enough to blend smoothly.
Conclusion
Adding visual depth and shading to your 3D prints through techniques like filament color mixing or lithophane creation opens up a world of creative possibilities. Whether you’re aiming for the subtle realism of simulated studio lighting on a detailed sculpture or the striking effect of a backlit photograph, these methods allow your 3D printer to produce truly unique and engaging objects.
Experiment with different filament combinations, refine your slicer settings, and explore the various software tools available. By understanding the principles behind these techniques, you can transform your models, adding a level of artistry that goes beyond simple form and function, making your 3D prints truly pop. The journey from a standard print to a masterpiece of light and shadow is an exciting one for any maker.