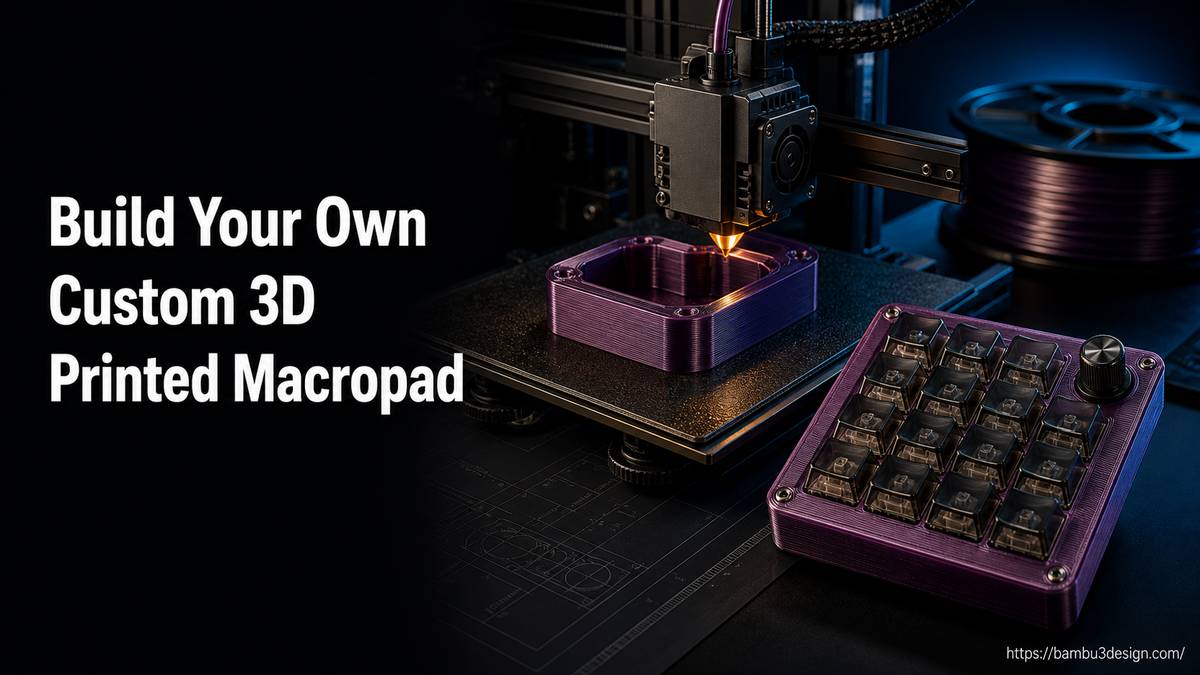
A 3D printed macropad is a compact, programmable keyboard designed to execute macros, shortcuts, and specific commands with a single button press. Unlike a full-sized keyboard, macropads are tailored for efficiency, streamlining tasks in various applications from gaming and media control to CAD software, 3D printer management, and smart home automation.
The appeal of a custom 3D printed macropad lies in its unparalleled personalization. Commercial controllers can be expensive and lack specific features. By leveraging 3D printing, makers can design an enclosure that perfectly fits their aesthetic and functional needs, integrate their preferred components, and program it for their unique workflow, often at a fraction of the cost.
Why Build a Custom 3D Printed Macropad?
Creating your own macropad offers a unique blend of practical benefits and a rewarding DIY experience:
Enhanced Workflow and Productivity
A macropad can significantly accelerate your digital tasks. Imagine executing complex sequences in CAD software, running specific scripts in Visual Studio Code, or controlling your Klipper-powered 3D printer with dedicated buttons. For smart home enthusiasts, a macropad can act as a centralized, intuitive controller for lights, scenes, and devices, simplifying daily interactions.
Unmatched Customization and Personalization
This is where 3D printing truly shines. You have complete control over:
- Layout and Ergonomics: Design the exact number and arrangement of keys, rotary encoders, and displays that suit your hand and workflow.
- Aesthetics: Choose specific filament colors, textures (like Prusament Woodfill), or even multi-material designs to match your desk setup or personal style. Bambu Lab printers with AMS units make multi-color printing straightforward, while single-extruder printers can still achieve multi-color results with manual filament swaps.
- Functionality: Integrate components like OLED screens for real-time feedback (e.g., active light scene), rotary encoders for precise adjustments (e.g., brightness, volume), or RGB LEDs for visual cues.
- Modularity: Design a system that allows for interchangeable modules, enabling different key layouts or functionalities to be snapped together magnetically for various tasks.
A Rewarding DIY Challenge
Building a macropad is an excellent project for honing several maker skills. It involves:
- CAD Design: Learning to create functional enclosures.
- 3D Printing: Understanding material properties and printer settings.
- Electronics: Basic wiring and soldering.
- Programming: Flashing firmware and writing custom code.
- PCB Design: For advanced users, designing a custom PCB is a significant learning curve that can elevate a prototype to a professional-grade device.
Cost-Effectiveness
Compared to purchasing specialized commercial controllers, a DIY 3D printed macropad can be built for significantly less. The primary costs are for inexpensive microcontrollers, switches, and a small amount of filament, making it an accessible project.
Essential Components for Your Macropad Project
The heart of any macropad lies in its electronics and mechanical interfaces. Here’s what you’ll typically need:
Microcontrollers
These tiny computers are the brain of your macropad, interpreting button presses and executing programmed commands. Popular choices include:
- ESP32 Boards: Excellent for smart home integration due to built-in Wi-Fi. Brands like Adafruit offer compact options.
- Raspberry Pi Pico/RP2040 Variants: Highly versatile and readily available. Boards like the Beetle RP2040, RP2040 Zero, or XIAO RP2040 (from Seed Studio) are small, affordable, and well-supported by various firmware options.
Mechanical Switches and Keycaps
Borrowing from the mechanical keyboard world, high-quality switches provide satisfying tactile feedback. You’ll need:
- Mechanical Keyboard Switches: Choose from various types (linear, tactile, clicky) based on preference.
- Keycaps: Customizable caps to label functions or add aesthetic flair. Consider color-matched keycaps for visual organization.
- Hotswap Sockets (Optional): These allow switches to be changed without soldering, offering flexibility in switch choice and easy replacement.
Rotary Encoders and OLED Displays (Optional Enhancements)
To add advanced functionality and feedback:
- Rotary Encoders: Provide continuous input for tasks like volume control, brightness adjustment, or scrolling. Many include a built-in push switch for additional commands.
- OLED Displays: Small screens that can show active modes, light scenes, or other relevant information, greatly enhancing the user experience.
- RGB LEDs: Add visual \”spice\” or indicate modes with customizable lighting.
Printed Circuit Board (PCB) vs. Hand-Wiring
For beginners, hand-wiring switches directly to a microcontroller is a straightforward and cost-effective approach. It requires basic soldering skills and careful planning of connections.
For those looking to scale up or create a more robust device, designing a custom PCB is the next step. Tools like KiCad or Autodesk Eagle allow you to lay out all components neatly, leading to a more compact and reliable final product. Services like PCBWay can then fabricate your custom designs.
Designing Your 3D Printed Macropad Enclosure
The enclosure houses all your electronics and provides the aesthetic finish. 3D printing makes iterative design and customization simple.
CAD Software Choices
- Fusion 360: A powerful, industry-standard CAD tool offering parametric design capabilities, ideal for complex, precise enclosures and modular systems. It’s often available for free for hobbyists.
- Tinkercad: A free, web-based tool with a simpler learning curve, excellent for beginners to create basic enclosures by combining and modifying geometric shapes.
Material Selection
Choosing the right filament impacts durability, aesthetics, and resistance to environmental factors:
- PLA (Polylactic Acid): Easy to print, available in many colors, and good for general desktop use where high temperatures aren’t a concern.
- PETG (Polyethylene Terephthalate Glycol): More durable and temperature-resistant than PLA, offering a good balance of strength and printability.
- ASA (Acrylonitrile Styrene Acrylate): Excellent UV and temperature resistance, making it suitable for enclosures installed inside a 3D printer enclosure that can get toasty.
- Woodfill Filaments: Offer a unique aesthetic for a natural, tactile feel.
Printer Capabilities and Slicing
Modern 3D printers offer various capabilities that can enhance your macropad project:
- Multi-Material Printing: Printers equipped with multi-material systems like Prusa’s MMU3, Prusa XL, or Bambu Lab’s AMS (for models like the A1, P1S, X1-Carbon) allow for multi-color or multi-material enclosures with minimal waste and no manual filament changes.
- Single-Tool Machines: Even standard single-extruder printers can produce multi-color parts by pausing the print at specific layers for manual filament swaps.
Bambu Studio (Bambu Lab’s companion software) or OrcaSlicer simplifies the slicing process, allowing you to prepare your STL models for optimal printing results quickly. Ensure your dimensions are precise, as a friction fit enclosure requires careful calibration and prototyping.
Firmware and Programming Your Macropad
The software is what brings your hardware to life, defining what each button does.
Popular Firmware Options
- QMK/VIAL: Widely popular open-source firmware for mechanical keyboards and macropads. QMK provides extensive customization, while VIAL offers a user-friendly graphical interface for on-the-fly key remapping.
- KMK Keyboard Firmware: A CircuitPython-based alternative, offering Python’s simplicity for programming, which can be appealing to those familiar with Python.
- Arduino IDE: The go-to environment for programming ESP32 and RP2040 microcontrollers with C/C++ code. Essential for custom smart home logic or MIDI functionality.
Specific Applications and Programming Approaches
- Smart Home Control: For ESP32-based macropads, you’ll typically write custom Arduino code to interact with your smart home platform (e.g., Home Assistant, MQTT) via Wi-Fi.
- Klipper 3D Printer Control: Using an RP2040, you’ll flash specific Klipper firmware onto the microcontroller. This involves configuring Klipper’s \”make menuconfig\” on your Raspberry Pi, then transferring the generated firmware file (e.g., via WinSCP) and flashing it onto the RP2040 while holding its boot button. Once flashed, Klipper recognizes it as an additional input device.
- MIDI Macropads: For music production or creative applications, the RP2040 can be programmed in the Arduino IDE to send MIDI commands. This allows your macropad to act as a controller for software like Lightroom or digital audio workstations.
Step-by-Step Assembly and Prototyping Tips
Building a macropad is an iterative process. Here’s a general approach and some tips:
- Design the Enclosure: Use your chosen CAD software to create the case, ensuring precise cutouts for switches, microcontrollers, and any optional components like encoders or displays.
- 3D Print Prototypes: Print early versions of your enclosure in an inexpensive material like PLA to test fitment. Expect to make multiple prints to fine-tune dimensions, especially for friction-fit parts. The Bambu Lab A1 Mini, for example, is excellent for rapid prototyping due to its speed and ease of use.
- Prepare Electronics: Gather your microcontroller, switches, keycaps, and any optional components. If using a custom PCB, assemble and solder all components onto it.
- Wire Components: For hand-wired builds, carefully solder the switches, encoder, and display to the microcontroller according to your schematic. Ensure all connections are secure and properly insulated.
- Flash Firmware: Connect your microcontroller to your computer and upload the appropriate firmware using the Arduino IDE or Klipper configuration process. Test each button to ensure it registers correctly.
- Mechanical Assembly: Install the switches into the enclosure, often using M3 screws that self-thread into designed plastic bosses. Secure the microcontroller and other components inside the case.
- Test and Refine: Once assembled, rigorously test your macropad. Identify any issues with button functionality, display output, or encoder response. Continue to refine your firmware or hardware design as needed.
Prototyping Tip: Embrace the iterative nature of DIY. Small adjustments to your CAD model and reprinting sections of your design are a normal part of the process to achieve perfect fit and function.
Conclusion
Building a custom 3D printed macropad is an incredibly rewarding project that combines elements of CAD design, 3D printing, electronics, and programming. Whether you’re aiming to streamline your professional workflow, gain precise control over your smart home, or simply enjoy a challenging DIY endeavor, a macropad offers a versatile and highly personalized solution. By carefully selecting your components, designing a functional enclosure, and mastering the firmware, you can create a unique tool that genuinely enhances your digital experience.