Harnessing AI Tools for Enhanced 3D Printing
3D printing offers immense creative potential, but the journey from a concept to a finished physical object can be complex. Designers often grapple with intricate 3D modeling, correcting design flaws, and ensuring models are truly print-ready. This is where Artificial Intelligence (AI) tools are transforming the landscape, streamlining workflows, and making advanced 3D design more accessible.
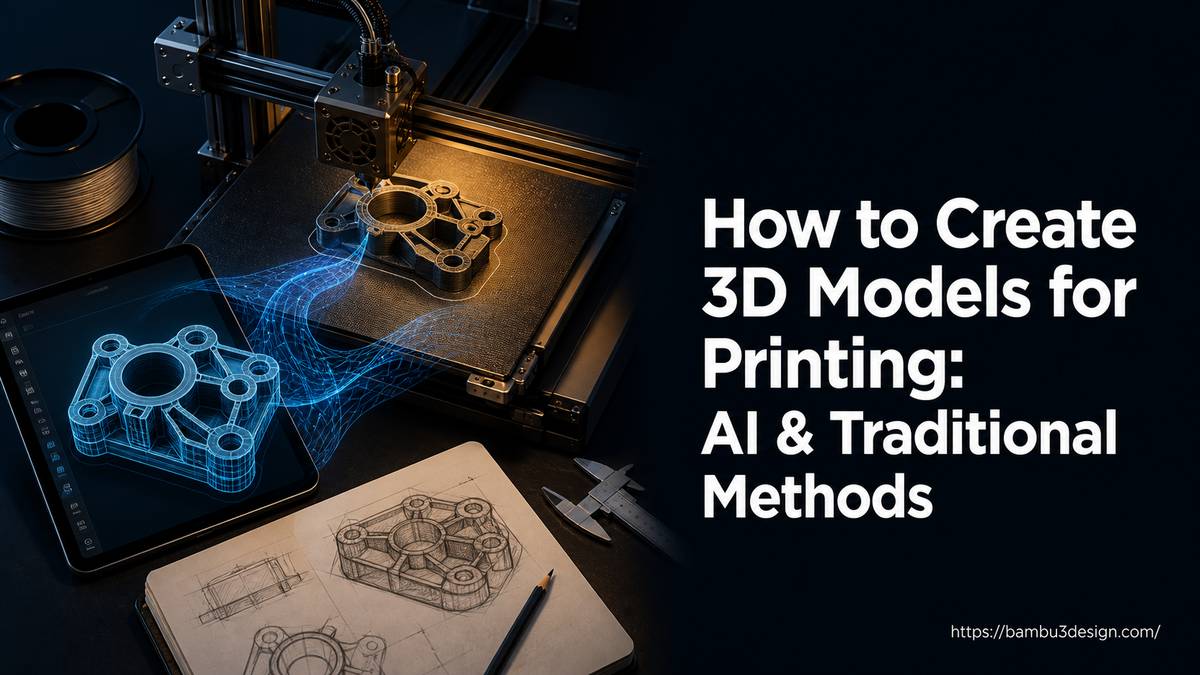
AI tools automate various stages of the 3D printing process, from generating initial design concepts to optimizing geometry and preparing files for the slicer. By leveraging AI, both hobbyists and seasoned professionals can achieve higher quality prints faster, with reduced material waste, and overcome common technical hurdles. This guide explores the leading AI tools for 3D printing and how they integrate into an efficient workflow.
Why Integrate AI into Your 3D Printing Workflow?
Traditional 3D modeling software requires significant skill and time, often leading to frustration for new users and extensive effort for experienced designers. AI addresses these challenges by:
- Automating Model Generation: Quickly create complex geometries from text prompts or 2D images, drastically reducing manual modeling time.
- Optimizing Designs: AI can perform generative design and topology optimization, creating lighter, stronger, or more material-efficient parts based on specified constraints.
- Enhancing Printability: Many AI tools are designed to produce watertight meshes and correct common geometry errors, minimizing failed prints.
- Accelerating Iteration: Rapidly generate and test multiple design variations, speeding up the prototyping process.
- Lowering the Barrier to Entry: Enable users without extensive CAD experience to create custom 3D models.
Key AI Tools for 3D Design and 3D Printing
Several AI tools stand out for their capabilities in enhancing the 3D printing workflow. Each offers unique strengths, catering to different design needs and skill levels.
Meshy AI
Meshy AI is a highly-rated AI 3D model generator known for its versatility. It’s widely adopted across various creative industries, including game development, film production, and product design, but its features are particularly beneficial for 3D printing.
Key Features:
- Text-to-3D and Image-to-3D: Generate 3D models from simple text prompts or multiple 2D images, catering to diverse input methods.
- AI Texturing: Apply full PBR (Physically Based Rendering) maps (Diffuse, Roughness, Metallic, Normal) to generated or uploaded models, enhancing visual realism.
- Smart Remesh: Offers adjustable triangle/quad counts (1k–300k) to create models suitable for either 3D printing (watertight, manifold) or game engines.
- Slicer Plugins: Native integrations with popular slicers like Bambu Studio, OrcaSlicer, Ultimaker Cura, Elegoo Slicer, and Creality Print streamline the export process.
- Extensive Export Formats: Supports STL, OBJ, FBX, GLB, 3MF, USDZ, and BLEND, eliminating the need for external conversion.
- Additional Capabilities: Includes rigging, animation, and a library of motions, though primarily useful for non-3D printing applications, it highlights the model quality.
Best Suited For: Users seeking quick generation of complex 3D models from text or images, with direct pathways to common 3D printing slicers and a focus on production-ready output.
Tripo AI
Tripo AI specializes in transforming 2D images into 3D printable models. It focuses on simplifying the process for artists and designers who want to quickly convert visual concepts into physical objects.
Key Features:
- 2D Image to 3D Model Conversion: Creates 3D models directly from supplied 2D images.
- Watertight Mesh Generation: Automatically generates watertight geometry, addressing common 3D printing issues like holes or non-manifold surfaces.
- Reduced Manual CAD Work: Significantly cuts down the time required for traditional CAD modeling.
- STL and OBJ Export: Provides standard 3D printing file formats for easy integration into slicers.
Best Suited For: Artists and designers who primarily work with 2D images and need a fast, efficient way to convert them into printable 3D models for rapid prototyping.
Autodesk Fusion 360 (Generative Design)
Autodesk Fusion 360 integrates advanced AI generative design capabilities, focusing on optimizing part shapes based on performance criteria. While not a direct “text-to-3D” generator, its AI features redefine how engineers and designers approach part creation for additive manufacturing.
Key Features:
- AI Generative Design: Explores numerous design solutions based on user-defined constraints such as material, weight, strength, and manufacturing method.
- Constraint-Based Modeling: Optimize designs to meet specific performance requirements.
- Built-in Simulations: Includes stress and load simulations to validate designs before printing.
- Topology Optimization: Creates lightweight yet strong parts by removing unnecessary material, ideal for critical components.
- Print-Ready Export: Supports STL and 3MF formats for seamless integration into 3D printing workflows.
Best Suited For: Engineers, product designers, and advanced makers who require optimized, high-performance parts where weight, strength, and material efficiency are critical.
PrintMakerAI
PrintMakerAI distinguishes itself by focusing on parametric CAD geometry generated by AI, rather than traditional mesh-based models. This approach aims to produce highly reliable and truly print-ready parts.
Key Features:
- Parametric CAD Generation: Utilizes CadQuery for creating solid geometry, which inherently avoids many issues common with mesh-based AI outputs.
- Focus on Printability: Prioritizes generating models with manifold edges and proper wall thickness, crucial for successful 3D prints.
- Natural Language to 3D: Allows users to describe desired parts in natural language, which the AI then converts into precise, functional CAD geometry.
- Comparison to Mesh AI: The platform emphasizes how its parametric approach overcomes common failures of mesh-based AI models, such as non-manifold edges or zero-thickness walls.
Best Suited For: Users who need functionally precise, highly printable parts, especially for engineering applications or custom enclosures, where mesh integrity and geometric accuracy are paramount.
ChatGPT / AI Image Tools (for Concept Generation)
While not directly 3D model generators, large language models like ChatGPT, combined with AI image generation tools (e.g., Midjourney, DALL-E), are invaluable for the initial concept phase.
Key Features:
- Concept Art Generation: Create detailed visual concepts from text prompts.
- Stylization: Transform existing photos into stylized artwork (e.g., low-poly, cartoon, realistic) as a basis for 3D models.
- Iterative Design: Experiment with different styles, poses, and features rapidly.
Best Suited For: The very first stage of design, helping designers visualize and refine their ideas before committing to 3D modeling.
3D AI Studio / MakerWorld
Platforms like 3D AI Studio offer comprehensive workflows from image generation to 3D model output. MakerWorld, integrated with Bambu Lab printers, also provides a pathway for model creation and sharing.
Key Features:
- Image to 3D Conversion: Similar to Tripo AI, these tools convert 2D images into 3D models.
- Multi-View Editing: Allows for consistent 3D edits from various angles, improving model fidelity.
- Workflow Automation: Enable users to build reusable AI applications or workflows for batch asset creation.
- Export Options: Supports various formats for printing or use in game engines.
Best Suited For: Beginners looking for an integrated platform to move from a visual idea to a 3D model, with guided tutorials for efficient use.
AI Workflow for 3D Printing: From Concept to Print
Integrating AI into your 3D printing process can significantly streamline creation. Here’s a general step-by-step workflow:
Step 1: Concept Generation with AI Image Tools
Start by visualizing your idea. Use AI image generators, potentially guided by ChatGPT prompts, to create concept art.
- Define Your Vision: Clearly describe what you want to create (e.g., a stylized action figure, a specific enclosure design).
- Craft Prompts: Use descriptive prompts with AI image generators. For example, to create a cartoon figure from a photo: “Transform this photo of the [subject] into a stylized 3D cartoon figure with a low poly appearance. The character should have large, expressive eyes, a small nose, chubby cheeks, and smooth, plastic-like skin, similar to a high-quality CGI animation or collectible figurine. Maintain a friendly and cheerful expression. Use simple, neat hair that matches the original style or suits the character’s look. Dress the figure in clothing similar to the picture. The pose should be natural and endearing—standing with hands in pockets or crossed arms. Use a plain white background with soft studio lighting.“
- Generate and Refine: Generate several images, adjusting prompts as needed until you achieve the desired visual concept.
Step 2: 3D Model Creation with AI Generators
Once you have your concept art, use an AI 3D model generator to convert it into a 3D object.
- Input Image/Text: Upload your generated concept image or provide a detailed text prompt to your chosen AI 3D model generator (e.g., Meshy AI, Tripo AI, 3D AI Studio, PrintMakerAI).
- Select Generation Settings: Choose desired quality, mesh density, or parametric parameters. For example, select “Ultra quality with PBR” for detailed meshes or define CadQuery parameters for functional parts.
- Generate 3D Model: Allow the AI to process and create the 3D model. This often takes seconds to minutes.
- Inspect and Collect: Review the generated model, checking for adherence to your concept and initial geometric integrity.
Step 3: Model Preparation & Optimization
AI-generated models may require some refinement to be truly print-ready. This step ensures optimal print success.
- Check for Printability: Verify that the model is watertight, has manifold edges, and possesses sufficient wall thickness. Tools like Meshy’s Smart Remesh or the inherent nature of PrintMakerAI’s parametric output help here.
- Repair Geometry (if necessary): If using mesh-based AI, be prepared to use external tools (like Meshmixer, Netfabb, or even built-in slicer repair functions) to fix non-manifold edges, inverted normals, or other common mesh errors.
- Optimize for Functionality (if applicable): For functional parts, consider using generative design or topology optimization (e.g., in Fusion 360) to improve strength-to-weight ratio or reduce material.
- Export in Print-Ready Format: Export the refined model in a suitable format like STL, OBJ, or 3MF. 3MF is often preferred over STL due to its ability to store color, texture, and other metadata.
Step 4: Slicing and 3D Printing
The final stage involves preparing your model for your 3D printer.
- Import into Slicer: Load your 3D model into your preferred slicer software (e.g., Bambu Studio, OrcaSlicer, Cura, PrusaSlicer).
- Configure Slicer Settings: Adjust settings like layer height, infill density, support structures, brim/raft, and print speed based on your filament type (PLA, PETG, ABS, ASA, TPU, Nylon) and printer.
- Generate G-code: Slice the model to create the G-code file.
- Print: Transfer the G-code to your 3D printer and begin printing. Monitor the first layer adhesion and overall print progress for best results.
Essential Considerations for Print-Ready AI Models
While AI greatly simplifies model generation, ensuring a successful print requires attention to specific geometric properties. Many mesh-based AI models, while visually appealing, can suffer from issues that lead to print failures.
Mesh-Based vs. Parametric Geometry
- Mesh-Based AI (e.g., Meshy, Tripo): These tools often generate models as a collection of triangles (meshes). While fast and versatile for organic shapes, they can sometimes produce non-manifold geometry, zero-thickness walls, or internal inconsistencies that cause slicers to fail or prints to have errors.
- Parametric AI (e.g., PrintMakerAI): Tools leveraging parametric CAD kernels (like CadQuery) create solid geometry based on mathematical definitions. This approach inherently produces watertight, manifold models with defined wall thicknesses, making them more reliably print-ready.
Ensuring Watertight Models
A watertight model means the 3D surface completely encloses a volume without any holes or gaps. This is crucial for 3D printing, as slicers need a closed volume to generate toolpaths for infill and perimeters. Many AI tools, like Tripo AI, focus on generating watertight geometry to prevent common printing problems.
Addressing Non-Manifold Edges
Non-manifold edges occur when more than two faces share a single edge, or when an edge is shared by only one face. Slicers struggle with non-manifold geometry because it creates ambiguity about what constitutes the “inside” or “outside” of a model. If your AI-generated model has these issues, it will require repair before printing.
Wall Thickness and Tolerances
Ensure that the generated model has adequate wall thickness for your chosen 3D printing material and nozzle size. Very thin walls can be fragile or simply not print correctly. When designing parts meant to fit together, proper tolerances are essential, especially for FDM printing. AI tools that generate parametric models often provide better control over these critical dimensions.
Conclusion
AI tools are revolutionizing the 3D printing industry, making the design and production of custom objects more efficient and accessible than ever before. From generating initial concepts with AI image tools to creating intricate 3D models with text-to-3D generators and optimizing functional parts with generative design, AI empowers makers to push the boundaries of creativity and engineering.
Whether you’re looking for rapid prototyping with mesh-based AI or precise, print-ready functional parts with parametric AI, the diverse ecosystem of AI tools offers solutions for every workflow. By understanding the capabilities of each tool and adhering to best practices for model preparation, you can unlock the full potential of AI-powered 3D printing and bring your ideas to life with unprecedented ease and quality.