Create AI 3D Models for Printing: A Beginner’s Guide
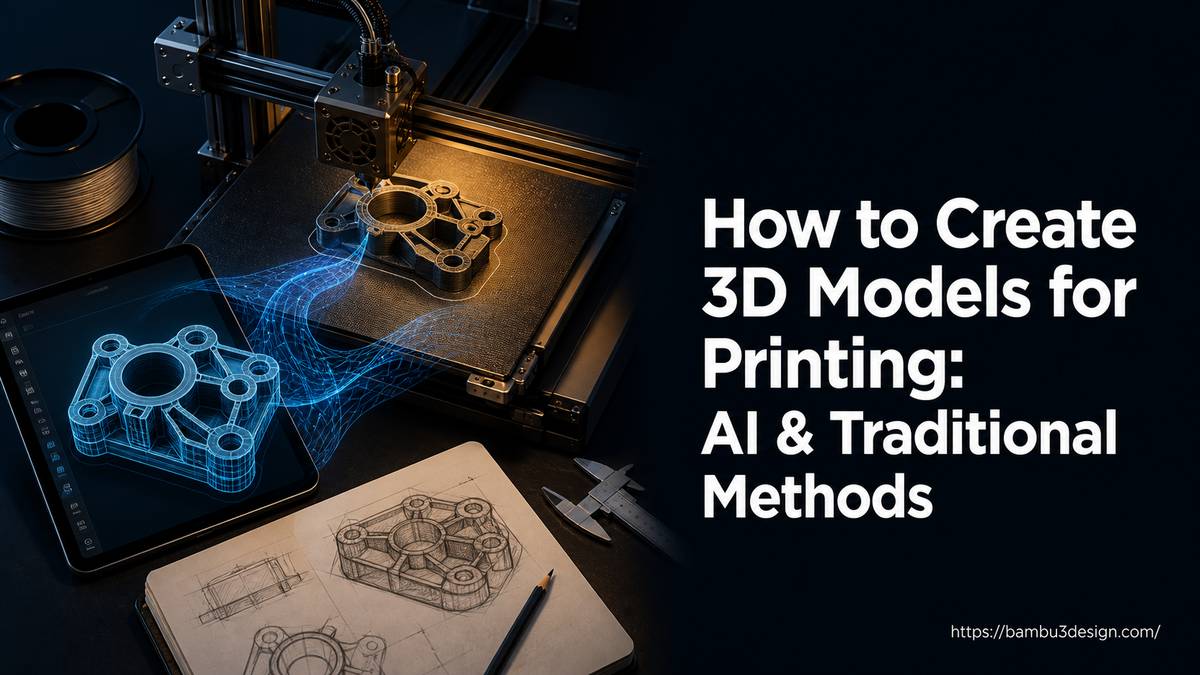
The world of 3D printing often feels inaccessible to those without extensive CAD design experience. Creating custom models from scratch can be a steep learning curve, requiring specialized software and technical skills. However, artificial intelligence (AI) is rapidly changing this landscape, empowering hobbyists and professionals alike to generate complex, printable 3D models from simple text prompts or images.
This guide will walk you through the process of creating AI 3D models for printing, focusing on practical steps, essential tools, and critical considerations to ensure your digital designs translate successfully into physical objects.
The Rise of AI in 3D Model Creation
AI 3D model generators are transforming how we approach design, offering a fast and intuitive way to bring ideas to life. These platforms leverage advanced algorithms to interpret user input and generate intricate 3D geometry, significantly reducing the time and expertise traditionally required.
Text-to-3D and Image-to-3D Generation
The primary methods for generating AI 3D models involve either text or image input:
- Text-to-3D: You describe the object you want to create using natural language. The AI then interprets your description and generates a corresponding 3D model. This method is ideal for brainstorming and quickly iterating on conceptual designs.
- Image-to-3D: You upload a 2D image—a photograph, sketch, or concept art—and the AI converts it into a matching 3D model. This is particularly useful for transforming existing visuals or designs into printable forms.
Some platforms also offer an “AI Agent” mode, where you can chat with the AI, brainstorm ideas, refine concepts, and ask questions about 3D printing as you go, making the design process highly interactive.
Meshy AI: A Leading Platform for Printable AI Models
While several AI 3D model generators exist (like Tripo AI and Rodin AI), Meshy AI stands out for its specific focus on creating models optimized for 3D printing. It’s designed to turn text or images into ready-to-use 3D models quickly, often in under a minute.
Key features that make Meshy suitable for 3D printing include:
- Born Printable: Meshy models are specifically trained to be watertight and manifold, meaning they have no holes, gaps, or non-manifold edges—common issues that prevent models from slicing correctly. This significantly reduces the need for manual cleanup.
- AI Auto-Repair: A built-in printability check automatically scans every exported model and repairs edge cases before you even send it to your slicer.
- Auto Split: For complex or multi-color designs, Meshy can automatically split a model into multiple watertight parts, pre-arranged on the build plate, making multi-color printing or fitting large models on smaller printers much easier.
- Broad Compatibility: Models can be exported in common 3D printing formats like STL, OBJ, and 3MF, and are ready for direct import into popular slicers such as Bambu Studio, OrcaSlicer, Ultimaker Cura, Creality Print, Flash Studio, Elegoo Slicer, and LycheeSlicer. It supports both FDM and resin 3D printing.
- Direct Publishing: Meshy offers direct publishing capabilities to platforms like MakerWorld, Printables, and Thingiverse.
Step-by-Step Guide: Creating AI 3D Models for Printing
Here’s a practical workflow to create your own 3D printable models using AI, even if you’re a complete beginner.
Step 1: Conceptualize Your Design with Text or an Image
The first step is to define what you want to create. This can be done in two ways:
- Text Prompt: Clearly describe your desired object. Be specific about its form, features, and overall style. For example, instead of “a car,” try “a vintage blue sports car with prominent fenders and exposed engine details.”
- Image Input: Generate or find an image of the object. For optimal results, consider these tips for choosing or creating images:
- Simple, Clear Subjects: Images with a single, well-defined object work best.
- Solid Background: A plain, solid-color background helps the AI isolate the object accurately. Tools like Canva or ChatGPT can help remove backgrounds.
- Good Lighting: Clear, even lighting highlights details without harsh shadows.
- High Resolution: Use a high-quality image to capture finer details.
- Multiple Views (Optional): Some advanced AI tools allow uploading multiple views (front, side, top) for more accurate 3D reconstruction, but often a single, clear image is sufficient for a good starting point.
Step 2: Generate Your 3D Model with AI Software
Once you have your text prompt or image, it’s time to use an AI 3D model generator. We’ll use Meshy AI as the primary example:
- Access the Platform: Navigate to the Meshy AI website.
- Select Generation Mode: Choose between “Image-to-3D” or “Text-to-3D.”
- Upload/Input: If using “Image-to-3D,” upload your prepared image. For “Text-to-3D,” enter your detailed description.
- Initiate Generation: With initial settings, simply click “Generate.” For beginners, it’s often best to use default settings and avoid getting overwhelmed by advanced options immediately.
- Review the Output: The AI will process your input and generate a 3D model, typically within seconds or a minute.
Step 3: Review and Enhance Printability
After generation, inspect your model. Even with AI tools designed for printability, a quick check is beneficial. Meshy AI excels here with its built-in features:
- Watertight and Manifold: Verify that the model’s mesh is fully enclosed (watertight) and has no overlapping or intersecting geometry (manifold). Meshy usually handles this automatically.
- Auto-Repair: Take advantage of any auto-repair functions if the software flags potential issues.
- Auto Split: If your model is large or you plan for multi-color printing, consider using the auto-split feature to break it into manageable, watertight components.
Step 4: Export Your Model for Slicing
Once satisfied with your AI-generated 3D model, export it in a format compatible with 3D printing software:
- STL (Stereolithography): The most common file format for 3D printing. It defines the model’s surface geometry using a mesh of triangles. It’s universally supported.
- OBJ (Wavefront Object): Another widely used format, supporting color and texture information, though for pure geometry, STL is often preferred.
- 3MF (3D Manufacturing Format): A newer, more advanced format that can store more information than STL, including materials, colors, and support structures, making it highly efficient for complex multi-color or multi-material prints. It’s generally recommended over STL when supported by your slicer and printer.
Choose the format that best suits your needs and the capabilities of your slicer. If starting with OBJ or GLB files (common in game development), most 3D modeling software or online converters can transform them into STL or 3MF.
Step 5: Prepare for Printing in Your Slicer
Load your exported 3D model into your preferred slicer software, such as Bambu Studio, OrcaSlicer, Cura, or PrusaSlicer.
- Import Model: Open your chosen slicer and import the STL, OBJ, or 3MF file.
- Orient and Scale: Position the model on the virtual build plate. Ensure its scale is correct. Incorrect dimensions are a common mistake.
- Add Supports: If your model has overhangs, generate support structures.
- Slicer Settings: Adjust print settings like layer height, infill density, print speed, and nozzle temperature based on your printer and filament type (PLA, PETG, ABS, ASA, TPU, Nylon, Carbon Fiber). For resin printers, consider exposure times and lift speeds.
- Slice: Generate the G-code, which is the instruction set for your 3D printer.
Step 6: Print Your 3D Model Successfully
Transfer the G-code to your 3D printer via an SD card, USB, or Wi-Fi connection. Ensure your printer is calibrated, the bed is clean and level, and the filament is loaded correctly.
Monitor the initial layers closely for good bed adhesion. Once the print is complete, carefully remove the model and clean off any supports or rafts.
Essential Design Principles for 3D Printability
While AI handles much of the geometry, understanding basic design principles for 3D printing will help you create better prompts and anticipate potential issues.
Common Mistakes to Avoid
- Wrong Scale: Always double-check the dimensions of your model in the slicer to ensure it prints at the desired size.
- Thin Walls: Lack of sufficient wall thickness will result in fragile prints or features that fail to print altogether. A minimum wall thickness of 0.8mm for FDM and 0.5mm for resin is a good general guideline, but this can vary by printer and material.
- Non-Watertight Models: Holes or gaps in the mesh are a frequent issue that AI tools like Meshy aim to mitigate. These cause errors during slicing and result in incomplete prints.
- Overcomplicated Design Details: Extremely fine or intricate details might be challenging for your printer to reproduce accurately, leading to messy or failed features. Balance detail with printability.
- Ignoring 3D Printer Limitations: Be mindful of your printer’s build volume, nozzle size, and material capabilities. A design that is too large or requires extreme precision might be beyond your machine’s limits.
Expert Tips for Generating Better 3D Models
- Design with a Flat Base: Models with a flat, stable base provide better bed adhesion and reduce the need for excessive support structures.
- Make Use of Modular Parts: For complex or large designs, consider breaking them down into smaller, interlocking components. This simplifies printing and allows for multi-color assembly.
- Balance Detail vs. Printability: While AI can generate highly detailed models, consider if all that detail is necessary or feasible for your chosen printer and layer height. Sometimes, simplifying complex features improves print success.
- Optimize for Material Use: Think about infill and shell thickness during slicing to optimize material consumption and printing time.
Conclusion
AI 3D model generators like Meshy AI have democratized the creation of 3D printable models, making it accessible to individuals regardless of their CAD expertise. By transforming text descriptions and 2D images into ready-to-print 3D files, these tools empower makers to bypass traditional modeling complexities.
Adopting this technology, coupled with an understanding of basic 3D printing principles, opens up a world of possibilities for custom designs, prototypes, and creative projects. Embrace AI and start bringing your imagination into the physical realm with unprecedented ease.