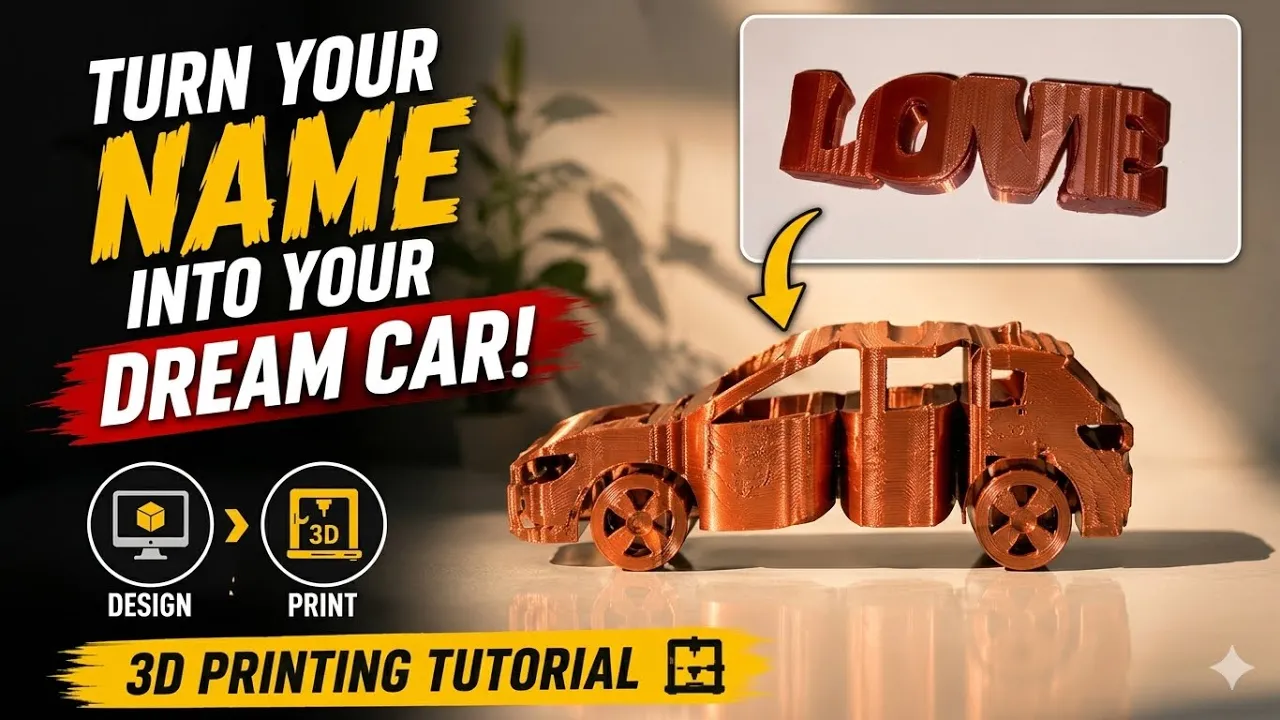
Have you ever wanted to create a custom 3D printed design that combines your name with your dream car? In this step-by-step tutorial, I’ll show you how to transform a vehicle blueprint into a personalized 3D printable model using Inkscape, SolidWorks, and Bambu Studio.
Starting from a simple car blueprint, we’ll convert the image into vector lines, create a clean sketch, build a 3D model in SolidWorks, and then combine it with custom text to create a unique automotive name design. Finally, we’ll prepare the model for 3D printing and bring it to life on a Bambu Lab printer.
🔧 Software Used
✔️ Inkscape
✔️ SolidWorks
✔️ Bambu Studio
📌 What You’ll Learn
✅ How to find and download high-quality vehicle blueprints
✅ How to crop and prepare blueprint images
✅ How to convert images into vector paths using Inkscape
✅ How to export DXF files for CAD software
✅ How to import sketches into SolidWorks
✅ How to clean and optimize imported sketch geometry
✅ How to convert a 2D sketch into a 3D model
✅ How to scale the model while maintaining correct proportions
✅ How to add custom text and merge it with the vehicle design
✅ How to prepare the final model for 3D printing in Bambu Studio
✅ How to print your personalized car name design
This workflow can be used to create:
🚗 Personalized car wall art
🚗 Custom name signs
🚗 Automotive gifts
🚗 Garage decorations
🚗 Unique 3D printed displays
Whether you’re a beginner or an experienced maker, this tutorial provides a simple workflow for turning almost any vehicle blueprint into a custom 3D printable design.
📦 STL File Available!
If you’d like to print this model yourself, you can download the STL file from the link below:
https://makerworld.com/models/2912537?appSharePlatform=copy
👍 If you enjoyed this video, please Like, Subscribe, and Share it with other 3D printing enthusiasts.