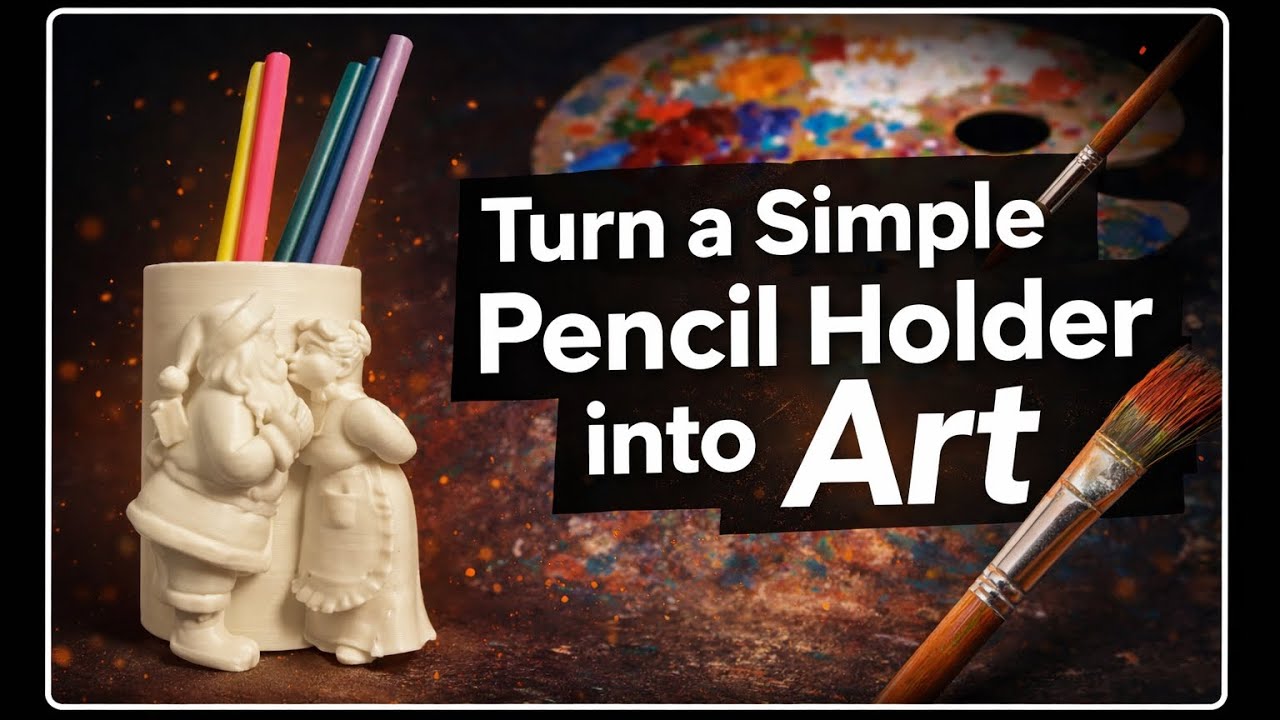
🎨 Turn a Simple Pencil Holder into Custom 3D Art
In this tutorial, you’ll learn how to turn a simple cylindrical pencil holder into a fully customizable piece of 3D art using SolidWorks and Bambu Studio.
We start in SolidWorks by designing the main pencil holder body. You’ll see how to:
• Create clean sketches
• Extrude the model
• Set proper dimensions
• Prepare a solid, printable cup
Next, we move to Bambu Studio, where the real creativity begins.
You’ll learn how to:
• Import any sculpture you like
• Scale it to match the pencil holder
• Position it perfectly on the cup
• Use boolean operations to merge the sculpture and the cup into one clean model
This method allows you to attach different sculptures to the same cup, meaning:
• One base design, endless variations
• Create themed pencil holders (fantasy, seasonal, decorative)
• Easily customize designs for gifts or desk accessories
Finally, we prepare the model for 3D printing and make it ready to send directly to the printer.
✨ This workflow gives you full freedom to turn simple shapes into unique, artistic designs.
⸻
🔧 Tools used:
- SolidWorks
- Bambu Studio
- 3D Printer
⸻
🎯 What you’ll learn: - Sketching and extruding in SolidWorks
- Exporting STL files
- Importing and scaling models in Bambu Studio
- Using boolean operations (Union / Subtraction)
- Preparing a model for 3D printing
⸻
👉 Perfect for beginners and anyone interested in creative 3D design, customization, and 3D printing.
Don’t forget to like, subscribe, and comment if you want more tutorials like this!
⸻
You can download the final model from the link below on MakerWorld.