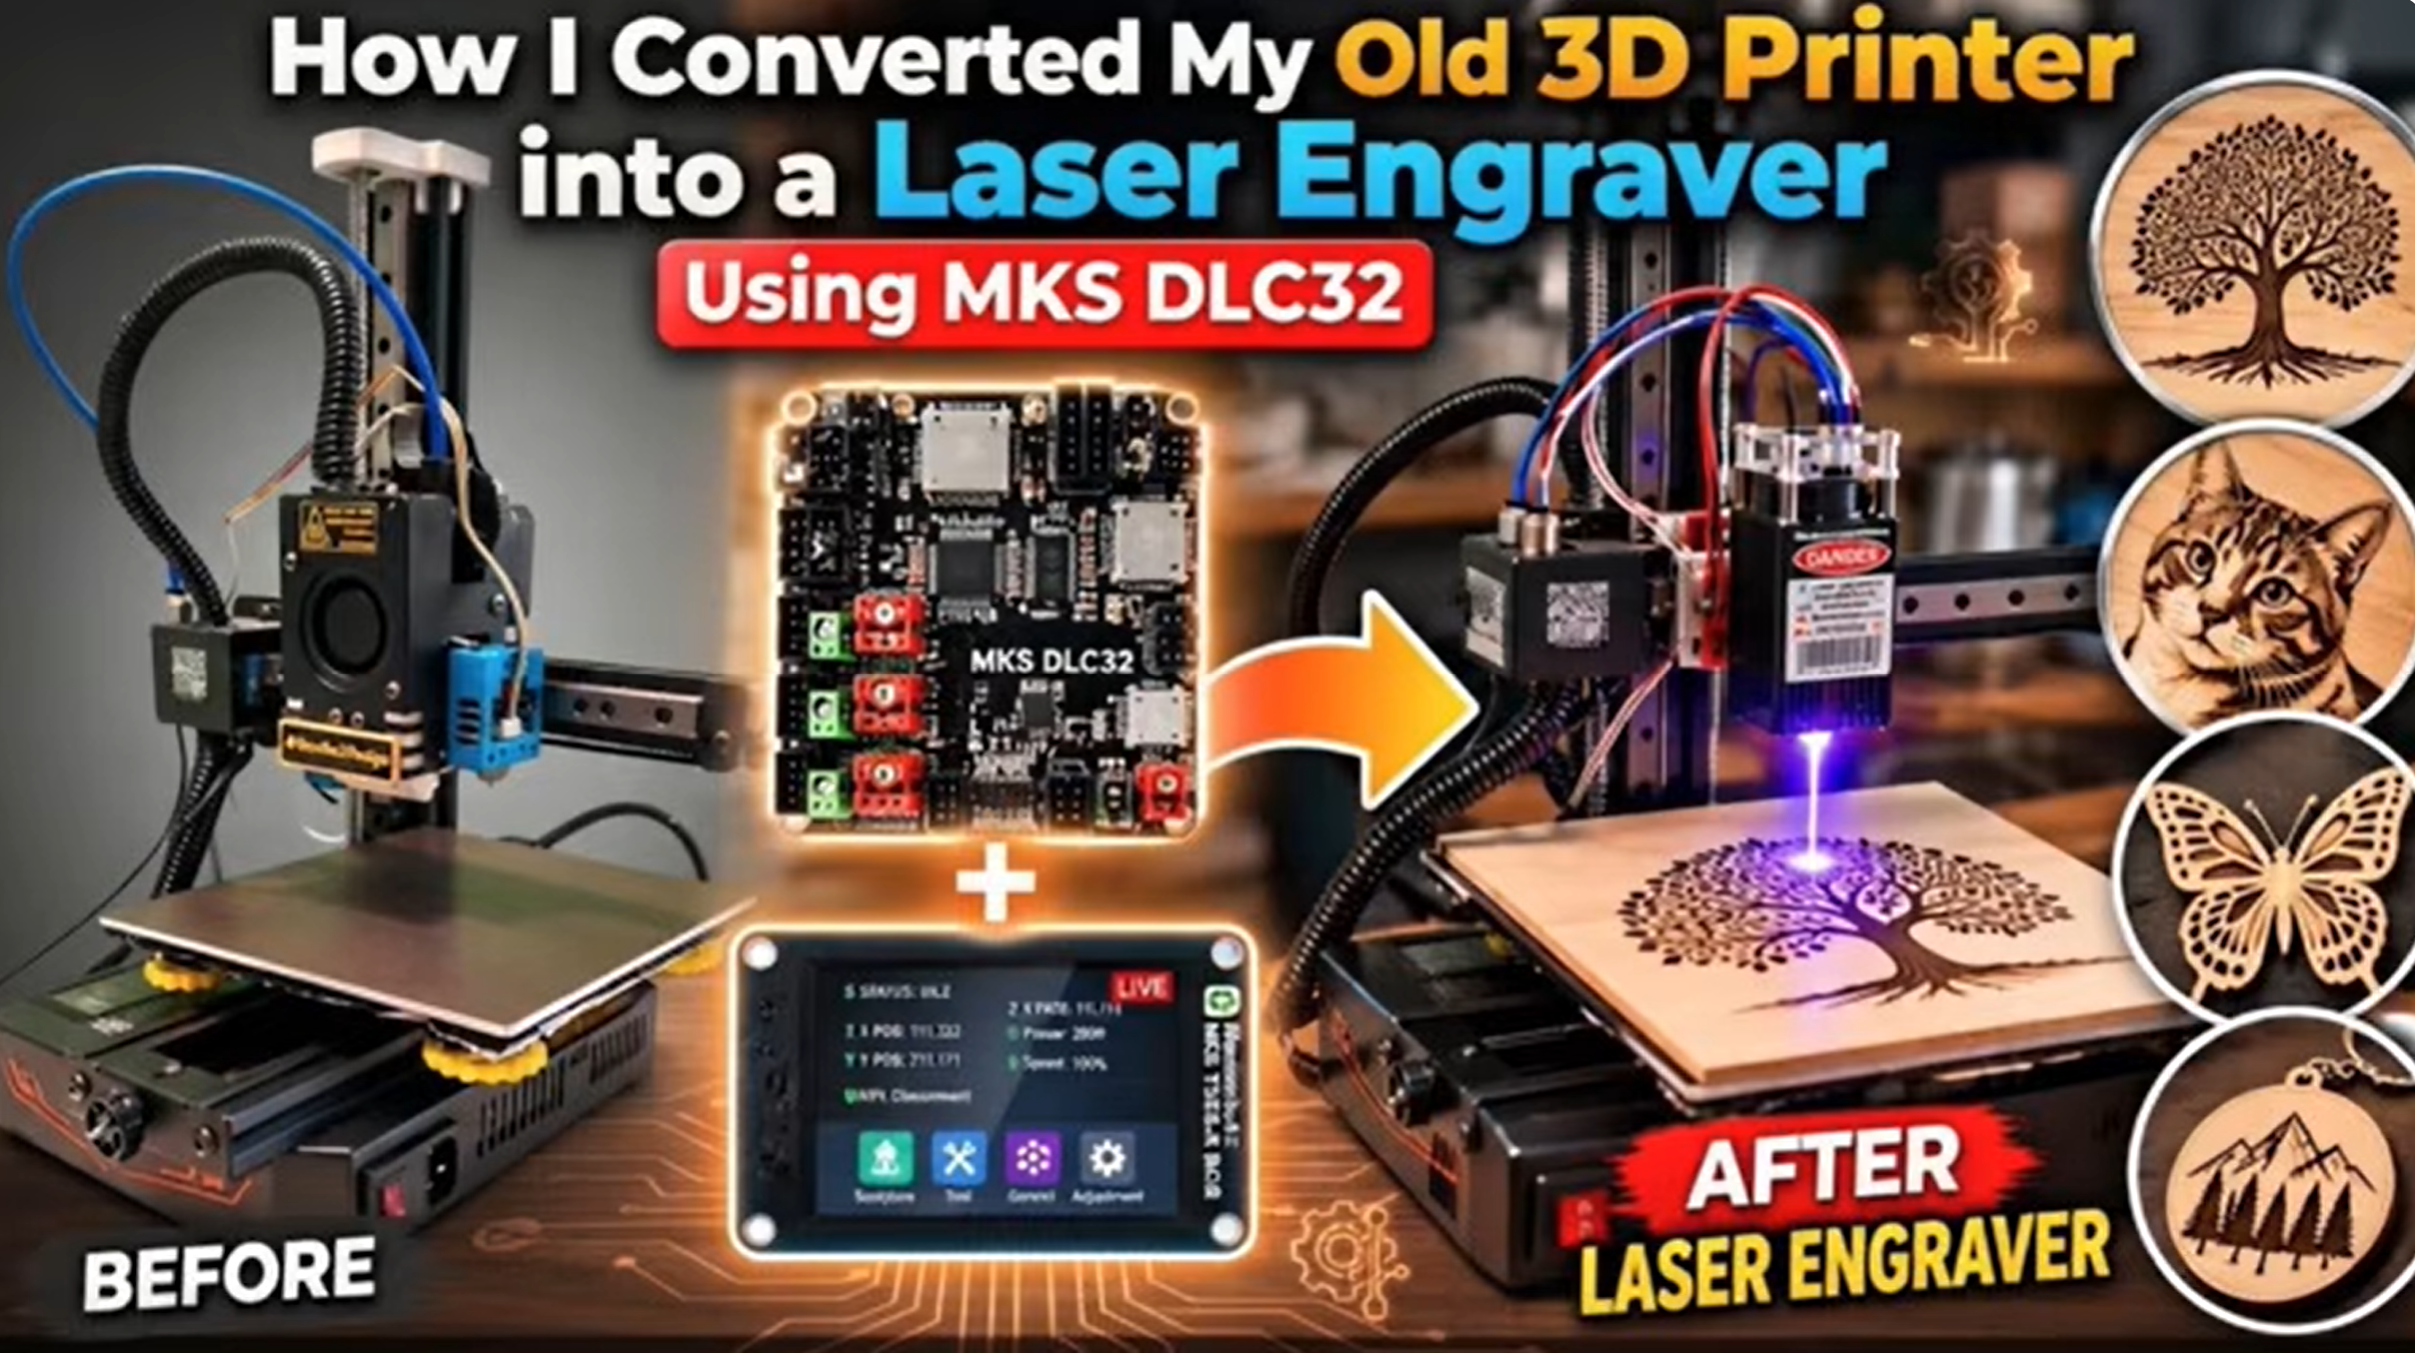
Give your old 3D printer a second life by transforming it into a laser engraving machine!
In this DIY project, I’ll show you how I converted my Kingroon KP3S Pro 3D printer into a laser engraver using an MKS DLC32 V2.2 controller board, MKS TS35-R touchscreen, TMC2209 stepper drivers, and a compatible laser module.
Instead of buying a completely new laser engraver, I reused the printer’s existing frame, stepper motors, linear motion system, and power supply.
I also designed custom 3D-printed mounting brackets and enclosures to install the new electronics, touchscreen, and laser module.
This project combines 3D printing, electronics, hardware modification, and machine control into one creative DIY upgrade.
Why Convert an Old 3D Printer into a Laser Engraver?
Old or unused 3D printers often contain useful components that can be repurposed for other projects.
In this conversion, I reused several parts of my Kingroon KP3S Pro, including:
- Existing printer frame
- Stepper motors
- Linear motion system
- Power supply
- Mechanical components
By replacing the original control electronics and hotend assembly, I was able to repurpose the machine for laser engraving.
The result is a custom laser engraver built around the existing 3D printer structure.
Main Features
- Repurposed 3D Printer: Based on the Kingroon KP3S Pro.
- MKS DLC32 V2.2 Controller: Used to control the converted machine.
- MKS TS35-R Touchscreen: Provides a touchscreen control interface.
- TMC2209 Stepper Drivers: Used for controlling the machine’s stepper motors.
- 24V Laser Module: Uses a TTL/PWM-compatible laser module.
- Custom 3D-Printed Parts: Includes mounting brackets and electronic enclosures.
- Reused Mechanical System: Retains the printer’s frame and linear motion components.
- Movement and Homing Tests: Demonstrates axis movement and homing after conversion.
- Laser Power Testing: Includes testing of the laser control system.
Components You’ll Need
Electronics and Control Components
- MKS DLC32 V2.2 Controller Board
- MKS TS35-R Touchscreen
- 2 × TMC2209 Stepper Motor Drivers
- 24V 4A DC Power Supply or Adapter
- 24V TTL/PWM-Compatible Laser Module
Mechanical and Assembly Components
- Kingroon KP3S Pro 3D Printer
- Custom 3D-Printed Mounting Brackets
- Custom 3D-Printed Electronic Enclosures
- Mounting Screws
- DC Power Connector
- Electrical Wiring
What You’ll Learn
In this project, I’ll show you:
- How to disassemble the original 3D printer electronics.
- How to remove the original hotend assembly.
- How to modify the existing enclosure.
- How to install the MKS DLC32 V2.2 controller.
- How to connect the MKS TS35-R touchscreen.
- How to install and configure TMC2209 stepper motor drivers.
- How to mount the laser module.
- How to connect the motors, endstops, and laser.
- How to test axis movement and homing.
- How to test laser power control.
- How to explore the touchscreen control interface.
Step 1: Disassemble the Original 3D Printer
The conversion begins by removing the original control electronics and hotend assembly from the Kingroon KP3S Pro.
The existing frame, stepper motors, and linear motion system are retained for the new laser engraving setup.
Step 2: Install the MKS DLC32 V2.2 Controller
The original printer motherboard is replaced with an MKS DLC32 V2.2 controller.
I also modified the electronics enclosure to accommodate the replacement hardware.
Custom 3D-printed components help secure the controller inside the modified machine.
Step 3: Install the Touchscreen and Stepper Drivers
Next, I installed the MKS TS35-R touchscreen and configured the TMC2209 stepper motor drivers.
The touchscreen provides a convenient interface for controlling the converted machine.
Step 4: Install the Laser Module
After installing the control electronics, the next step is mounting the compatible laser module.
I designed a custom 3D-printed mounting bracket to attach the laser module to the existing motion system.
The video demonstrates the installation and electrical connections.
Step 5: Connect the Motors, Endstops, and Laser
With the main components installed, I connected the existing stepper motors, endstops, and laser module to the new controller.
The tutorial shows the wiring process and preparation for testing.
Step 6: Test the Laser Engraver
Once the conversion is complete, I demonstrate the basic machine tests, including:
- Axis movement
- Homing operation
- Laser power control
- Touchscreen navigation
These tests help confirm the basic operation of the converted machine.
Watch the Full Step-by-Step Tutorial
I’ve created a complete YouTube tutorial demonstrating how I converted my Kingroon KP3S Pro into a laser engraving machine.
The video covers disassembly, controller installation, stepper driver setup, laser mounting, wiring, and testing.
Watch the full tutorial on my YouTube channel: Bambu3Design!
Download the 3D Printing Files
Want to try this conversion yourself?
The custom-designed mounting brackets and enclosures are available on my MakerWorld page.
Download the STL / 3MF Files:
https://makerworld.com/en/models/3315431-kingroon-kp3s-laser-conversion-kit?appSharePlatform=copy
Important Laser Safety Information
Warning: Laser engraving equipment can cause permanent eye injuries, skin burns, and fires.
This conversion involves a laser module installed on an originally non-laser machine.
Before operating the converted machine, ensure appropriate safety measures are implemented, including:
- A wavelength-appropriate protective enclosure designed to contain hazardous laser radiation.
- Suitable laser-rated eye protection as supplementary protection.
- Effective ventilation and fume extraction.
- Appropriate emergency-stop and laser-disable mechanisms.
- Electrical connections and power supply compatibility checks.
- Fire precautions and continuous supervision during operation.
Never operate an exposed laser in an area where people or animals could encounter the beam or its reflections. Do not rely on protective glasses alone, and do not leave the system running unattended.
The demonstration of movement, homing, and laser operation does not establish that a converted machine meets commercial laser-product safety standards.
Give Your Old 3D Printer a Second Life!
Converting an old 3D printer into a laser engraver is a creative way to explore machine modifications, electronics, and motion control.
By reusing existing hardware and combining it with an MKS DLC32 controller and custom 3D-printed components, you can explore a different application for your printer’s mechanical system.
Explore more 3D printing projects, DIY electronics, machine upgrades, and creative engineering tutorials at Bambu3Design!
If you enjoyed this project, don’t forget to subscribe to my YouTube channel, like the video, and share your thoughts in the comments.
Happy Making!