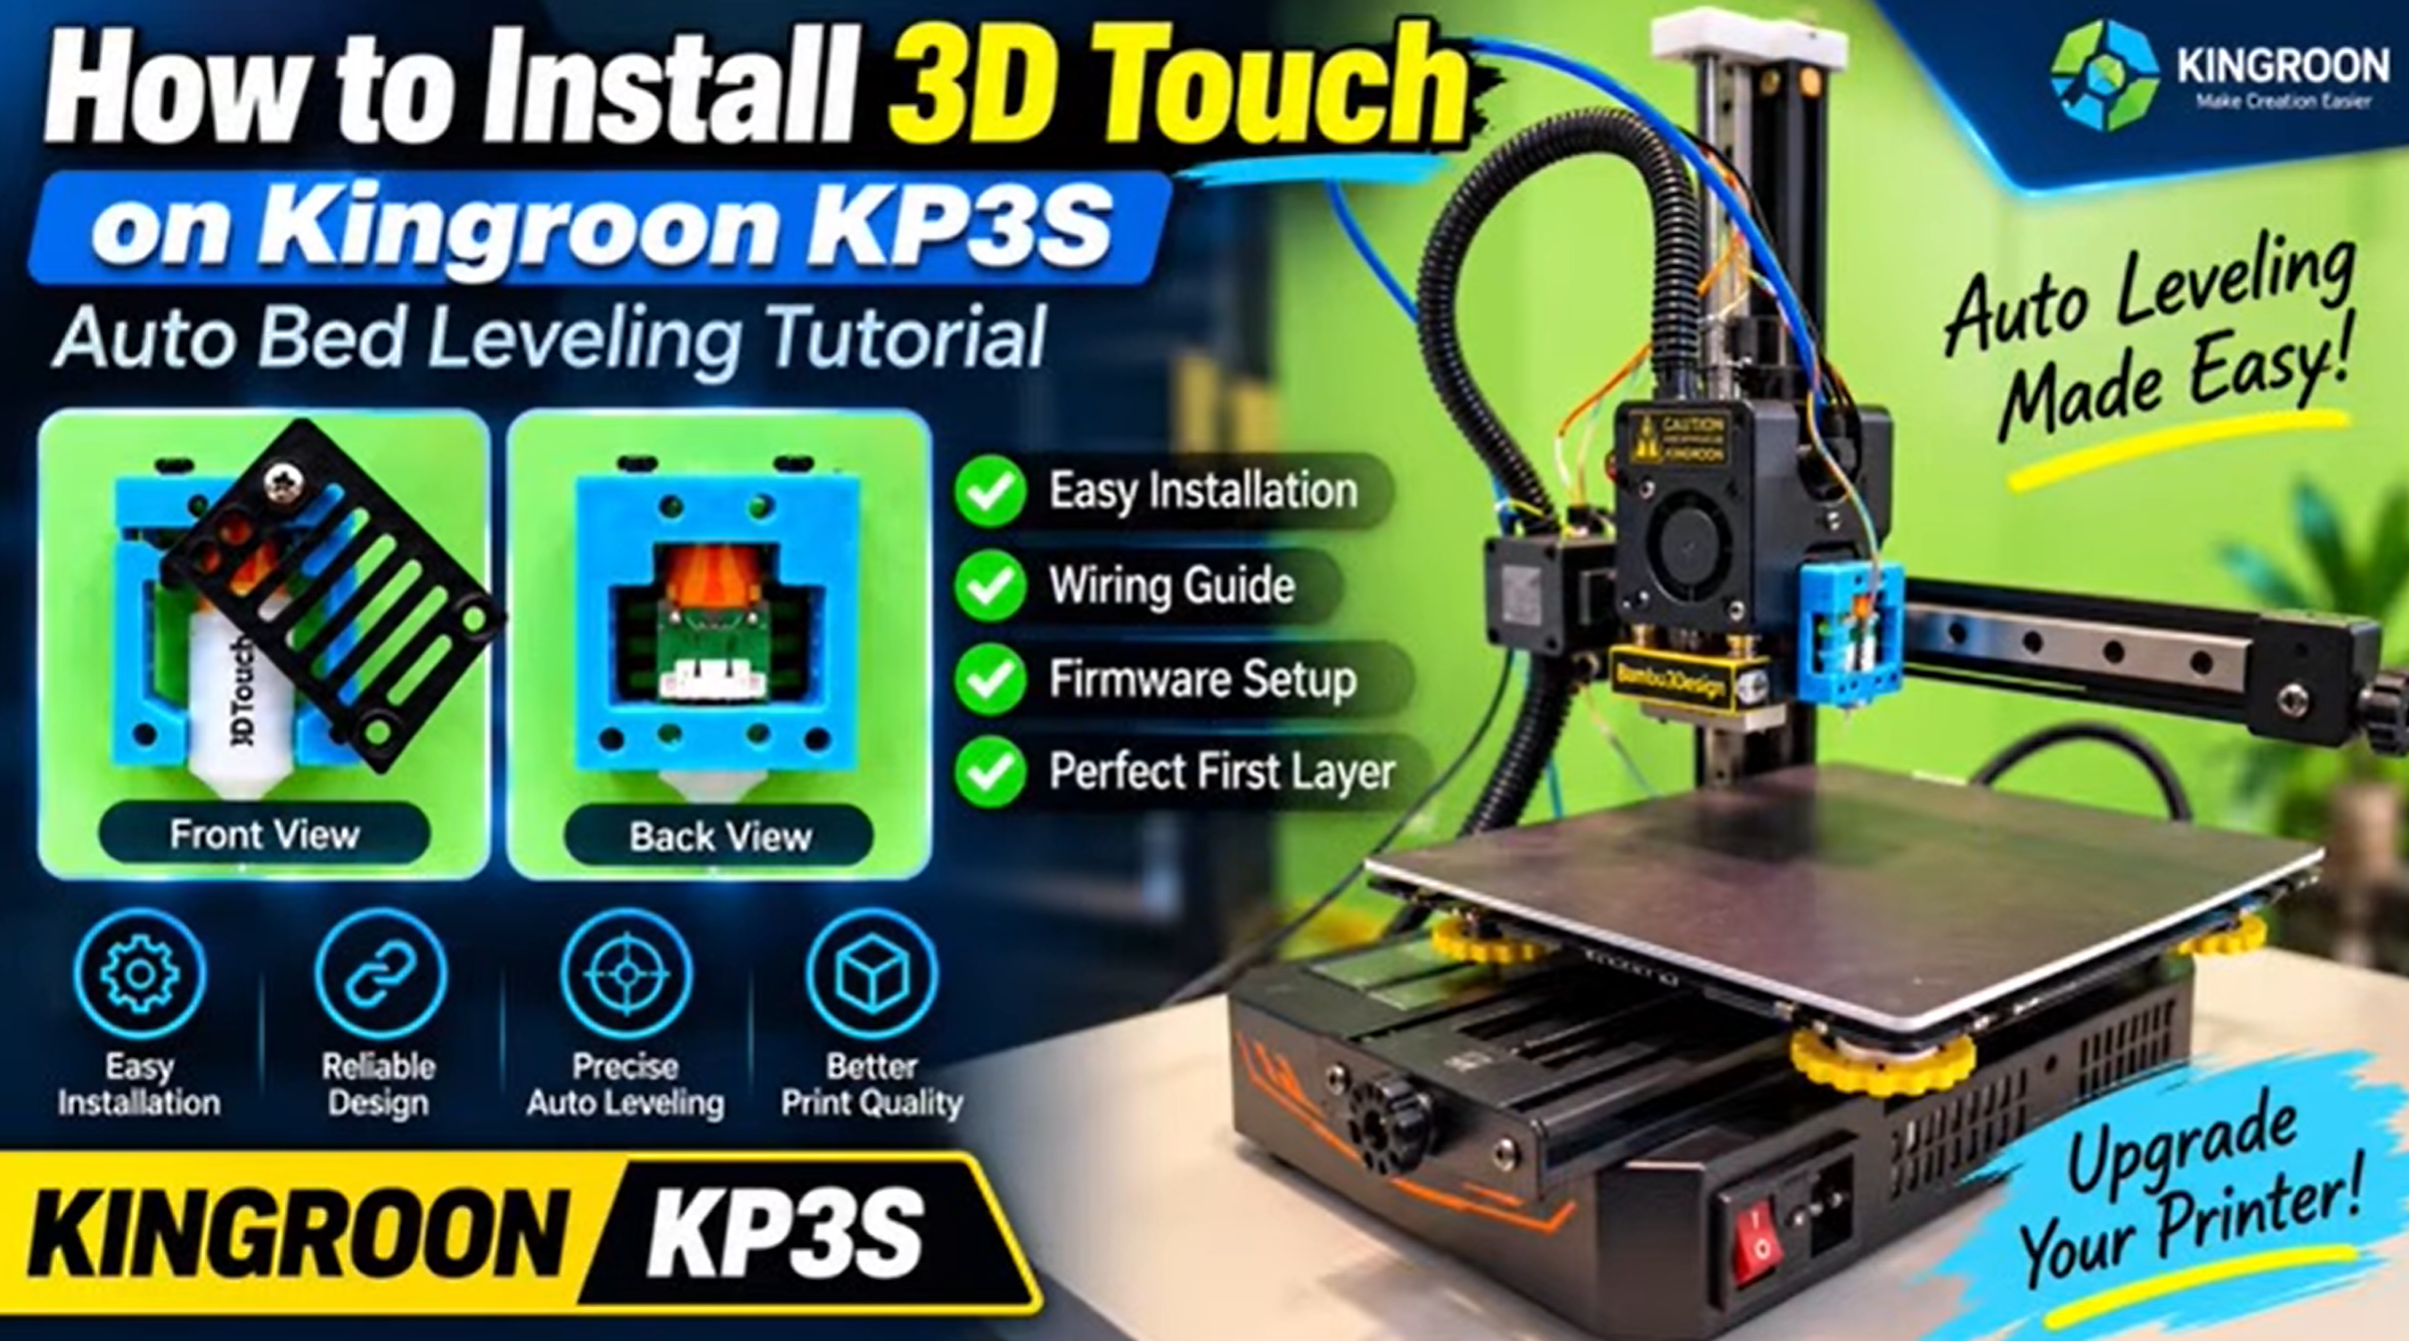
Upgrade your Kingroon KP3S Pro 3D printer with a 3D Touch Auto Bed Leveling Sensor and learn how to install, configure, and calibrate it step by step!
In this tutorial, I’ll walk you through the complete process of installing a 3D Touch sensor on the Kingroon KP3S Pro, from mounting the sensor and connecting the cables to preparing the firmware, updating the printer, and performing the final calibration.
You’ll also learn how to run automatic bed leveling, adjust the Z-Offset using the paper method, and prepare your printer for its first test print.
This tutorial is ideal for Kingroon KP3S Pro owners who want to upgrade their printer and learn more about automatic bed leveling.
What Is 3D Touch Auto Bed Leveling?
The 3D Touch is an automatic bed leveling sensor designed to measure the position of the print bed at multiple points.
With compatible firmware, these measurements can be used to compensate for small variations in bed height during printing.
Installing this sensor adds an automated bed measurement function to the Kingroon KP3S Pro, helping users establish a more consistent first-layer setup.
What You’ll Learn
In this step-by-step tutorial, I’ll show you:
- How to install the 3D Touch sensor on the Kingroon KP3S Pro.
- How to mount the sensor using the appropriate bracket.
- How to route and connect the sensor cables.
- How to access the printer’s mainboard.
- How to prepare the required firmware files.
- How to configure the necessary firmware settings.
- How to update the printer firmware.
- How to run the Auto Bed Leveling process.
- How to calibrate the Z-Offset using the paper method.
- How to make final adjustments before your first test print.
Components and Tools You’ll Need
Required Components
- Kingroon KP3S Pro 3D Printer
- 3D Touch Auto Bed Leveling Sensor Kit
- Sensor Cable
- Compatible Sensor Mount
- Mounting Screws
- 8GB MicroSD Card
- MicroSD Card Reader
Required Files
- 3D-Printable Sensor Mount Files
- Compatible Firmware
- Firmware Configuration Files
Step 1: Install the 3D Touch Sensor
The first step is to prepare and install the 3D Touch sensor on your Kingroon KP3S Pro.
Using the appropriate sensor mount, position and secure the sensor on the printer.
The mounting process is demonstrated in the video, including the placement of the sensor and associated components.
Step 2: Route and Connect the Sensor Cables
After mounting the sensor, route the cables toward the printer’s mainboard.
Access the mainboard and connect the sensor according to the wiring arrangement demonstrated in the tutorial.
Important: Always disconnect the printer from its power supply before accessing the mainboard or modifying electrical connections.
Check the sensor’s pinout and the mainboard connection requirements before powering on the printer.
Step 3: Prepare the Firmware
Once the hardware installation is complete, the next step is preparing the firmware.
The tutorial demonstrates how to obtain the required firmware and configuration files and prepare the settings needed for the 3D Touch sensor.
Firmware compatibility is important because the printer must recognize and correctly operate the newly installed sensor.
Step 4: Update the Kingroon KP3S Pro Firmware
After preparing the firmware, follow the update procedure demonstrated in the video.
The tutorial covers how to transfer the required firmware files and update the printer.
Use firmware intended for your specific printer and mainboard configuration.
Step 5: Run Auto Bed Leveling
Once the sensor and firmware have been configured, you can begin the automatic bed leveling process.
The printer uses the 3D Touch sensor to measure the bed at multiple points.
These measurements allow compatible firmware to create a bed leveling mesh that can be used during printing.
Step 6: Calibrate the Z-Offset
After running Auto Bed Leveling, the next step is calibrating the Z-Offset.
In this tutorial, I’ll show you how to use the paper method to adjust the nozzle’s position relative to the print bed.
Correct Z-Offset calibration is important for achieving a suitable nozzle-to-bed distance and a consistent first layer.
Step 7: Final Adjustments and Test Print
Once the sensor installation, firmware setup, automatic bed leveling, and Z-Offset calibration are complete, the printer is ready for final checks.
The tutorial concludes with the adjustments needed before starting your first test print.
Watch the Full Step-by-Step Tutorial
I’ve created a complete YouTube tutorial demonstrating the entire 3D Touch installation and configuration process on the Kingroon KP3S Pro.
The video covers hardware installation, cable connections, firmware preparation, automatic bed leveling, Z-Offset calibration, and final adjustments.
Watch the full tutorial on my YouTube channel: Bambu3Design!
Download the 3D Printing Files
Want to install a 3D Touch sensor on your own Kingroon KP3S Pro?
The 3D-printable sensor mount and related files are available on my MakerWorld page.
Download the 3D Printing Files:
https://makerworld.com/en/models/3310094-kingroon-kp3s-3d-touch-bltouch-mount?appSharePlatform=copy
Download Firmware and Configuration Files
The required firmware and configuration files can be obtained from Kingroon’s website.
Kingroon Official Website:
https://kingroon.com/en-germany/blogs/downloads/kingroon-kp3s-bltouch-installation
Make sure to select the firmware and configuration files compatible with your printer model and mainboard.
Important Installation Notes
Before starting the upgrade:
- Turn off and unplug the printer before accessing the mainboard.
- Confirm the sensor’s wiring and connector pinout.
- Check firmware compatibility with your Kingroon KP3S Pro.
- Follow the firmware update procedure carefully.
- Verify sensor operation before running bed leveling.
- Calibrate the Z-Offset before attempting a full print.
Upgrade Your Kingroon KP3S Pro!
Installing a 3D Touch Auto Bed Leveling Sensor is an interesting way to explore 3D printer hardware upgrades, firmware configuration, and first-layer calibration.
By following the tutorial, you’ll learn how to integrate the sensor with your printer and configure it for automatic bed measurement.
Explore more 3D printer upgrades, SOLIDWORKS tutorials, DIY electronics, and creative 3D printing projects at Bambu3Design!
If you found this tutorial helpful, don’t forget to subscribe to my YouTube channel, like the video, and share your experience in the comments.
Happy Printing!