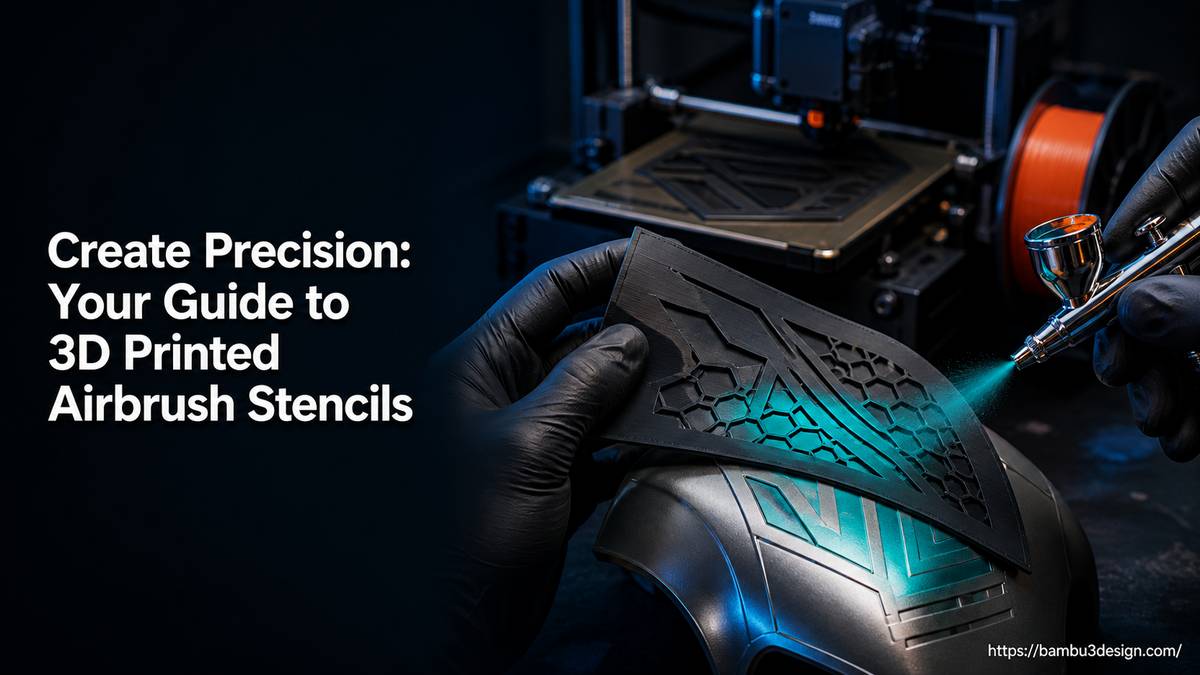
Create Precision: Your Guide to 3D Printed Airbrush Stencils
Finishing your 3D prints often involves intricate painting, and achieving sharp, repeatable details on complex or curved surfaces can be a significant challenge. Traditional masking techniques can be tedious, time-consuming, and sometimes lack the precision needed for fine work. This is where 3D printed airbrush stencils become an invaluable tool for any maker. By designing and printing custom stencils, you gain unparalleled control, allowing you to apply complex patterns, logos, or camouflage schemes with professional-grade accuracy.
This guide will walk you through the entire process, from designing your stencils in CAD software like Fusion 360 or Tinkercad, selecting the right materials, optimizing your 3D printer settings, and effectively applying them to your models for flawless airbrush results.
Why Use 3D Printed Airbrush Stencils?
Leveraging 3D printing for stencils offers several compelling advantages over traditional methods:
- Unmatched Precision: Achieve intricate details and sharp lines that are difficult, if not impossible, with hand-cut masks.
- Perfect Fit for Complex Geometries: Design stencils that precisely conform to curved or irregular surfaces of your 3D prints, eliminating gaps and paint bleed.
- Repeatability: Once designed and printed, you can reproduce the exact same stencil multiple times for consistent results across batches or for multi-layered designs.
- Time-Saving: For complex patterns, designing and printing a stencil can be faster than meticulous hand-masking.
- Customization: Create any design imaginable, from simple geometric shapes to complex logos or organic patterns.
Designing Your Custom 3D Printed Stencils
The foundation of a great stencil lies in its design. Your choice of CAD software will depend on the complexity of your model and your design experience.
CAD Software Options
Fusion 360: For Complex and Curved Surfaces
Fusion 360 is an excellent choice for creating stencils that need to conform precisely to a 3D model, especially for organic or highly curved surfaces. The process typically involves working directly with your original 3D model.
Design Workflow in Fusion 360:
- Import or Create Your Model: Start with the 3D model you intend to paint.
- Create a Stencil Base (Shell): Create an offset surface or a thin “shell” directly on the areas of your 3D model where the stencil will sit. This ensures the stencil matches the contours of your part.
- Define Cutouts: Sketch your desired pattern or design onto the stencil base. Use projection tools to accurately transfer designs onto curved surfaces.
- Extrude/Subtract for Stencil Gaps: Use the extrude or subtract tools to cut out the stencil pattern from the base. Ensure these cutouts create the open areas for airbrushing.
- Add Support Bridges: For designs with internal “floating” elements (e.g., the center of an “A” or “O”), you’ll need to design thin bridges connecting these islands to the main stencil body. This prevents them from falling out during printing and use.
- Add a Border: Create a slightly raised or wider border around the stencil for easier handling and to prevent accidental overspray.
Tinkercad: For Simpler Patterns and Flat Surfaces
Tinkercad is a free, web-based, and beginner-friendly CAD tool ideal for creating simpler stencil patterns, especially for flat or gently curved surfaces. It’s excellent for basic shapes, text, or converting existing 2D images into 3D forms.
Design Workflow in Tinkercad:
- Start with a Base Shape: Drag a basic shape (e.g., a thin box) onto the workplane to serve as your stencil base. Adjust its dimensions to your desired stencil size and thickness.
- Import 2D SVG (Optional): If you have a 2D logo or image, you can convert it to an SVG file and import it into Tinkercad, then extrude it.
- Create Cutout Shapes: Use Tinkercad’s shape library or imported designs as “holes” to subtract from your stencil base, forming the pattern.
- Combine Shapes: Group the base and cutout shapes to create your final stencil.
- Consider Printing on Tape: For very simple or small patterns, some users design the pattern to be printed onto low-tack painter’s tape, then cut out or outline the design before applying it to the model. This is particularly useful when a direct 3D stencil isn’t feasible or necessary.
General Design Principles for Stencils
- Offset/Clearance: When designing stencils to fit directly onto a 3D model, consider a minimal offset (e.g., 0.1-0.2 mm) to allow for a snug but not overly tight fit, especially with rigid materials like PLA.
- Wall Thickness: Aim for a stencil thickness of 1-2 mm for durability, and ensure the walls of your pattern are robust enough to withstand handling without breaking.
- Bridges: Always incorporate bridges for isolated internal sections of your design. Without them, these parts will simply fall out, ruining the stencil.
- Rounded Edges: Slightly rounding internal corners of your design can help prevent paint buildup and facilitate cleaner lines.
3D Printing Your Stencils: Materials and Settings
The right material and print settings are crucial for creating effective and durable 3D printed airbrush stencils.
Recommended Materials
- PLA (Polylactic Acid):
- Pros: Easy to print, rigid, excellent for flat or minimally curved surfaces. Affordable.
- Cons: Less flexible, can be brittle, may not conform perfectly to complex curves.
- PETG (Polyethylene Terephthalate Glycol):
- Pros: More durable and slightly more flexible than PLA, good chemical resistance, suitable for repeated use and moderate curves.
- Cons: Can be trickier to print than PLA (more prone to stringing).
- TPU (Thermoplastic Polyurethane):
- Pros: Highly flexible and elastic, ideal for complex, irregular, or highly curved surfaces where a tight seal is essential. Excellent adhesion to the model surface, reducing paint bleed.
- Cons: More challenging to print (slow speeds, direct drive extruder often preferred), requires careful slicer settings.
Slicer Settings for Optimal Stencil Printing
Regardless of your chosen slicer (e.g., Bambu Studio, OrcaSlicer, PrusaSlicer, Cura), pay attention to these settings:
- Layer Height: Use a finer layer height (0.12mm to 0.2mm) for smoother edges and better detail, especially for intricate patterns.
- Infill: A low infill density (e.g., 10-20% rectilinear or grid) is usually sufficient. Stencils don’t require significant structural strength.
- Perimeters/Wall Line Count: 2-3 perimeters provide adequate strength for the stencil walls.
- Top/Bottom Layers: 3-4 top and bottom layers ensure solid surfaces.
- Print Speed: For intricate details or flexible filaments like TPU, print at a slower speed to enhance accuracy and adhesion.
- Supports: Generally, design your stencils to be printed without supports. If supports are unavoidable, ensure they are easy to remove without damaging the stencil’s delicate features.
- Bed Adhesion: A brim or raft can be beneficial for thin or intricate stencils to prevent warping and ensure good bed adhesion, especially with PLA.
Applying and Using Your 3D Printed Airbrush Stencils
Effective application is key to achieving crisp lines and avoiding paint bleed.
Preparation and Application Steps:
- Clean Your Model: Ensure the surface of your 3D print is clean, dry, and free of dust, grease, or primer residue. A clean surface promotes better stencil adhesion and paint application.
- Position the Stencil: Carefully align your 3D printed stencil on your model. Ensure it sits flush against the surface, especially if it’s designed for a specific contour.
- Secure the Stencil:
- Low-Tack Painter’s Tape: Ideal for securing the edges of the stencil and protecting surrounding areas from overspray.
- Temporary Adhesive Spray: A light mist of temporary adhesive can provide excellent, non-damaging hold for complex stencils or flexible materials like TPU. Apply to the back of the stencil, let it tack up for a moment, then press firmly.
- Magnets or Clamps: For flat stencils or larger models, magnets (if the model allows) or small clamps can help hold the stencil in place.
- Airbrushing Technique:
- Light Coats: Apply several light, even coats of paint rather than one thick coat. This prevents paint from pooling and bleeding under the stencil.
- Consistent Distance: Maintain a consistent distance between your airbrush nozzle and the stencil.
- Direct Angle: Try to spray as directly perpendicular to the stencil surface as possible. Avoid spraying from sharp angles, as this increases the likelihood of paint creeping under the edges.
- Removing the Stencil: Once the paint is touch-dry (not fully cured, but dry enough not to smudge), carefully peel off the stencil. Removing it too early can cause smudging, while waiting too long can lead to the paint adhering to the stencil, resulting in jagged lines.
Common Mistakes and Troubleshooting
- Paint Bleed: Often caused by too much paint, spraying too close, or poor stencil adhesion. Address by using lighter coats, increasing distance, and ensuring the stencil is firmly secured.
- Stencil Doesn’t Fit: If a rigid stencil doesn’t conform, consider re-designing with more flexibility in mind, or switch to a flexible material like TPU. For slight misfits, temporary adhesive spray can help.
- Jagged Edges: Usually a sign of removing the stencil too late, causing cured paint to lift with the stencil. Remove when paint is touch-dry but still slightly pliable.
Advanced Stencil Tips and Tricks
Once you’re comfortable with basic 3D printed stencils, you can explore more advanced techniques:
- Multi-Part Stencils: For very large or complex designs, break the stencil into smaller, interlocking pieces. This makes printing easier and application more manageable.
- Layered Stencils: Create multiple stencils to achieve multi-color designs, shadows, or depth effects. For instance, one stencil for a base color, and another for a highlight or darker detail.
- Negative Stencils: Instead of spraying through the stencil, spray around it. The stencil acts as a mask, leaving the pattern unpainted on the model.
- Test Prints: For critical projects, print a small-scale version of your stencil to test the fit and pattern before committing to the full-size print.
- Cleaning Stencils: Clean your stencils immediately after use with appropriate solvents to ensure longevity and prevent paint buildup that could affect future applications.
Conclusion
3D printed airbrush stencils represent a powerful upgrade for anyone serious about the aesthetic quality of their 3D prints. They provide a level of precision and customization that traditional methods struggle to match, transforming complex painting tasks into manageable, repeatable processes. By mastering the design process in CAD software like Fusion 360 or Tinkercad, selecting the right materials, and refining your airbrushing technique, you can unlock a new realm of artistic possibilities for your 3D models. Experiment with different designs and materials to find what works best for your projects, and watch your finishing quality soar.