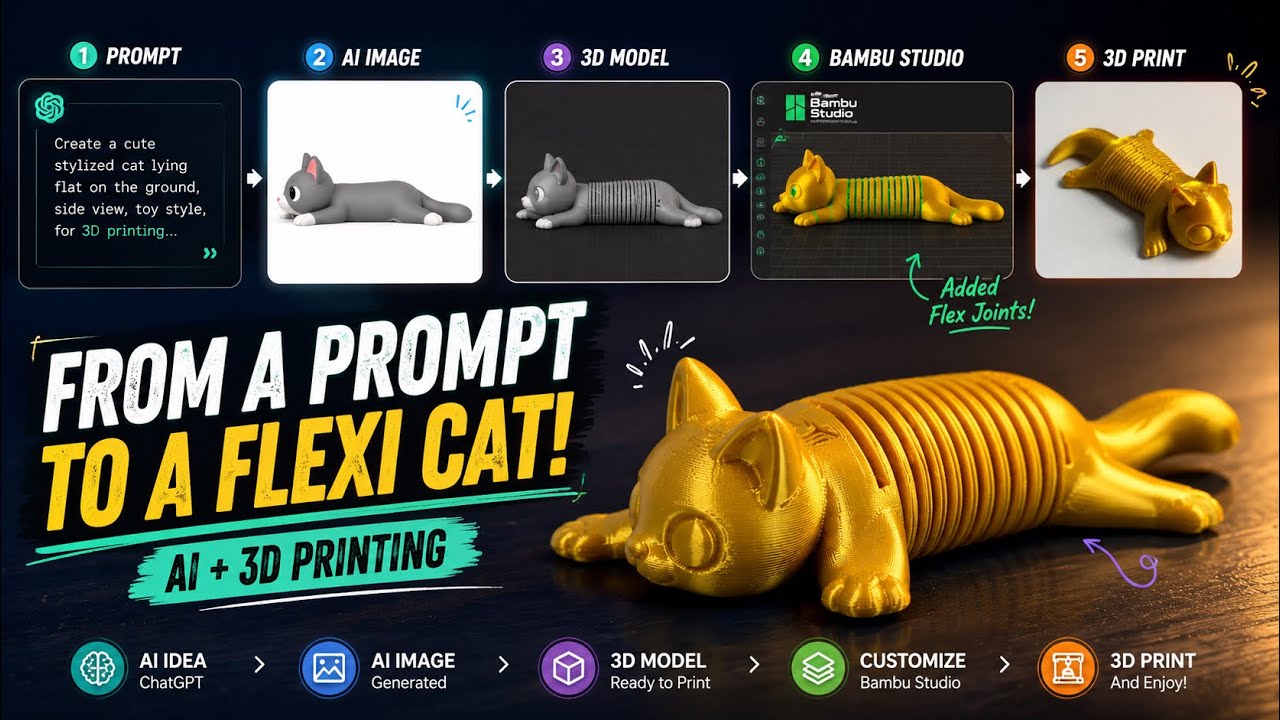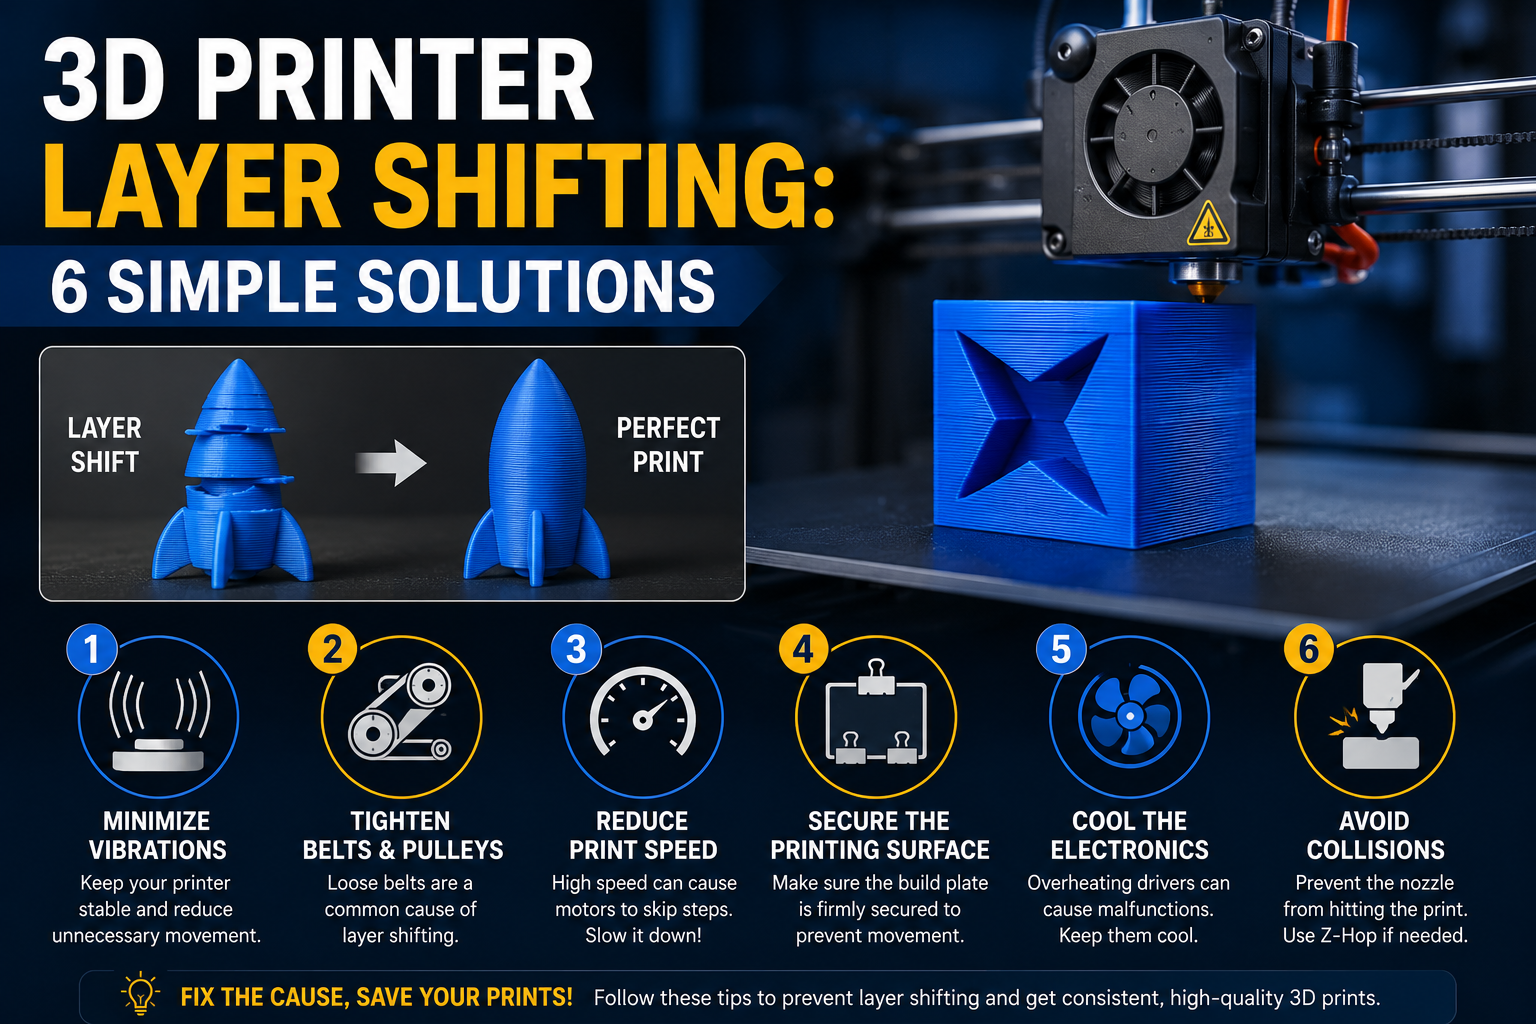
Wondering what causes layer shifting in 3D printing? Check out these six easy tips and tricks to prevent layer shifts and improve your print quality.
What Is Layer Shifting?
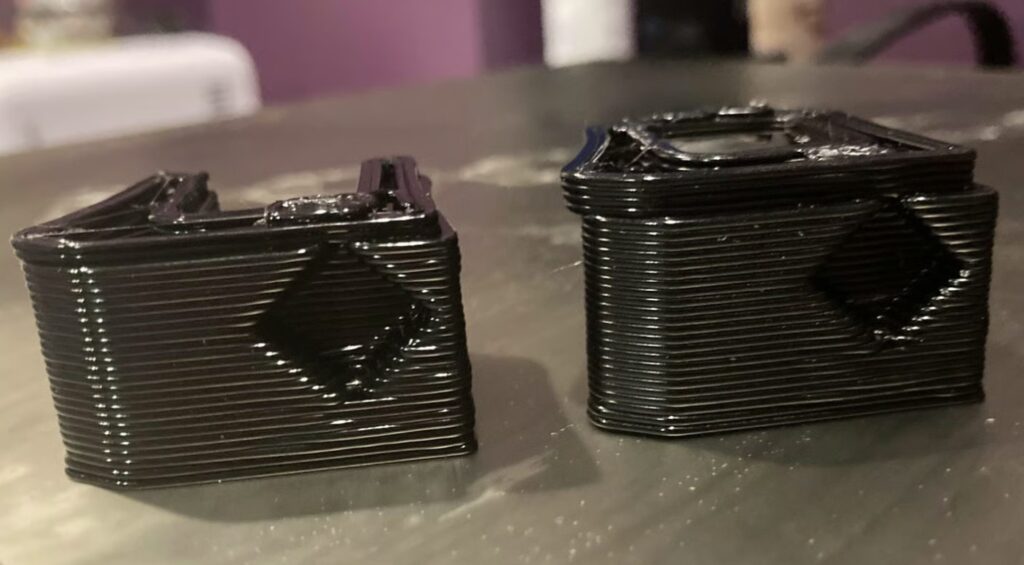
Among the many problems that can occur in 3D printing, layer shifting is one of the most noticeable because it affects both the dimensional accuracy and visual appearance of a model.
Layer shifting occurs when one or more layers are printed with a horizontal offset from their intended position. In some cases, multiple layers shift in the same direction, resulting in a slanted model. In other cases, a single layer may suddenly shift, creating a visible step in the print.
Unfortunately, layer shifting cannot be repaired once it occurs. The best solution is to identify and eliminate the root cause before starting future prints.
Tip #0: Properly Calibrate Your Printer
Before troubleshooting any print-quality issue, make sure your printer is properly calibrated.
Important calibration tasks include:
- Adjusting slicer settings such as nozzle temperature
- Calibrating E-steps
- Verifying stepper motor voltage
- Tightening screws and bolts
- Leveling the print bed
- Cleaning or replacing the nozzle
- Performing PID tuning on the hot end
If your printer passes all calibration tests but the issue persists, check your G-code file. Corrupted files can sometimes cause layer shifts. Try re-exporting the file and copying it to the SD card again.
Tip #1: Minimize Bumps and Vibrations
Excessive vibration can cause the print head or print bed to move unexpectedly, leading to layer shifts.
To reduce vibration:
- Place the printer on a stable surface
- Use rubber vibration dampers if necessary
- Check that motors move smoothly
- Remove any debris or plastic scraps from rails and moving components
- Ensure all frame components are secure
Reducing unnecessary movement can significantly improve print consistency.
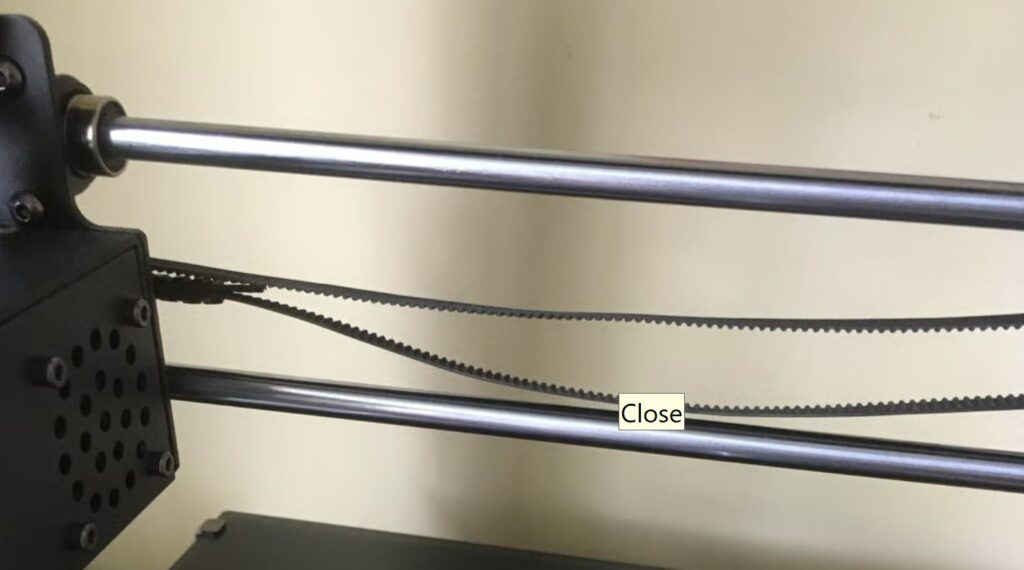
Tip #2: Tighten Belts and Pulleys
Loose belts are one of the most common causes of layer shifting.
Most FDM printers use belts and pulleys to move the print head and bed. If a belt is loose, the system can move unpredictably, causing layers to shift.
To fix this:
- Inspect all X and Y axis belts
- Tighten loose belts according to manufacturer recommendations
- Check pulley screws and ensure they are firmly attached to motor shafts
A properly tensioned belt should feel firm but not overly tight.
Tip #3: Reduce Print Speed
Printing too fast can cause stepper motors to miss steps.
When a motor cannot keep up with movement commands, it may lose position, resulting in layer shifts.
Try:
- Reducing print speed by 20–60%
- Lowering acceleration settings if necessary
- Listening for clicking sounds from stepper motors
If reducing speed solves the issue, gradually increase speed until you find a stable balance between performance and quality.
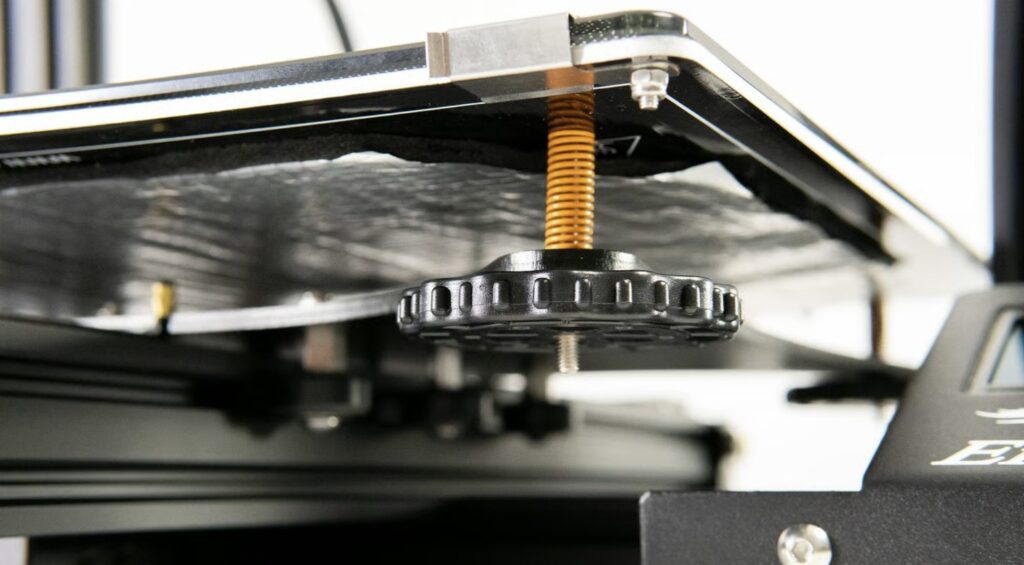
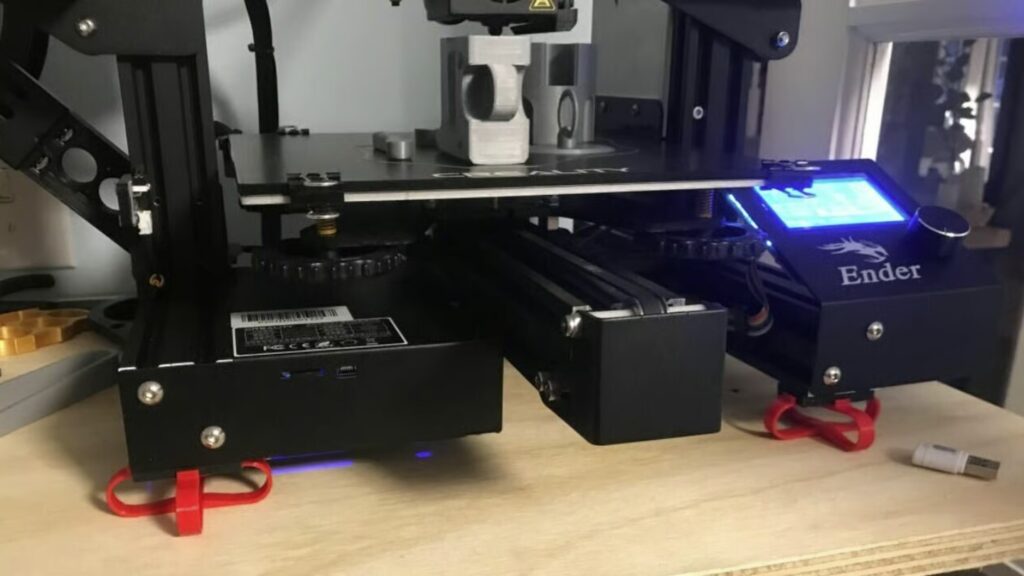
Tip #4: Secure the Build Surface
A loose build plate can shift during printing, especially on bed-slinger printers.
To improve stability:
- Use binder clips or dedicated bed clips
- Secure all corners of the build plate
- Check that the build surface cannot move independently of the bed
A firmly attached build plate helps maintain accurate positioning throughout the print.
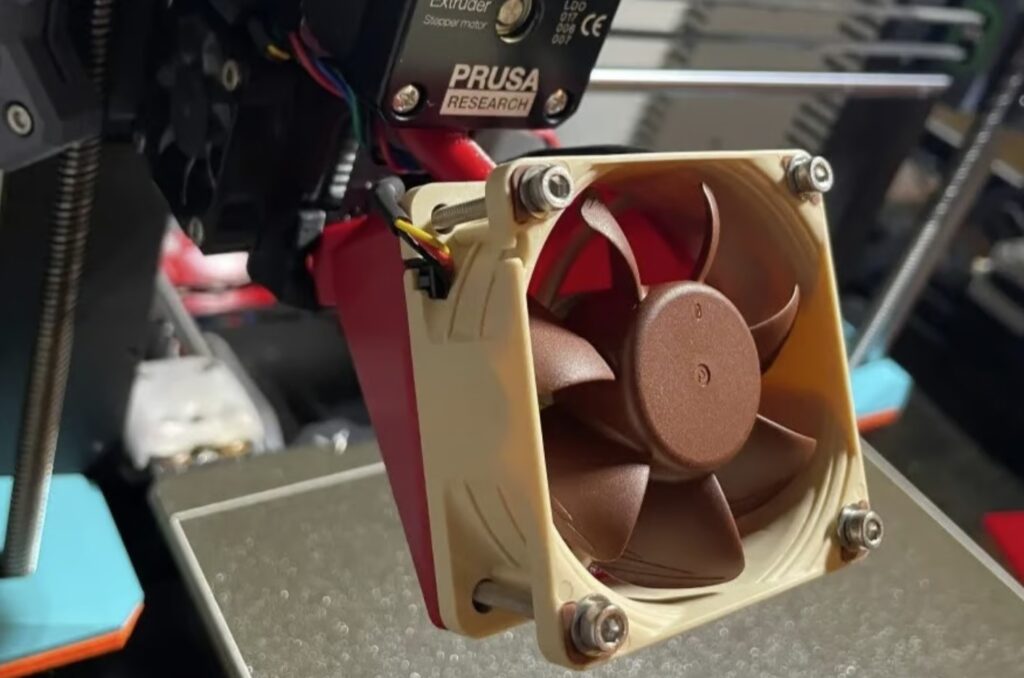
Tip #5: Keep Electronics Cool
Overheating electronics can cause stepper motor drivers to malfunction.
When drivers become too hot, they may temporarily stop working correctly, resulting in lost steps and layer shifting.
To improve cooling:
- Ensure the mainboard cooling fan is functioning properly
- Increase airflow around the electronics compartment
- Clean dust from cooling vents
- Consider installing an additional cooling fan if necessary
Maintaining proper temperatures helps ensure reliable motor performance.
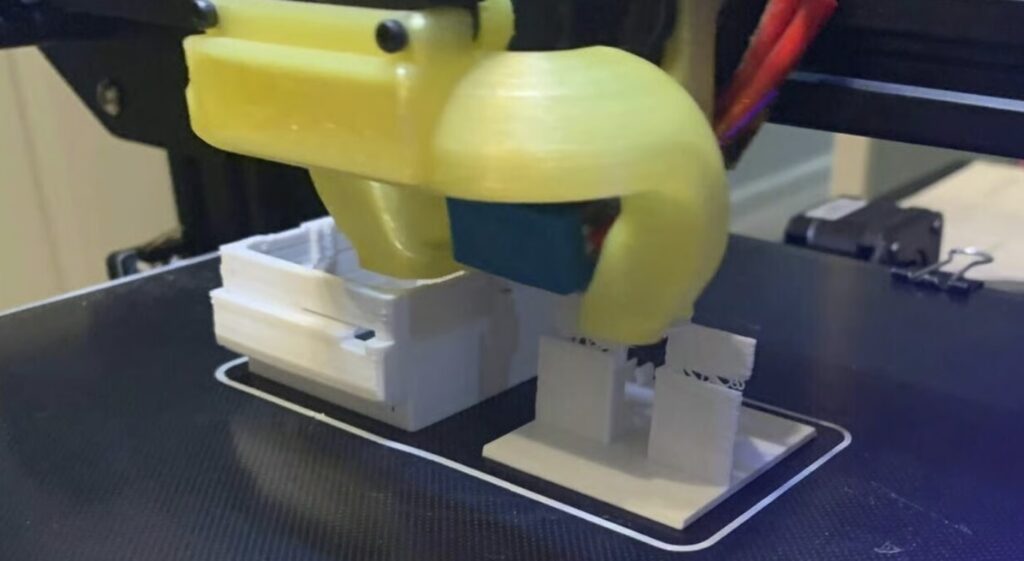
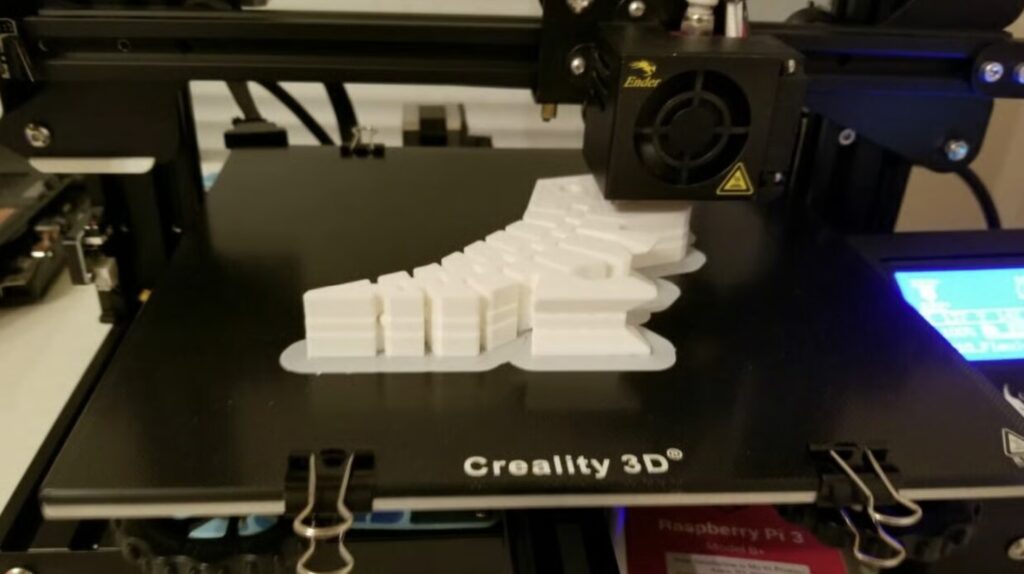
Tip #6: Avoid Nozzle Collisions
If the nozzle collides with the printed part, it can move the model or cause the print head to lose position.
Common causes include:
- Warped prints
- Poor first-layer adhesion
- Loose support structures
- Small features lifting off the bed
To reduce collisions:
- Properly level the print bed
- Improve first-layer adhesion
- Reduce travel speed
- Enable Z-Hop in your slicer
Z-Hop raises the nozzle during travel moves, reducing the chance of hitting printed features.
Final Thoughts
Layer shifting is one of the most frustrating 3D printing problems because it usually ruins an entire print. Fortunately, it is often caused by mechanical or configuration issues that are relatively easy to fix.
By properly calibrating your printer, reducing vibrations, tightening belts, lowering print speed, securing the build plate, improving electronics cooling, and preventing nozzle collisions, you can greatly reduce the chances of experiencing layer shifts and achieve more reliable, high-quality prints.